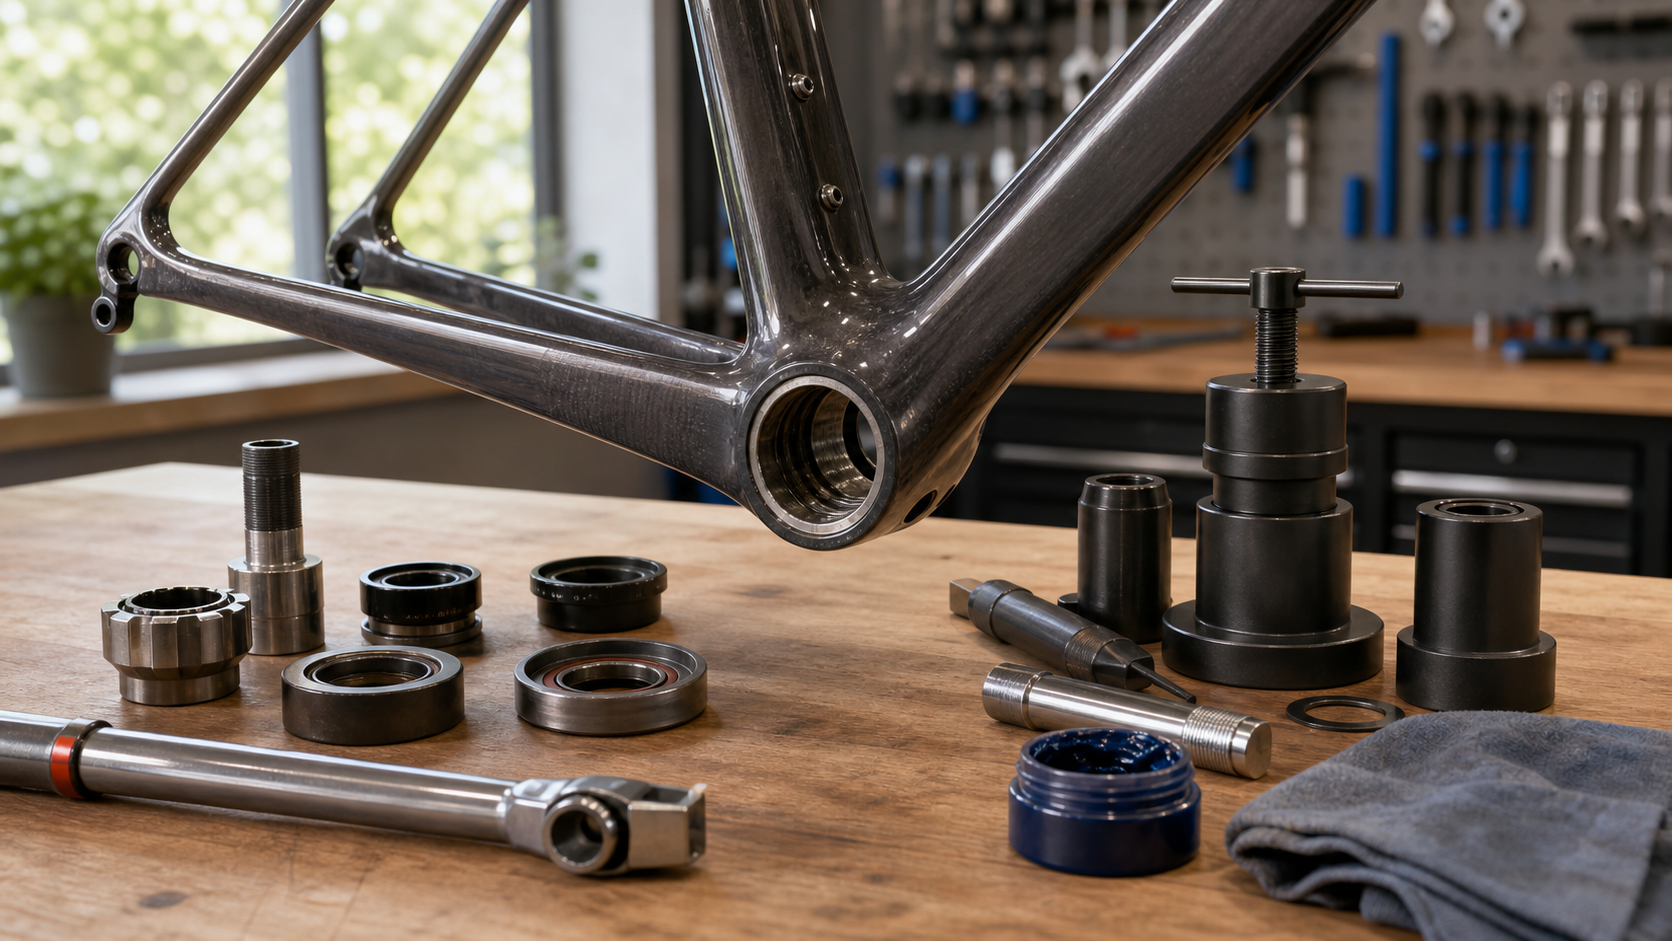
Bottom Bracket Maintenance and Replacement: Tools for Press-Fit vs Threaded Bottom Brackets
Introduction
A “creaking” noise when pedaling is one of the most frustrating issues for cyclists. More than 90% of the time, this sound comes from the bottom bracket (BB) area—whether it’s worn bearings, improper installation, or rusted shell threads, all can produce annoying noises. There are two mainstream bottom bracket designs: threaded (Threaded BB) and press-fit (Press-Fit BB), and their installation/removal methods are completely different, with non-interchangeable tools.
Bottom Bracket Specifications Overview
| Specification | Installation Method | Common Frame Types | Shell Inner Diameter |
|---|---|---|---|
| BSA (English Thread) | Threaded | Aluminum, steel road frames | 68/73mm |
| ITA (Italian Thread) | Threaded | Italian brand frames | 70mm |
| BB30 / BB30A | Press-Fit | High-end carbon frames | 46mm |
| PF30 | Press-Fit | Common across various carbon frames | 46mm |
| BB86 / BB92 | Press-Fit | Shimano road carbon frames | 41mm |
| T47 | Threaded (large diameter) | Modern trend, combines advantages of both | 47mm |
| BB386EVO | Press-Fit | Trek, Look and other high-end models | 46mm |
Threaded Bottom Bracket (BSA/ITA) Removal and Installation
Required Tools
- Shimano bottom bracket tool (model TL-BB52 or TL-FC36, depending on the BB shell type)
- 15mm wrench or torque wrench (recommended 0–40 Nm range)
- Grease (copper-based grease / anti-seize compound)
- Cleaning cloth
Removal Steps
- Remove the crankset:
- For Shimano HollowTech II systems, first remove the left crank arm cap (using a 5mm hex), then loosen the two left crank arm fixing bolts counterclockwise, and pull the crankset out to the left
- For SRAM DUB, loosen the crank bolt and pull outward
- Confirm the rotation direction:
- BSA English: Right side is right-hand thread (loosen counterclockwise), left side is left-hand thread (loosen clockwise)
- ITA Italian: Both sides are right-hand thread
- Attach the bottom bracket tool and loosen in the correct direction with a wrench
- Remove the bottom bracket and clean oil and rust residue from the shell threads
Installation Steps
- Apply a thin layer of anti-rust grease to the shell threads (use anti-seize compound for carbon frames)
- Thread the bottom bracket in by hand, making sure it doesn’t cross-thread
- Tighten with a torque wrench to the recommended torque (Shimano BBs are typically 35–50 Nm)
- Install the crankset, confirming the left and right crank arms are oriented correctly (180° apart)
Press-Fit Bottom Bracket Removal and Installation
Press-fit bottom brackets are held in place by friction within the frame shell and require specialized tools for removal and installation. They are currently the most common type for creaking issues.
Required Tools
- Press-fit bottom bracket removal tool (such as Park Tool BB-RT-500 or a budget removal rod)
- Press-fit bottom bracket installation tool (such as the Park Tool BBT-90.3 series, requiring the correct spec)
- Hammer (used with the installation tool)
- Drill (when using a drive-type installation tool)
- Bearing anti-rust oil or Loctite 638 adhesive
Removal Steps
- Remove the crankset (same as threaded)
- Identify the shell spec (measure the inner diameter or check the frame spec sheet)
- Select the correct removal tool size, insert from one side, and hook the outer race of the bearing on the opposite side
- Strike with a hammer, applying even force, alternating one side at a time
- After removing all bearing cups, clean the inner walls of the shell
Installation Notes
The fundamental solutions for press-fit bottom bracket creaking:
- Apply a thin layer of Loctite 638 or 641: Apply to the bearing outer race before pressing in; once cured, it virtually eliminates play-related creaking
- Apply T9 Boeshield wax: Provides rust protection and slightly reduces friction-related creaking
- Consider converting to a threaded insert: Such as Wheels Manufacturing’s T30 Threaded Insert, which completely solves press-fit creaking issues (requires the frame shell to be compatible)
| Installation Treatment | Noise Reduction Effect | Difficulty |
|---|---|---|
| Dry press (no treatment) | Low | Easiest |
| Apply anti-rust oil | Low–Medium | Easy |
| Apply Loctite 638 | High | Moderate |
| Convert to threaded insert | Highest | More complex |
Maintenance Interval Recommendations
- Threaded BSA: Replace every 2–3 years or when creaking appears
- Press-Fit: Replace bearings preventively every 1–2 years (replace only the bearings, keep the cups)
- After every major cleaning: Check for any play; if present, address it immediately
Conclusion
Although bottom bracket issues can be frustrating, once you understand your frame’s bottom bracket spec and have the correct tools on hand, this is a maintenance task you can handle yourself. Threaded BSA bottom brackets in particular are not difficult to DIY, and riders interested in deeper bike maintenance are encouraged to add this to their skill list. For press-fit bottom brackets, if you don’t want to invest in specialized tools, having a professional shop handle it while asking them to apply Loctite adhesive is the most cost-effective option.
Related Reading
- BB (Bottom Bracket) Complete Guide: Specs, Maintenance, and Creak Troubleshooting
- T47 Bottom Bracket Spec Deep Dive: The Ultimate Solution to Press-Fit Shell Creaking
- Complete Guide to Bottom Bracket Removal and Bearing Maintenance
- Bottom Bracket Bearing Installation Guide: Full Spec Analysis for BSA, PF30, BB86
再一組! 全碳幅條 碟煞/無內胎輪組 開箱! 到底好騎嗎? UNAAS X40 | 公路車 | CT Yeh
4 年前
來都來了!改好改滿 / CS大導輪 + BB 可以省幾瓦? / 同場加映 TIME XPRO卡踏 / #公路車 #ceramicspeed / CT Yeh
1 年前
碟煞公路車 銑面器 !? 原來銑完差這麼多! 降低蹭碟機率! | TIME 公路車 保養小記錄 | CT Yeh
3 年前
單車 重低音 藍芽喇叭 音質實測 SoundBot SB525 Real Sound Test
8 年前
3C開箱) SoundBot 老車升級智慧音響 SB360 藍芽 免持 接收器 Aux in 手機 汽車音響 美國聲霸
7 年前
單車胎壓觀察到的有趣現象,SRAM Quarq TyreWiz 2.0 無內胎胎壓計 / 裝了有哪些幫助? / Tubeless / 公路車 / CT Yeh
1 年前
Nepest NOVA 碳條輪組:輕量、空力、舒適一次滿足!/ 公路車 / CT Yeh
7 個月前
公路車 BB培林大升級! / 備戰海鷗繞圈賽 Canyon Aerod & TIME 一起改 / MIT大廠 CEMA對鎖式陶瓷培林BB & 導輪 / 公路車 / CT Yeh
2 年前