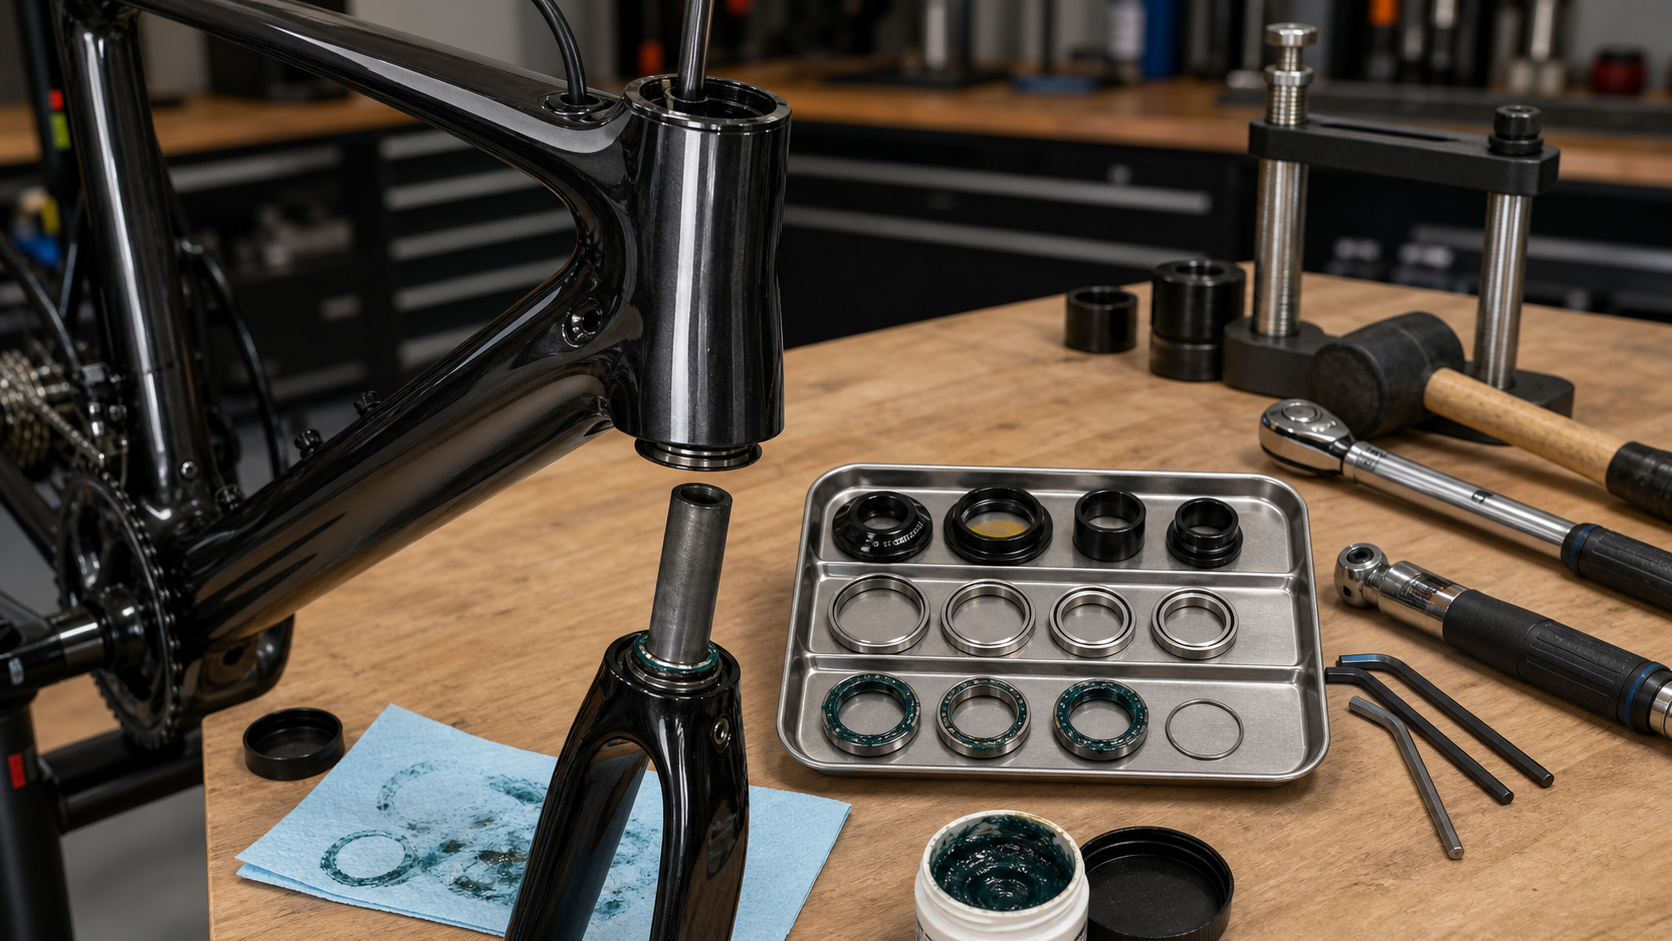
Headset System Maintenance: Fork Removal/Installation and Headset Bearing Replacement Steps
Introduction
The headset is the steering interface between the frame and the fork, comprising upper and lower bearing sets that allow the fork to rotate smoothly within the frame’s head tube. When you feel a “notchy” or “catching” sensation in the steering, or notice fore-aft play in the fork when braking (commonly called “loose headset”), these are signs that the headset needs service or replacement. While headset removal and installation may seem complex, there is actually a logical sequence to follow.
Headset Types
| Type | Characteristics | Common Bikes |
|---|---|---|
| Integrated | Bearings sit directly into the frame’s head tube, no bearing cups | Modern road bikes, carbon frames |
| Semi-Integrated | External bearing cups pressed into the frame | Aluminum road bikes, some MTBs |
| Threaded | Threaded adjusting nut secures the headset, no press-fit | Vintage steel frames |
| External Cup | Bearing cups exposed outside the head tube | Early road bikes |
Diagnosing Headset Problems
Test Methods
- Play Test: Apply the front brake firmly, push the bike forward and backward, and feel for any play (loose headset)
- Notch Test: Lift the front wheel off the ground, slowly turn the fork left and right, and feel for any “detents” or “catching”
- Dive Test: Descend a hill hands-free and observe whether the fork naturally centers itself or pulls to one side
| Symptom | Diagnosis | Remedy |
|---|---|---|
| Fore-aft play | Insufficient headset preload (too loose) | Tighten the top cap bolt |
| Catching sensation when steering | Worn bearings, water ingress, or excessive preload | Clean and lubricate or replace bearings |
| Noise (clicking sounds) | Worn bearings, loose components | Inspect one by one, re-tighten |
| Steering feels too light and floaty | Insufficient headset preload | Tighten the top cap bolt |
Tool Preparation
- 5mm, 6mm hex wrenches
- Carbon torque wrench (if carbon frame)
- Bearing removal tool (Park Tool CCP-44 or universal type)
- Bearing installation tool (Park Tool HHP-2 or similar)
- Rubber mallet
- Bicycle grease or headset-specific bearing grease
- Parts tray (for organizing small parts)
Fork Removal and Installation Steps
Removal Process
-
Remove the handlebar/stem assembly:
- Loosen the stem faceplate bolts (no need to fully remove), swing or move the handlebar to one side
- If brake and shift cables are in the way, loosen their anchor points first; no need to cut cables
-
Loosen the top cap bolt:
- Use a 5mm hex wrench to loosen the top cap bolt counterclockwise (located above the stem)
- Remove the top cap, noting the order of the plastic adjustment spacers inside
-
Loosen the stem clamp bolts:
- Loosen the bolts on the side of the stem that clamp the fork’s steerer tube
- The stem can then be lifted off the fork tube
-
Remove the fork:
- Carefully slide the fork out from the bottom of the head tube (note that the upper bearing may fall out at the same time)
- Record the order of all parts: top cap → upper bearing → upper bearing race → frame head tube → lower bearing race → lower bearing → dust seal → fork
Integrated Headset Bearing Replacement
- Remove the old bearings: Insert a bearing removal tool from one side of the head tube to push out the bearing on the opposite side
- Clean the inside of the head tube: Clean with IPA to remove old grease and oxidation
- Install new bearings:
- Confirm bearing orientation (usually marked for top/bottom direction)
- Place the installation tool over the bearing’s outer race and tap evenly with a rubber mallet
- Stop when you feel a solid “bottoming out” sensation to avoid over-driving and damaging the frame
- Apply grease: Apply a thin layer of high-quality grease to the bearing’s rotating contact surface (not the outer race, but the bearing raceway surface)
Installation and Preload Adjustment
Assembly Sequence
- Insert the fork into the head tube from below
- Confirm the lower bearing is properly seated
- Install the upper bearing and upper bearing race
- Slide the stem back on (but do not tighten)
- Place the spacers back on, maintaining the original stack height
- Install the top cap, hand-thread the top cap bolt until there is no play, but do not tighten
Preload Adjustment (Critical Step)
- Confirm the stem clamp bolts are fully loose (otherwise the top cap bolt cannot adjust preload)
- Slowly tighten the top cap bolt, rocking the fork back and forth to feel when the play disappears
- Stop at the point where there is just no play and steering remains smooth
- Align the stem, confirming the stem’s centerline is aligned with the front wheel
- Tighten the stem clamp bolts (if two bolts, alternate tightening to the recommended torque, typically 5–7 Nm)
- Re-perform the play test to confirm
Practical Tips
- Always use a torque wrench on carbon steerer tubes; over-tightening the stem clamp bolts can crack the carbon tube
- When installing a carbon steerer tube, apply carbon assembly paste to the contact surfaces between the stem and clamp area to avoid over-tightening
- Service the headset at least once a year; in Taiwan’s humid climate, every six months is recommended
- When replacing a fork, pay attention to the steerer tube length; if necessary, have a bike shop cut it with a cutting tool
Conclusion
Headset maintenance requires more patience than other components, but once you understand the logic of disassembly and assembly, it is actually quite straightforward. The most critical part is preload adjustment: too loose is a safety hazard, while too tight will rapidly wear out the bearings. It is recommended to perform your first attempt under the guidance of a bike shop, or record a video of the disassembly for reference, to ensure correct assembly order and maintain your riding safety and steering precision.
Related Reading
- Bicycle Headset Maintenance: Bearing Cleaning and Bearing Replacement Steps
- Bicycle Headset Maintenance: The Critical Component You May Have Never Noticed
- Headset Bearing Replacement Hands-On Guide: Complete Process from Removal to Installation
- Headset Preload Adjustment: The Precision Technique to Eliminate Stem Play
公路車 BB培林大升級! / 備戰海鷗繞圈賽 Canyon Aerod & TIME 一起改 / MIT大廠 CEMA對鎖式陶瓷培林BB & 導輪 / 公路車 / CT Yeh
2 年前
西進武嶺 自製新版AI配速表產生器 x 賽前攻略 抱佛腳! 沒有功率計也可以產生配速表嗎?有什麼其他眉角賽前要注意的呢? | 西進武嶺 / 東進武嶺 KOM 攻略 | 公路車 | CT Yeh
4 年前
碟煞公路車 銑面器 !? 原來銑完差這麼多! 降低蹭碟機率! | TIME 公路車 保養小記錄 | CT Yeh
3 年前
CT 喇低賽) 武嶺牽車 才是王道 西進牽車四小時內秘訣 攝手位置 如何判斷 防抽筋小秘訣
7 年前
碟煞公路車 優缺點?換車一年半實際經驗分享 / 公路車 / CT Yeh
2 年前
FTL 與 SYB 車隊專訪 西進武嶺 實用攻略分享! 2小時 如何練?!你不知道的眉角!新手準備武嶺必看 EP1 | 實力派女車友 | 精華版 | 公路車 | CTYeh
4 年前
一日北高/長距離團騎 常見問題補充篇 / 組團或跟團的眉角 / 壯車友容易被瘦車友慢性拉爆 / 原來屁股痛可能是這個原因...? / 風場配速法 / 公路車 / CT Yeh
2 年前
#公路車 #Fitting 靠人工智慧APP 幫你調整單車
6 年前