Handling Mechanical Issues on a Round-Island Ride: Self-Rescue Steps for Flat Tires and Broken Chains in the Wild
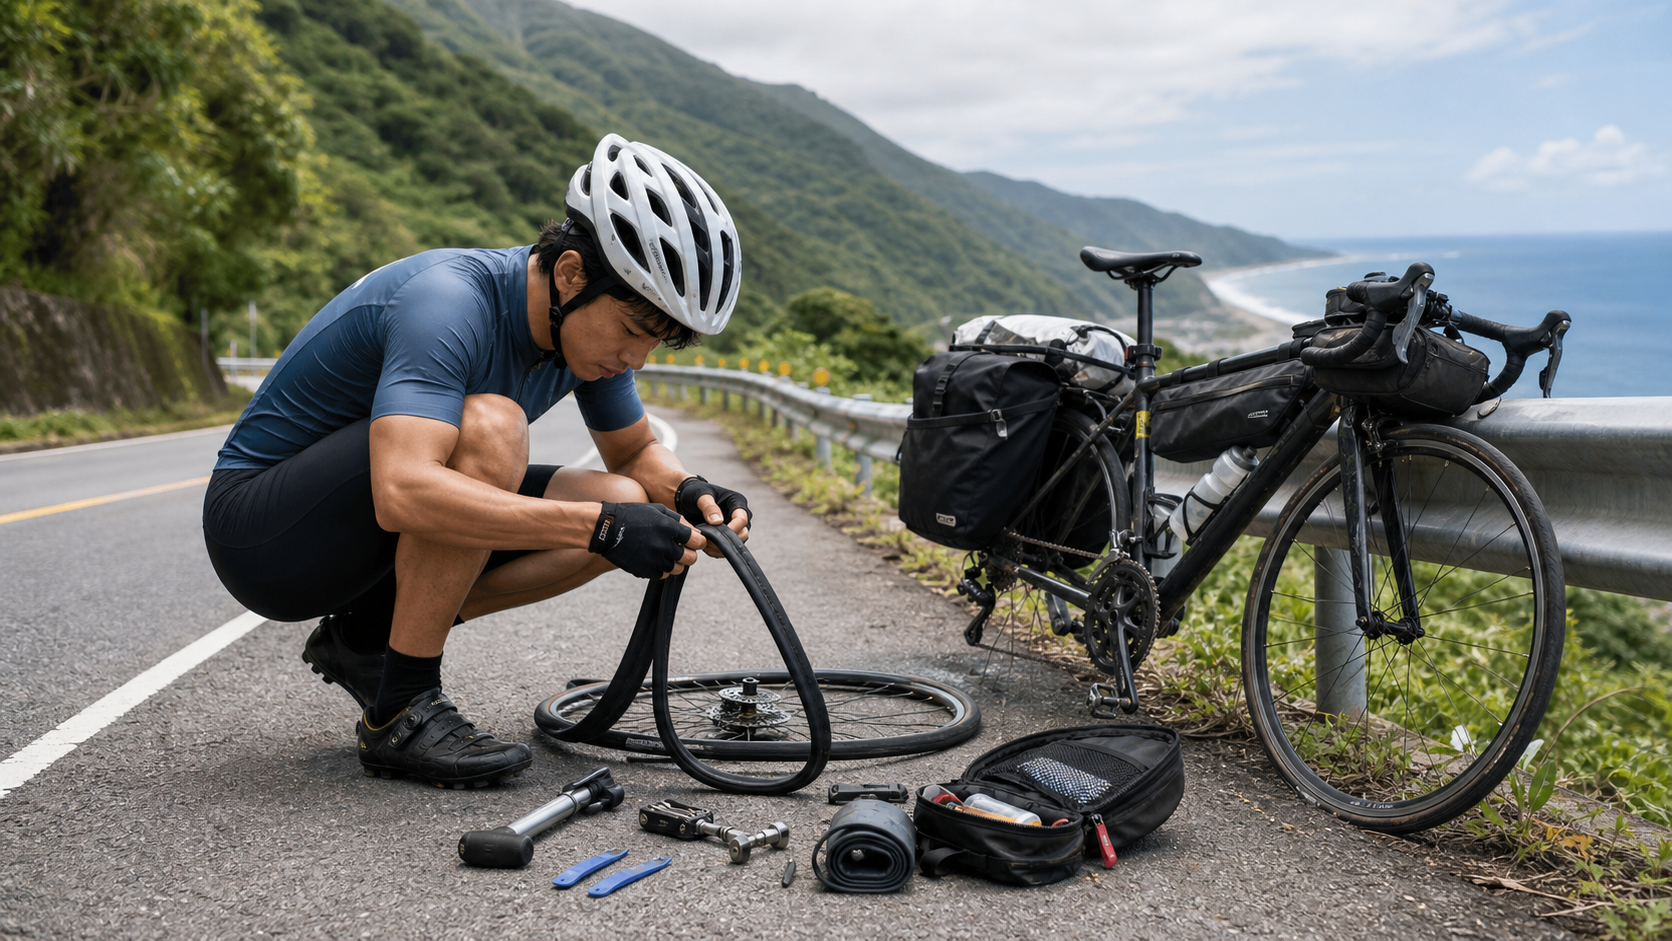
Handling Mechanical Issues on a Round-Island Ride: Self-Rescue Steps for Flat Tires and Broken Chains in the Wild
Introduction
What round-island cyclists fear most isn’t steep climbs—it’s watching a tire go flat on a remote stretch of the Suhua Highway, only to realize they didn’t bring a spare tube. Mechanical issues are nearly unavoidable during a round-island trip. The key isn’t “avoiding problems,” but “being able to solve them yourself when they happen.”
According to insights shared by round-island cyclists, the most common mechanical issues, in order, are: flat tires (accounting for about 65% of mechanical incidents), broken chains (about 15%), rear derailleur malfunctions (about 10%), and broken brake cables (about 5%). This article breaks down the self-rescue steps for the first two in detail.
Flat Tires: The Most Common and Most Basic Mechanical Fix
Two Types of Flat Tires
| Situation | How to Identify | How to Handle |
|---|---|---|
| Puncture flat (penetration) | Tire loses air slowly; you can ride a few kilometers before stopping | Replace inner tube or patch it |
| Snakebite flat (two holes) | Loses air immediately after hitting a pothole; two parallel small holes | Patch or replace inner tube, and readjust tire pressure |
| Tear flat (casing damage) | Instant loud pop; visible tear in the tire casing | Replace inner tube; if the casing is damaged, reinforce temporarily |
Complete Steps for Replacing an Inner Tube (Applies to Road Bikes and Mountain Bikes)
-
Stop in a safe location: Pull over to the right side of the road, make sure vehicles behind you can see you, and put on a reflective vest if you have one.
-
Remove the wheel: For the rear wheel, first shift to the smallest cog (easiest gear), then loosen the quick-release lever or unscrew the thru-axle nut and remove the wheel.
-
Deflate: Press the valve (Presta/Schrader) to confirm the tire is fully deflated.
-
Remove one side of the tire: Starting opposite the valve, use tire levers to pry one side of the tire bead off the rim along the circumference. Be careful not to insert the lever too deep and damage the new inner tube.
-
Remove the old inner tube and find the source of the puncture: Run your fingers along the inside of the tire casing to find the penetrating object (nail, glass) and remove it. If you can’t find it, inflate slightly and feel for where the air is leaking.
-
Install the new inner tube: First put a little air into the new tube (so it holds its shape without wrinkling), insert the valve into the rim hole, then tuck the tube inside the tire casing along the circumference.
-
Seat the tire back on: Use both thumbs to press the tire bead back onto the rim along the circumference. The last few centimeters are the tightest—you can use a tire lever to assist (being careful not to pinch the inner tube).
-
Inflate: Pump to the recommended pressure—about 100–120 psi for road bikes, about 30–50 psi for mountain bikes (check the tire sidewall markings).
-
Reinstall the wheel, confirm normal brake clearance, then test-ride a few meters to make sure everything is fine.
What If the Tire Casing Is Also Torn?
- Emergency solution: Stuff a paper banknote inside the tear in the casing to separate the inner tube from the opening. This can get you to the nearest resupply point (roughly 10–30 km, ride cautiously at low speed).
Broken Chain: Rarer Than a Flat Tire but More Frustrating
A broken chain usually happens when pedaling hard on a climb and the chain is already worn.
How to Tell If Your Chain Is Broken
- Sudden loss of resistance when pedaling; the bike freewheels forward
- The chain hangs loose or drops near the bottom bracket
Steps to Repair a Broken Chain
Required tool: a chain quick link (everyone should carry one—often called a Master Link or KMC quick link)
-
Find the break point: Pull out the chain and locate the broken or severely deformed link.
-
Remove the damaged link: If you have a chain tool, you can precisely remove the bad link; if not, try using the pointed tip of a multi-tool to push out the chain pin.
-
Attach the quick link: Hook each side of the quick link into the holes at both ends of the chain, then tension the chain (by pedaling or pulling with your hands) so the quick link’s tabs lock into place. Quick links are directional—make sure the arrow points in the chain’s forward direction of travel.
-
Confirm chain length: If the chain has been shortened (due to removing the damaged link), check that it can still work with the largest cog + largest chainring. If it’s too short, excessive chain tension could damage the rear derailleur. It’s recommended to use the small cog + small chainring for the rest of the ride.
-
Test pedal: Slowly pedal a few revolutions to confirm the quick link isn’t loose and the chain isn’t catching.
Prevention Is Better Than Repair: Pre-Ride Mechanical Checks
- ABC check (do it every day before riding): Air (tire pressure), Brakes, Chain (lubrication)
- Install a new chain before you leave: If your chain has been used for more than 2,000 km, replace it before the round-island trip
- Always carry a quick link: It weighs only a few grams—keep it in the inner pocket of your tool bag or in your handlebar bag
Conclusion
On the mountain roads of the South Link, in the fields of the East Rift Valley, mechanical problems always seem to strike at the most inconvenient times. But as long as you’ve prepared the right tools and practiced once, that predicament shifts from “forced to wait for rescue” to “showing off your preparedness.” Every mechanical issue you fix yourself on a round-island ride becomes a story worth telling afterward.
Related Reading
- Dealing with Unexpected Situations on a Round-Island Ride: Flat Tires, Mechanical Failures, and Weather
- Emergency Bicycle Mechanical Fixes: On-the-Spot Handling of Flat Tires and Broken Chains While Riding
- Handling Mechanical Issues on Long Rides: Emergency Fixes for Flat Tires, Broken Chains, and Loose Bolts in the Wild
- Emergency Bicycle Touring Mechanical Fixes: A Quick Guide to Common Problems
爬陡坡被爆胎的車友跑步超車 #cycling #里佳部落
9 個月前
鎮西堡 公路車首航 你排乳酸 我排卵... | 宇老又爆胎 要直接棄坑了嗎?
4 年前
碟煞公路車 銑面器 !? 原來銑完差這麼多! 降低蹭碟機率! | TIME 公路車 保養小記錄 | CT Yeh
3 年前
Canyon 公路車斷把手 五年老車特規還能修嗎? 維修保養全記錄 feat. 501單車監理站 | 公路車 | CT Yeh
4 年前
單車胎壓觀察到的有趣現象,SRAM Quarq TyreWiz 2.0 無內胎胎壓計 / 裝了有哪些幫助? / Tubeless / 公路車 / CT Yeh
1 年前
空拍機 炸機 卡樹 救援隊出動! DJI Mavic Pro #空拍機
6 年前
單車 一日北高 ( 雙城 ) 肥宅雙人瘋狂行 紀錄片 REACTO
10 年前
摔車後補裝備: 好市多新款單車安全帽& Specialized Romin 北高整路屁股都不痛的坐墊 | 一千元居然有MIPS | CT Yeh | 公路車
4 年前