Wheel Truing Basics: Tools for Manual Wheel Truing and Basic Methods for Correcting Out-of-Round Rims
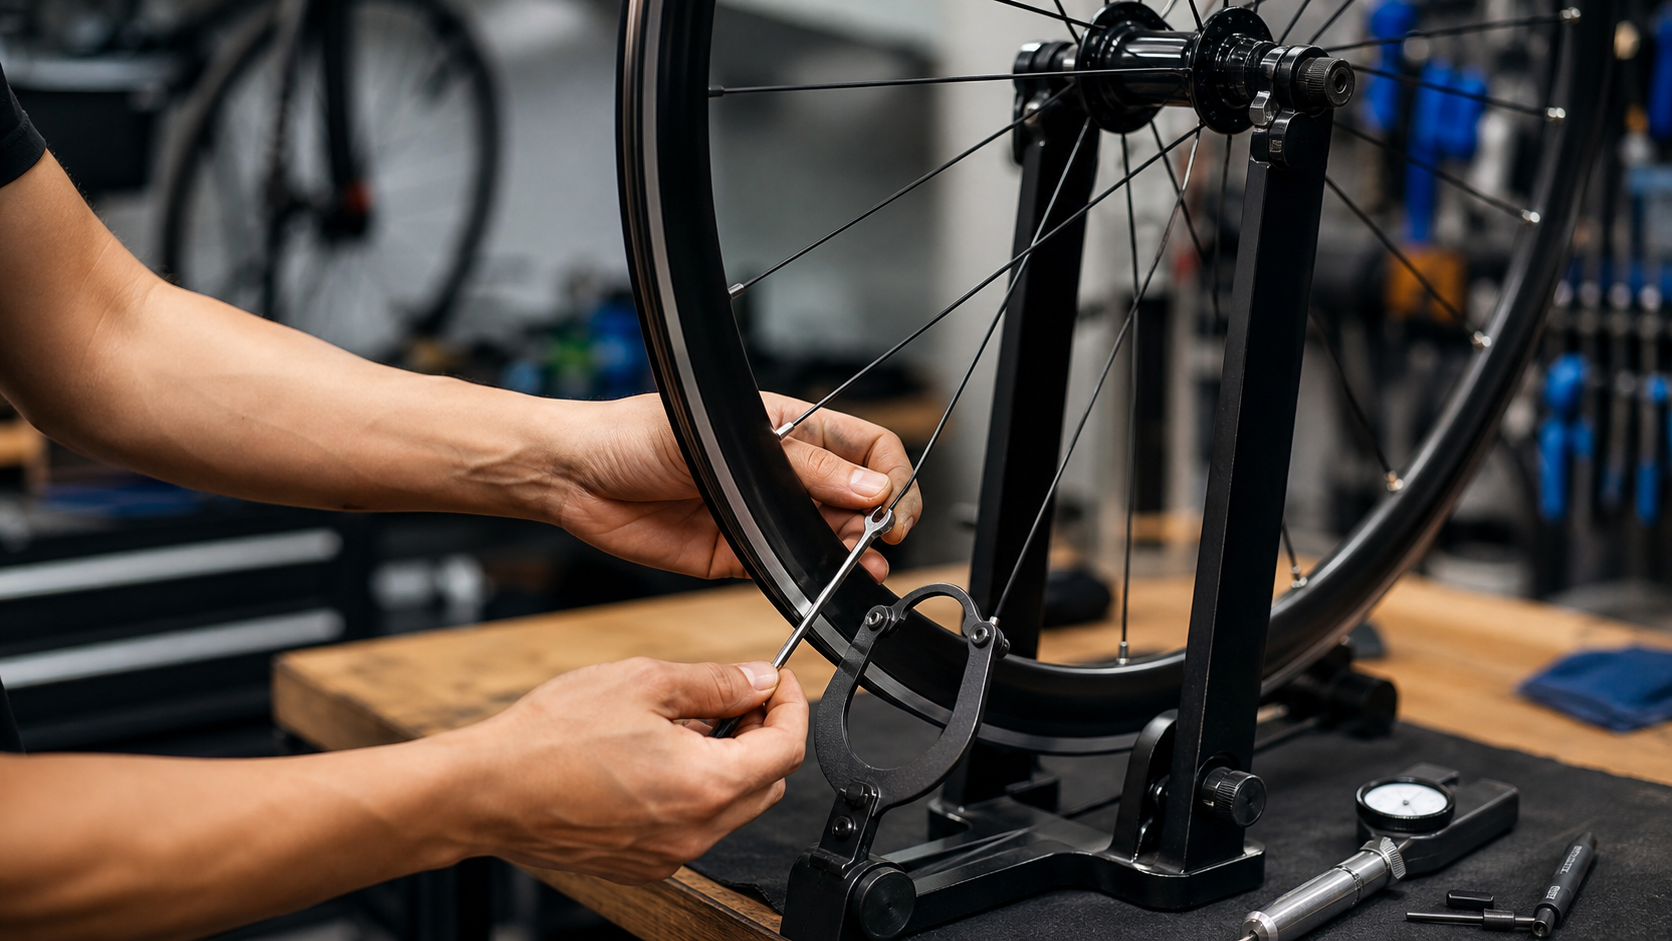
Wheel Truing Basics: Tools for Manual Wheel Truing and Basic Radial Hop Correction
Introduction
A wheelset that is perfectly round and free of lateral deviation is the foundation of smooth riding. During use, wheels can develop lateral wobble or radial hop (commonly called “egg-shaping”) due to uneven spoke tension, impacts with the road, or accidental crashes. Wheel truing is a core skill of traditional bicycle mechanics. While it requires patient practice, basic radial hop correction is not out of reach.
Basic Concepts of Wheel Truing
What Makes Up a Wheelset?
- Rim: The aluminum alloy or carbon fiber outer rim
- Hub: The central axle
- Spoke: Thin rods connecting the hub and rim
- Nipple: Nut-shaped fittings that are turned to adjust spoke tension
Basic Principles
The essence of wheel truing is balancing spoke tension. Each spoke pulls on a specific point of the rim:
- Tightening the nipple clockwise (viewed from the rim side) → tightens the corresponding spoke → pulls the rim toward that side of the hub
- Loosening the nipple counterclockwise → loosens the corresponding spoke → moves the rim in the opposite direction
Required Tools
| Tool | Purpose | Recommended Model |
|---|---|---|
| Truing stand | Holds the wheel and indicates deviations | Park Tool TS-2.3 or a budget alternative |
| Spoke wrench | Turns the nipples | Park Tool SW-0 series (depending on nipple size) |
| Tensiometer | Measures spoke tension | Not essential but recommended for advanced use |
| Marker pen | Marks problem areas | Any type |
Temporary alternative: Without a truing stand, you can mount the wheel back on the bike and use the brake pads or a zip tie as a truing guide. This is less precise but sufficient for basic adjustments.
Spoke Identification Rules
Before truing, you must understand the spoke layout of the rear wheel:
- Drive Side: The right side of the hub (cassette side); spoke tension is usually higher
- Non-Drive Side: The left side of the hub; tension is lower
- Cross lacing: Most wheels use a 3-cross or 2-cross pattern, with adjacent spokes coming alternately from the left and right sides of the hub
Radial Hop (Out-of-Round) Correction Steps
Radial hop is when the rim is uneven in the vertical direction (not lateral).
Step 1: Locate the Problem Area
- Mount the wheel on the truing stand and set up the radial indicator
- Slowly spin the wheel and find the highest point of the rim (farthest from the hub)
- Use a marker pen to mark the high spot area on the rim (usually spanning a region of 5–10 nipples)
Step 2: Analyze the Cause
A high spot (outward bulge) means the spoke tension in that area is insufficient, or the rim is being pushed outward by uneven internal forces:
- Correcting a high spot: Tighten all spokes in the high spot area (increase tension to pull the rim toward the hub)
- Correcting a low spot: Loosen the spokes at the low spot, or tighten the spokes on either side of the low spot
Step 3: Adjustment Procedure
- Start at the center of the highest point: Find the 1–2 spokes at the very center of the high spot
- Adjust evenly: Tighten each spoke by 1/4 turn (90°); do not adjust too much at once
- Decrease toward the sides: Tighten the center of the high spot by 1/4 turn, the 2 adjacent spokes by 1/8 turn each, and make minor adjustments to the next 2 spokes outward
- Re-measure: After each round of adjustments, spin the wheel again to observe the improvement
- Watch for lateral deviation: Adjusting radial trueness can introduce lateral deviation, so correct both simultaneously
Lateral Wobble Correction
Lateral wobble is more common than radial hop. The correction logic:
- Rim deviates to the right → tighten left-side spokes (to pull the rim back to the left)
- Rim deviates to the left → tighten right-side spokes
| Correction direction | Which side’s spokes to work on | Turning direction (viewed from outside the rim) |
|---|---|---|
| Correct to the left | Tighten left-side spokes | Clockwise |
| Correct to the right | Tighten right-side spokes | Clockwise |
| Relieve over-tightness | Loosen the corresponding side’s spokes | Counterclockwise |
Common Wheel Truing Mistakes
- Adjusting too much at once: Adjusting more than 1/4 turn each time over-corrects the rim and can make the deformation worse
- Ignoring overall tension balance: After truing, tap each spoke with your finger; the pitch should be roughly uniform (a tensiometer is more accurate)
- Adjusting without re-checking: After every adjustment, put the wheel back on the truing stand and re-measure to avoid making the misalignment worse in the wrong direction
- Careless handling of carbon rims: Carbon fiber rims are more sensitive to stress concentration; uneven adjustments can cause delamination. It is recommended to have them handled by a professional shop
Maintenance Recommendations
- A new wheelset should receive its first truing after 200–300 km of riding, as spokes naturally settle under tension
- Perform a full spoke tension check at least once a year
- After hitting a significant pothole, visually inspect the rim immediately for obvious deformation
Conclusion
Manual wheel truing is a skill that takes time to develop a feel for, but basic radial hop correction is something any patient rider can learn. Prepare the right tools, start with small adjustments, and patiently observe the effect of each correction. You will gradually come to appreciate the elegant logic of balanced spoke tension. For high-end carbon wheelsets or severely deformed wheels, leave it to professional mechanics—safety comes first.
Related Reading
- Balancing and Truing Bicycle Wheelsets: DIY Spoke Tension Adjustment Techniques
- The Complete Guide to Home Wheel Truing: DIY Radial and Lateral Wobble Correction
- Wheel Spoke Adjustment Basics: Correcting Wheel Wobble Yourself
- Bike Fitting: The Complete Guide to Bicycle Adjustment—Why You Need Professional Fitting
如何把 GoPro 影片 翻轉 批次 轉正?
6 年前
再一組! 全碳幅條 碟煞/無內胎輪組 開箱! 到底好騎嗎? UNAAS X40 | 公路車 | CT Yeh
4 年前
公路車 BB培林大升級! / 備戰海鷗繞圈賽 Canyon Aerod & TIME 一起改 / MIT大廠 CEMA對鎖式陶瓷培林BB & 導輪 / 公路車 / CT Yeh
2 年前
鉅齒紋輪組!? ControlTech MEG-T50 EVO 碳纖維幅條輪組/ 功率對比實驗 / 公路車 / CT Yeh
2 年前
Insta 360 One 超級防手震技術實測
7 年前
#公路車 #Fitting 靠人工智慧APP 幫你調整單車
6 年前
Nepest NOVA 碳條輪組:輕量、空力、舒適一次滿足!/ 公路車 / CT Yeh
7 個月前
一日北高常見問題大集合 | 攻略 | 路線 | 訓練 | 補給 | 自行車 單車 | 一日雙城 | 雙塔 | TWB北高360 | 屁股痛
6 年前