Bike Light and Computer Installation: Tips for Clean Cable Routing and Secure Mounting
文章導覽
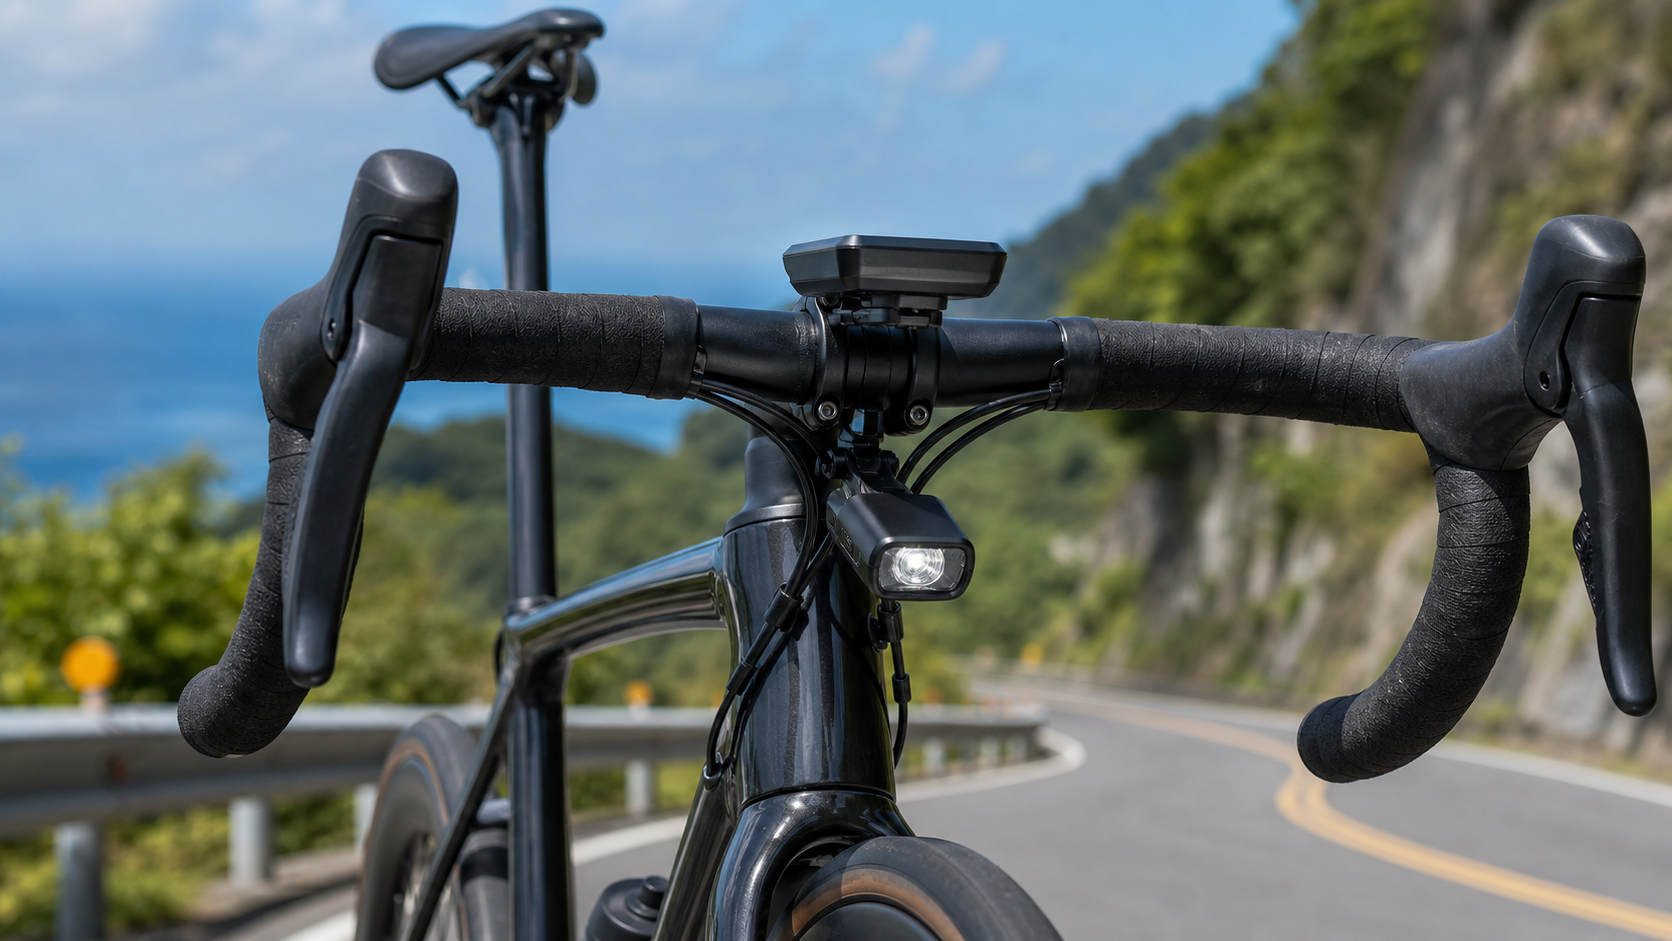
Bike Light and Computer Mounting: Cable Routing Aesthetics and Secure Installation Tips
Introduction
A clean, well-organized bike—with the light centered, the computer properly positioned, and cables neatly secured—is not just about looks; it’s also about riding safety. A loosely mounted light wobbles on rough roads, affecting the beam direction. If the computer comes loose and falls off during a high-speed descent, beyond the financial loss, the dropped device can become a hazard for riders behind you.
Basic Requirements of Taiwan Road Regulations
According to the Road Traffic Management and Penalty Act, regulations for nighttime cycling include:
- Front light: White or yellow light, visible to vehicles ahead (200 lm or more recommended)
- Rear light: Red light, either flashing or steady
- Reflectors: Wheel-side and rear reflectors (installed at the factory)
Light Installation
Front Light Mounting Position and Angle
| Mounting Position | Advantages | Disadvantages |
|---|---|---|
| Center of handlebar (handlebar clamp) | Most common, easy angle adjustment | Takes up handlebar space |
| Front of stem (Garmin mount) | Integrates with computer mount, good space utilization | Requires integrated computer mount base |
| Fork crown (non-mainstream) | Does not obstruct view | More vibration on rough terrain |
Beam angle adjustment: The front light should illuminate 5–10 meters ahead, with the central beam axis tilted slightly downward at about 5°. If the beam points straight ahead or upward, it causes glare for oncoming traffic and reduces effective illumination distance.
Rear Light Mounting Position
- Most recommended: On the rear of the seatpost, 10–15 cm below the saddle (most visible)
- Second choice: Back of the helmet (requires a compatible mount)
- Not recommended: Behind a saddle bag (may be blocked by the bag)
Choosing a Quick-Release Seatpost Light Mount
Modern lights mostly feature quick-release designs for easy removal when parked to deter theft. Key selection points:
- Match the seatpost diameter (usually adjustable from 25.4–35 mm)
- Silicone gaskets to protect the paint finish
- Sufficient clamping force that stays tight after being secured
Computer Installation
Computer Mount Types
| Type | Features | Recommended Brands |
|---|---|---|
| Handlebar clamp type (31.8 mm) | Most common, fits most computers | K-Edge, Wahoo, Garmin |
| Stem out-front type | Extends the computer forward for better visibility | K-Edge Garmin Mount |
| Integrated combo | Includes space for front light mounting | Garmin + K-Edge combination |
| Quick-release type | One-click removal, convenient anti-theft | Brand-specific bases |
Computer Mounting Height and Angle
- Recommended position: Center of the stem, or on an out-front mount extending from the stem
- Angle: Screen tilted slightly upward so you can glance down to read it while riding; approximately 10–15° above horizontal
- Avoid the far edge of the handlebar: Side mounting forces you to turn your head to see the data and shifts weight off the bike’s centerline
Heart Rate Sensor and Speed Sensor Cable Routing
Speed/cadence sensors (magnet type):
- Attach the magnet to the crank arm (cadence) or spokes (speed), aligned with the sensor
- Clip the sensor onto the chainstay (cadence) or fork leg (speed)
- Secure the sensor wire with cable ties to prevent it from flapping and contacting the spokes
GPS computers (Garmin, Wahoo):
No sensor cables are needed, but if paired with external sensors:
- Heart rate strap (chest belt): Wireless, no cable routing issues
- Power meter: Integrated into the crank or pedals; wires run along the crank arm if present
Cable Routing Aesthetics Tips
Basic Principles
- Route along frame tubes: Keep charging and sensor cables as close to the tubes as possible
- Use cable ties: Secure with a thin cable tie every 15–20 cm (trim off the excess)
- Avoid loose dangling: Freely hanging cables will slap against the frame while riding and may scratch the paint
- Charging port orientation: Pay attention to the charging port direction during installation for easy charging and to prevent water accumulation
Cable Management Tools
- Silicone cable ties (Reusable Velcro Wrap): Reusable and won’t damage the paint
- Voile straps: Commonly used for securing cables on bikes
- Clear waterproof adhesive strips (3M Command Strip): For mounting sensors on flat surfaces
Computer Charging Cable Management
Many riders use the computer mount design to keep charging cables tidy:
- Carry a power bank on long rides, routing the cable along the handlebar tape into a frame bag
- Choose a computer with a standardized connector so multiple devices can share the same charging cable
Secure Installation Checklist
Before heading out, check the following after installation:
- Front light: Shake it by hand to confirm it doesn’t move; beam angle points forward and downward
- Rear light: Confirm the clamp is tight and the power turns on properly
- Computer: Tap it lightly to confirm it won’t come off; screen angle is readable
- Cables: Confirm no wires are dangling into the spokes or drivetrain area
Conclusion
Installing lights and computers may seem simple, but the details determine safety and usability. Spending 30 minutes on a proper installation and cable routing not only makes your bike look better but also ensures your devices operate reliably on every ride, data is recorded accurately, and nighttime lighting remains safe and effective.
Related Reading
- Bike Light Maintenance and Battery Management: The Foundation of Night Riding Safety
- Road Bike Computer Mounting and Cable Routing: A Guide to Handlebar Organization and Wireless Sensor Installation
- Night Riding Safety for Long Distances: Light Setup and Route Planning
- Bike Light Buying Guide: Lumens, Beam Angle, and Regulatory Requirements