Handling Mid-Race Mechanical Failures: The 5-Minute Golden Recovery Process for Flat Tires and Tube Changes
Introduction
“Pop!”—when you hear this sound during a race, your mindset instantly shifts from competitive mode to repair mode. For amateur riders, a flat tire often means the end of the race, but for prepared riders, the correct tube-changing process can have you fixed in 5 minutes and even catch back up to the slowed main pack. On Taiwan’s road races, gravel, asphalt cracks, and the edges of manhole covers are the most common causes of flats. Familiarity with the tube-changing process is an essential skill for every serious rider.
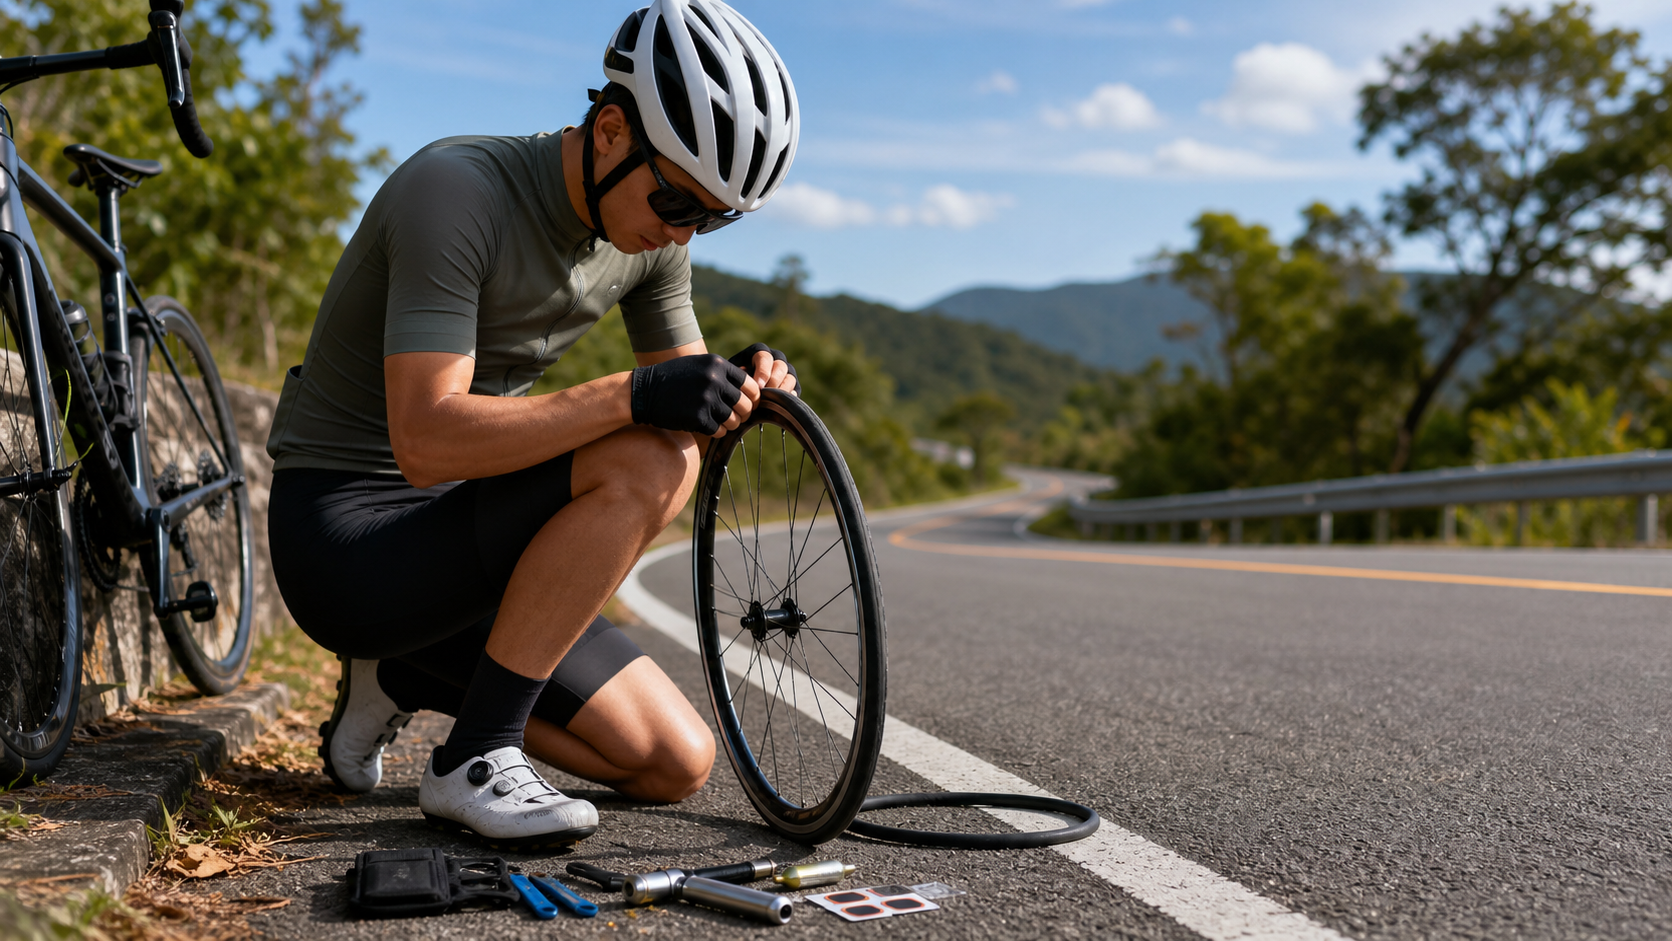
Tube-Changing Tool Checklist (Pre-Race Confirmation)
| Tool | Quantity | Notes |
|---|---|---|
| Spare inner tube | 2 | Recommended to use the same brand as your race tires |
| Tire levers | 2 | Lightweight plastic type |
| CO₂ inflator + CO₂ cartridges | 1 set (with 2 cartridges) | Keep one spare in case of mistakes |
| Mini pump | 1 | Backup in case CO₂ fails |
| Quick patch stickers | 2–3 | Can handle small leaks for a quick emergency fix |
Store all tools in the middle pocket of your jersey, and make sure they won’t fall out on rough roads.
The 5-Minute Golden Tube-Changing Process
Below are the complete steps for a standard tube change, with a target time of 4–6 minutes:
Step 1: Stop Safely (0–0.5 minutes)
- Move to a safe spot on the roadside, and avoid continuing to ride on the flat tire (it can damage the rim)
- If it’s the rear wheel, once at the roadside, first make sure there’s no threat from traffic behind you
- Flip the bike upside down or use the rear stays as support (lean against a guardrail if one is nearby)
Step 2: Remove the Wheel (0.5–1.5 minutes)
- Front wheel: open the quick release and remove it easily
- Rear wheel: first shift to the smallest cog, open the quick release, gently push the rear derailleur, then remove the wheel
- Use your hands or a tire lever to pry one side of the tire bead off the rim, and remove the old tube
Step 3: Find the Cause of the Flat (1.5–2 minutes)
- Slowly run your fingers along the inside of the tire to find the puncture object (nail, glass shard)
- This step cannot be skipped: if you don’t remove the foreign object, the new tube will flat again as soon as it’s installed
Step 4: Install the New Tube (2–3.5 minutes)
- Put a small amount of air into the new tube (so it holds its shape), then place it into the rim well
- Start at the valve, and use both hands to press the bead in symmetrically toward each side
- If the last section is too tight, use your thumbs to press it in along the rim edge, and try to avoid using a tire lever (to prevent pinching the tube)
Step 5: Inflate and Reinstall (3.5–5 minutes)
- CO₂ usage tips: first confirm the valve direction (Presta or Schrader), then after connecting, discharge it all at once—stopping midway wastes CO₂
- After inflating, press the sides of the tire with your fingers to confirm even pressure (CO₂ tire pressure is typically 80–90 psi)
- Reinstall the wheel, confirm the quick release is tightened, and for the rear wheel, make sure the chain is properly engaged
Common Mistakes and How to Avoid Them
- Pinching the tube: inserting the tire lever at too steep an angle can puncture the new tube—use your thumbs rather than a tire lever for the final seating
- Discharging CO₂ too fast: rapid gas expansion can shift the tube, causing the tire to be out of round—rotate the valve head slightly while inflating
- Not finding the puncture object: the most common mistake, resulting in another flat right after—always do the hand check
- Chain falling off when reinstalling the rear wheel: when reinstalling, rest the chain on the smallest cog, push the wheel in, then shift back to your desired gear
Strategy for Catching Back Up to the Pack
After fixing the tire and getting back on the road, the main pack is usually 1–3 minutes ahead. At this point:
- Short, all-out chase (3–5 minutes): chase at near-VO₂max power to see if you can catch the tail of the pack
- If you have teammates: a teammate should wait for the rider who flatted, and the two of you can take turns pulling on the road to chase together (about 20–25% faster than riding solo)
- If you can’t catch up: assess the remaining distance and switch to a time-trial mindset to finish the race
Conclusion
A flat tire is never part of the plan, but a well-prepared rider can minimize the impact of this unexpected event. Practice changing tubes once or twice before every long training ride so the process becomes muscle memory. That way, you can stay calm and fast during a race, and get back into competition in the shortest possible time.
Related Reading
- Road Bike Tire Change in Practice: On-the-Spot Repair for Tubular and Tubeless Tires
- Emergency Flat Tire Handling: A 10-Minute Guide to Quickly Replacing an Inner Tube Mid-Ride
- Complete Guide to Replacing Inner Tubes and Patching Tires on Your Wheels: From Tools to Technique
- Bicycle Flat Tire First Aid: The Complete SOP for Changing and Patching Tubes by the Roadside
西進武嶺 自製新版AI配速表產生器 x 賽前攻略 抱佛腳! 沒有功率計也可以產生配速表嗎?有什麼其他眉角賽前要注意的呢? | 西進武嶺 / 東進武嶺 KOM 攻略 | 公路車 | CT Yeh
4 年前
Canyon 公路車斷把手 五年老車特規還能修嗎? 維修保養全記錄 feat. 501單車監理站 | 公路車 | CT Yeh
4 年前
碟煞公路車 銑面器 !? 原來銑完差這麼多! 降低蹭碟機率! | TIME 公路車 保養小記錄 | CT Yeh
3 年前
FTL 與 SYB 車隊專訪 西進武嶺 實用攻略分享! 2小時 如何練?!你不知道的眉角!新手準備武嶺必看 EP1 | 實力派女車友 | 精華版 | 公路車 | CTYeh
4 年前
#公路車 #西進武嶺 配速配瓦實驗 坡度分析 四小時內攻略 建大盃 NeverStop #西進武嶺攻略
6 年前
公路車 BB培林大升級! / 備戰海鷗繞圈賽 Canyon Aerod & TIME 一起改 / MIT大廠 CEMA對鎖式陶瓷培林BB & 導輪 / 公路車 / CT Yeh
2 年前
一日北高前的高裝檢 | 北高 360 | 挑戰11小時的裝備 | 一日雙塔 | 補給
6 年前
CT 喇低賽) 武嶺牽車 才是王道 西進牽車四小時內秘訣 攝手位置 如何判斷 防抽筋小秘訣
7 年前