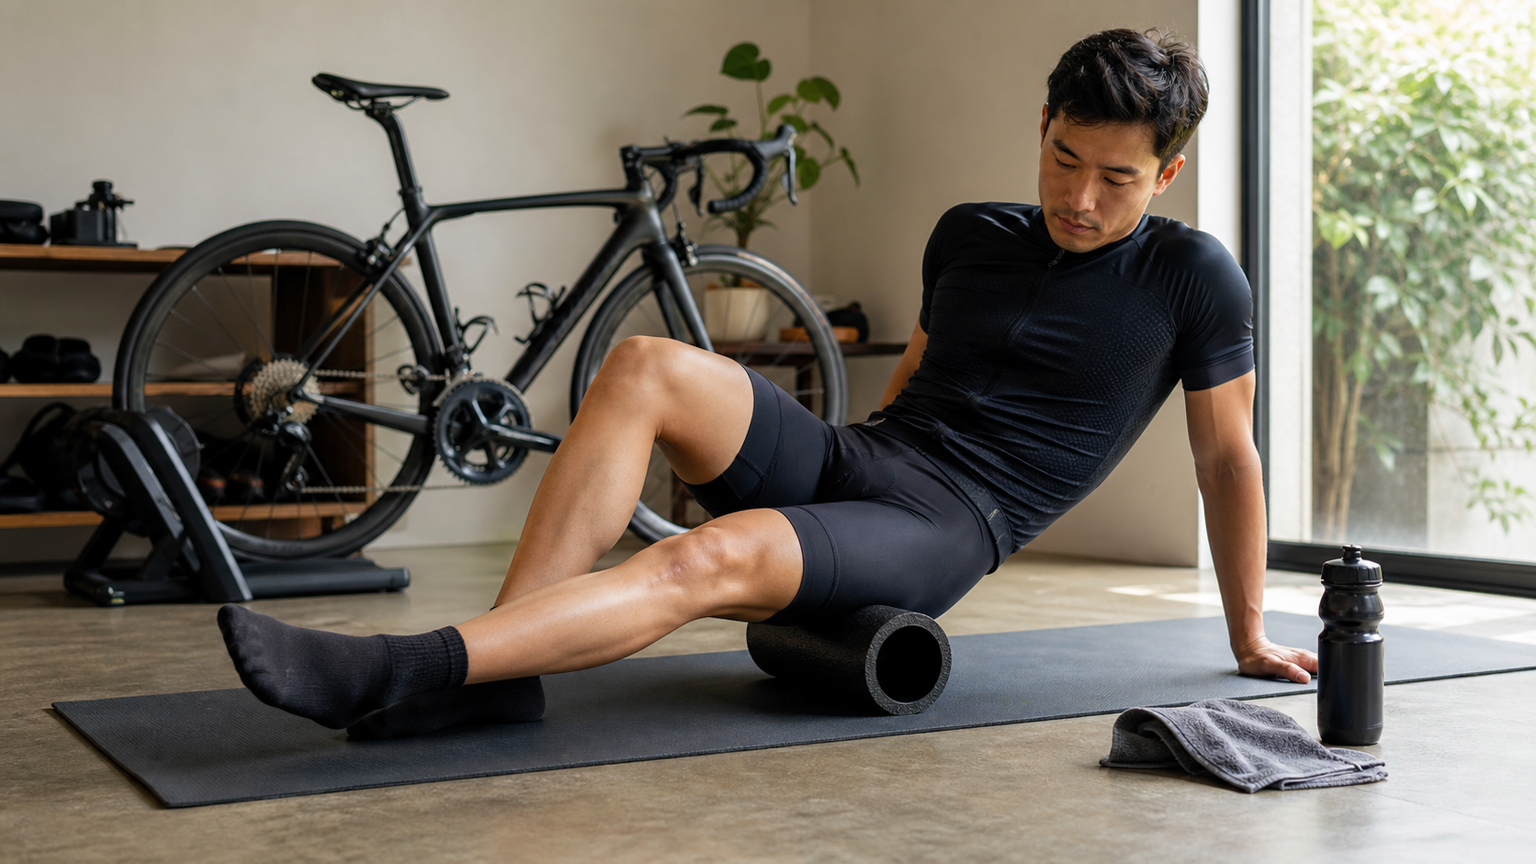
The Science of Foam Rolling: Debunking Myths and Mastering Proper Fascial Release Techniques
The foam roller is practically standard equipment for every cyclist. Rolling around on the floor after training has become a recovery ritual. But do you truly understand the science behind foam rolling (Self-Myofascial Release, SMR)? Can it really “release fascial adhesions”? This article, based on the latest research, will help you use the foam roller correctly and effectively.
What is Fascia and Why Does It Matter?
The Structure of Fascia
Fascia is a layer of connective tissue composed of collagen and elastin. It envelops the muscles, bones, organs, and blood vessels throughout the body, forming a continuous three-dimensional network. You can think of fascia like the white pith of an orange—it separates each segment of fruit while simultaneously connecting the whole orange into one unit.
Fascia is divided into three layers:
- Superficial fascia: Located just beneath the skin, containing fat and water
- Deep fascia: Wraps muscle groups and transmits force
- Visceral fascia: Encloses the organs
The Relationship Between Fascia and Cycling
Cyclists maintain a hip-flexed position for extended periods, which leads to:
- The iliotibial (IT) band experiencing continuous tension
- Shortening of the hip flexor fascia
- Tightness in the thoracic spine fascia due to the forward-leaning posture
- Repeated compression of the plantar fascia from the pedaling motion
After repeated use, these areas of fascia experience reduced water content and disorganized collagen alignment, resulting in restricted mobility and discomfort.
The True Mechanism of Foam Rolling
Myth Debunked: Foam Rolling Does Not “Break Up Adhesions”
Traditional belief holds that foam rolling can “physically break up” fascial adhesions. However, research shows that human fascia has extremely high tensile strength—deforming the IT band fascia by just 1% requires approximately 925 kilograms of force. Your body weight and a foam roller are nowhere near enough.
So why does foam rolling work? Science points to the following primary mechanisms:
1. Neuromodulation Effects
The pressure from the roller stimulates mechanoreceptors in the fascia (Ruffini endings and Pacinian corpuscles), sending signals to the central nervous system that reduce muscle tension in that area. This is a “top-down” relaxation—after the brain receives the pressure signals, it downregulates the muscles’ protective contraction.
2. Increased Local Blood Flow
The alternating process of pressure application and release (similar to a “squeezing a sponge” effect) increases local blood circulation, bringing in more oxygen and nutrients while carrying away metabolic waste.
3. Enhanced Fascial Hydration
Repeated pressure stimulation promotes a more even distribution of hyaluronic acid in the fascial matrix, improving the gliding ability between fascial layers. This is like adding water to a dry sponge, restoring its suppleness.
4. Pain Gate Mechanism
The tactile signals generated by pressure travel through large nerve fibers, inhibiting pain signals from small nerve fibers at the spinal cord level, temporarily reducing soreness.
Types of Foam Rollers and How to Choose
| Type | Firmness | Suitable For | Features |
|---|---|---|---|
| Smooth foam roller | Low | Beginners, recovery days | Even and gentle pressure |
| Textured/nubbed roller | Medium-high | Intermediate users | Mimics acupressure effects |
| Rigid PVC roller | High | Advanced users | Strong penetration |
| Peanut/double ball | Medium | Paraspinal muscles | Avoids the spinous processes |
| Vibration roller | Adjustable | All levels | Vibration frequency enhances neuromodulation effects |
Selection Advice: Most cyclists will find a medium-firmness textured roller sufficient. Research on vibration rollers shows that a vibration frequency of 30-40Hz can provide an additional 15-20% improvement in range of motion.
A Cyclist-Specific Foam Rolling Routine
Pre-Training (3-5 minutes, quick rolling)
Goal: Improve mobility, wake up the muscles, without compromising power output.
- Quadriceps: 30 seconds of quick back-and-forth rolling
- Calves: 20 seconds per side
- Glutes (piriformis): 20 seconds per side
- Thoracic spine extension: 30 seconds lying on the roller, rolling back and forth
Note: Pre-training rolling should be quick with light pressure, no more than 30 seconds per area. Research shows that deep pressure exceeding 60 seconds may temporarily reduce muscle force production.
Post-Training (10-15 minutes, deep relaxation)
Goal: Promote recovery and reduce delayed onset muscle soreness (DOMS).
1. Quadriceps (2 minutes)
- Lie face down with the roller under the front of the thigh
- Roll from the hip joint to just above the knee
- When you find a tender point, hold for 30-45 seconds
- Perform small side-to-side oscillations on the tender point
2. IT Band Area (90 seconds per side)
- Lie on your side with the roller under the outer thigh
- Note: Do not press directly on the IT band (it cannot be “released”); instead, roll the vastus lateralis and tensor fasciae latae muscles beside it
- Hold on tender points for 3-5 breaths
3. Hamstrings (2 minutes)
- Seated position with the roller under the back of the thigh
- Cross one leg over the other to increase pressure
- Roll from the sit bones to just above the back of the knee
4. Gluteus Maximus and Piriformis (90 seconds per side)
- Sit on the roller with one ankle crossed over the opposite knee (figure-4 position)
- Slowly rotate your body to find deep tender points
- This is one of the most commonly tight areas for cyclists
5. Calves (60 seconds per side)
- Place the calf on the roller, stacking the other leg on top for added pressure
- Rotate the ankle side to side while rolling to cover the inner and outer aspects
6. Upper Back and Thoracic Spine (2 minutes)
- Lie on your back on the roller with arms crossed over the chest
- Roll from the bottom edge of the shoulder blades to the mid-back
- Pause at each segment and perform 2-3 arched-back extensions
Advanced Techniques
Contract-Relax on Roller
On a tender point:
- Contract the muscle for 5 seconds (isometric contraction)
- Relax, letting your body weight sink into the roller for 10 seconds
- Repeat 3 times
This incorporates the principles of proprioceptive neuromuscular facilitation (PNF), producing more significant relaxation effects.
Pin and Stretch
- Press the roller onto the tender point without moving it
- Actively perform a stretching motion for that muscle (e.g., while pressing on the quadriceps, perform a knee flexion motion)
- Repeat 10 times
This mimics the “Active Release Technique” (ART) used by physical therapists and is particularly effective for stubborn tight points.
Contraindications and Precautions for Foam Rolling
Areas to Avoid Rolling
- Lower back: Lacks rib protection and may irritate the spine; use a peanut ball targeting the erector spinae instead
- Neck: Excessive pressure may affect blood flow in the vertebral arteries
- Front of the knee and bony prominences: Direct pressure on bone is unhelpful and painful
- Acutely injured areas: Avoid rolling during the inflammatory phase (redness, swelling, heat, pain)
Managing the Pain Threshold
The optimal intensity for foam rolling is “sore but tolerable”—on a 1-10 pain scale, aim for 5-7. Severe pain above 7 will trigger protective muscle contractions, which is counterproductive. Remember: More pain does not equal more effectiveness.
Time Management
- 30-90 seconds per area
- 10-15 minutes for the entire routine
- Diminishing returns beyond 2 minutes per area
Summary of Research Evidence
A 2019 meta-analysis reviewing 49 studies concluded the following:
- Foam rolling can improve joint range of motion by approximately 4-5 degrees, with effects lasting 10-30 minutes
- It provides moderate relief for DOMS (effect size d = 0.5)
- Pre-training use does not significantly reduce strength (when limited to 30 seconds per area)
- Long-term regular use may improve structural adaptations of the fascia
Conclusion
Foam rolling is not a panacea, but when you understand its true mechanisms and use it correctly, it is indeed a practical tool in a cyclist’s recovery toolbox. Stop chasing the myth of “rolling until it hurts the most,” and instead focus on breathing, holding positions, and progressive deep pressure. You will notice a clear difference in your recovery quality.
Related Reading
- The Scientific Basis of Foam Rolling: Truly Effective or Just a Placebo?
- Fascial Release After Running: The Correct Order for Using Foam Rollers, Balls, and Stretching
- The Complete Guide to Foam Rolling and Self-Myofascial Release: Evidence, Proper Use, and Common Mistakes
- Foam Roller Massage: Rolling Areas and Duration for Common Cycling Muscle Groups
一日北高 實用 單車手機架!Bone蹦克磁吸單車手機綁 //環島/室內訓練 / 導航的APP推薦 / 日本島波海道取景 / 公路車 / CT Yeh
2 年前
Insta 360 One 超級防手震技術實測
7 年前
洗單車神器 吹水機! 實際洗車用用看 暴力洗鍊條大法 | 公路車 | CT Yeh
4 年前
一日北高常見問題大集合 | 攻略 | 路線 | 訓練 | 補給 | 自行車 單車 | 一日雙城 | 雙塔 | TWB北高360 | 屁股痛
6 年前
詳測) 小米 電動打氣筒 公路車胎要充多久? 值得買嗎? 米家充氣寶 小心燙手!
7 年前
3D 列印車褲墊 / 舒適改善? / 無痕 x 分區壓縮 / ATK & Decider系列 / JE22黑科技 / #公路車 #CTYEH
11 個月前
Never Stop 西進武嶺 前後雙機 完整全程錄影 訓練台 實境
8 年前
#PUSHBIKE 原來這麼好玩! 小朋友 滑步車 初體驗 超可愛
6 年前