Gravel Riding Technique Guide: Practical Tips for Climbing and Descending on Gravel Roads
文章導覽
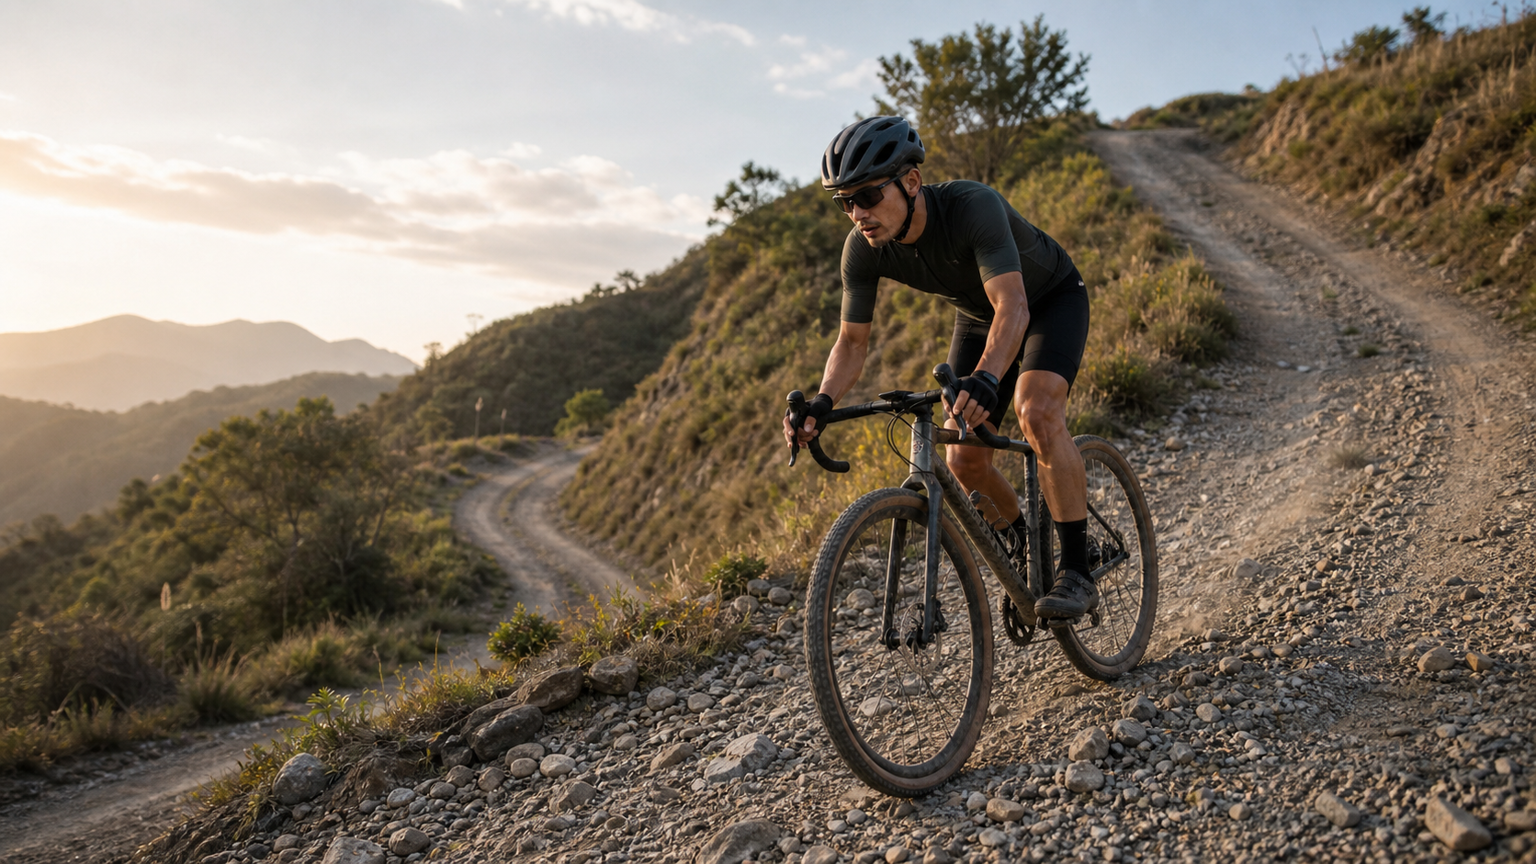
Gravel Riding Technique Guide: Practical Skills for Climbing and Descending on Gravel
The moment you roll from tarmac onto gravel, you’ll realize that almost every skill honed on a road bike needs to be recalibrated. Tires no longer feel glued to the ground, braking response is no longer linear, and your body constantly has to adapt to changing terrain. Gravel riding technique is a discipline that requires practice and accumulation, but once you grasp the core principles, you’ll find that gravel offers far more enjoyment than the monotony of pavement.
Fundamentals: Body Position and Weight Control
Relaxation Is the Foundation of Everything
This is the most important—and most counterintuitive—principle of gravel riding: the more relaxed you are, the safer you are.
When the surface starts to get rough, the instinctive reaction is to grip the bars tightly, tense your arms, and try to control every bounce of the bike. But the result is this: the impacts from the road transmit directly into your shoulders and core, turning your body into part of a rigid structure, and any larger hit can cause you to lose control.
The correct approach is to let your arms and legs act as natural suspension:
- Elbows slightly bent: Always keep a flexible bend in your elbows, never lock them straight
- “Hold” the bars, don’t “grip” them: Wrap your fingers around the bars but don’t squeeze for dear life—allow the handlebar a small amount of play in your hands
- Drop your shoulders: Consciously lower your shoulders away from your ears
- Engage your core but keep limbs relaxed: Use your core muscles to stabilize your torso, but keep your arms and legs soft
Dynamic Weight Management
On pavement, your center of gravity is essentially fixed. But on gravel, your weight needs to constantly adjust to the terrain and conditions. Think of your body as a universal joint—the bike bounces underneath while your torso stays relatively stable.
Fore-aft weight adjustment:
- Flat terrain: Normal seated position, weight centered
- Climbing: Weight shifted slightly forward to ensure the front wheel doesn’t float off the ground
- Descending: Hips shifted back, weight lowered, giving the front wheel room to handle surface changes
Lateral weight adjustment:
- Riding straight: Weight centered
- Cornering: Unlike pavement, don’t lean your body excessively when cornering on gravel. Let the bike lean while keeping your body relatively upright, similar to the “counter-leaning” technique used on motorcycles
Gravel Climbing Techniques
Seated Climbing Is King
On gravel, seated climbing is almost always the best choice. The reason is simple: the rear wheel needs sustained downward pressure to maintain traction. Standing up to stomp on the pedals shifts your weight forward periodically, and the moment the rear wheel loses pressure, it will slip.
Details of seated climbing:
- Sit toward the rear of the saddle: Shift your hips slightly back on the saddle to increase pressure on the rear wheel
- Lean your upper body forward but don’t crouch: Lean forward at about 15–20 degrees to ensure the front wheel has enough downward force not to lift, but don’t lean so far that the rear wheel loses traction
- Smooth pedaling: Avoid applying explosive force at the bottom of the pedal stroke. Use a smooth 360-degree pedal stroke to reduce the impact of each revolution on the rear wheel
- Higher cadence: Maintain a cadence of 75–90 rpm, using a smaller gear to “spin” up rather than “grind” up
When and How to Stand and Stomp
Although seated climbing is the norm, there are situations that call for brief out-of-the-saddle efforts (such as suddenly steeper sections or needing to clear an obstacle). Standing technique on gravel is completely different from pavement:
- Press lightly, don’t stomp hard: Once standing, apply pressure gradually with your body weight rather than explosive pedal strokes
- Shift weight back: When standing, don’t move your hips forward past the nose of the saddle like on a road bike; keep them above or slightly behind the saddle
- Keep standing efforts short: Standing efforts on gravel should be brief bursts of 3–5 seconds, not sustained out-of-the-saddle climbing
Line Selection
Gravel surfaces are uneven, and choosing the right line while climbing can significantly reduce resistance and the risk of slipping:
- Choose compacted surfaces: Tire ruts usually indicate well-compacted ground
- Avoid loose gravel accumulations: Gravel gets washed by water into low spots on the road, and these areas are usually the loosest
- Watch the surface color: Darker color usually means moisture or mud; lighter color usually means dry gravel
- Plan ahead: Keep your eyes 5–10 meters ahead, don’t wait until the last moment to dodge obstacles
Handling Wheel Spin
Rear wheel spin on gravel climbs is par for the course. The key is not to panic:
- Don’t slam the brakes: If you suddenly stop pedaling when the tire slips, forward momentum instantly disappears and the bike will stop or even roll backward
- Ease off pedal pressure: When you feel the slip, gently reduce pedaling force to let the tire regain traction
- Lower your cadence: Use a lower cadence and a bigger gear to creep slowly through the slippery section
- Accept it: Minor wheel spin is normal on gravel; you don’t need to react to every instance
Gravel Descending Techniques
Basic Position
The basic descending position on gravel is completely different from climbing:
- Stand or hover: Lift your hips off the saddle or barely touch it, letting your legs act as suspension
- Pedals level: Keep both pedals level (3 o’clock and 9 o’clock positions), not staggered fore and aft
- Weight back: Shift your hips behind the saddle; the steeper the slope, the farther back your weight goes
- Elbows out: Slightly flare your elbows outward to widen your upper-body stability base
- Look far ahead: Scan the surface 8–15 meters ahead, don’t stare at the front wheel
Braking Technique
Braking strategy on gravel differs greatly from pavement:
Front-to-rear brake ratio:
- Pavement: 70% front / 30% rear
- Gravel: 50% front / 50% rear (or even 40% front / 60% rear)
Front-wheel traction on gravel is much lower than on pavement. Overusing the front brake can easily cause the front wheel to lock and wash out, which is extremely dangerous on descents. Increase the rear brake ratio—even if the rear wheel slides, it’s far easier to control than a front-wheel slide.
Progressive braking:
- Don’t grab the brakes suddenly; apply braking force progressively
- Slow down before rough sections rather than braking while bouncing through them
- Find a smoother patch of surface for the main braking, then carry appropriate speed through the rough section
Releasing the brakes:
- When riding through gravel piles or loose sections, release the brakes moderately to let the tires roll freely
- A locked wheel has no control on gravel; only a rolling tire provides directional stability
Cornering Technique
Cornering on gravel is one of the highest-skill-demanding aspects:
- Finish braking before the turn: All braking should be completed before entering the corner; try not to brake while in the turn
- Press the outside pedal down: When cornering, push the outside foot’s pedal to the lowest position to add downward pressure on the outside
- Lean the bike, keep the body upright: Unlike leaning the bike and body together on pavement, on gravel it’s recommended to lean the bike while keeping your body relatively upright. This is because gravel has a lower traction limit, and excessive lean can cause the tires to suddenly lose grip
- Choose the outside line: The inside of gravel corners usually accumulates more loose gravel (flung outward by centrifugal force), so the outside line usually has better surface conditions
- Accelerate gently out of the turn: Don’t stomp on the pedals when exiting the corner; accelerate progressively
Surface Reading Skills
With higher speeds on descents, the ability to read the surface becomes even more critical:
- Large rocks: Identify them early and ride around, or hop over them (relax your body and let the bike bounce over)
- Ditches/potholes: Cross them at an angle rather than head-on to reduce impact
- Sand/dust: Maintain a straight line through it; don’t turn while in sand
- Wet/slippery surfaces: Reduce speed significantly and cut braking force in half
- Tree roots: Cross them as perpendicular (or close to perpendicular) as possible; hitting roots at an angle can easily cause a slide-out
Advanced Techniques
Crossing Water Puddles
- Judge the depth: don’t charge into a puddle where you can’t see the bottom
- Maintain appropriate speed: too slow and you’ll get bogged down; too fast and you’ll lose control
- After crossing, lightly tap the brakes to dry the rotors
Riding Up Steps and Dropping Off Ledges
- Riding up steps: Carry enough speed, lift the front wheel over, and let the rear wheel follow
- Dropping off ledges: Shift your weight back, let the front wheel go down first, and let the rear wheel follow slowly
- For drops over 15–20 cm, it’s recommended to get off and walk
Loose Gravel Sections
- Lower tire pressure to increase contact patch
- Maintain a steady straight line, avoid sudden steering
- A consistent pedaling cadence matters more than explosive power
- If the front wheel starts to drift, don’t overcorrect—let it naturally straighten out
Practice Plan
Technique isn’t something you can learn just by reading articles; it requires plenty of practice. Here is a progressive practice plan:
Weeks 1-2: Practice relaxation techniques on flat gravel roads. Focus on relaxing your arms and shoulders, and feel the bike’s natural sway over the gravel.
Weeks 3-4: Practice basic climbing and descending positions on gentle gravel slopes. Keep the gradient under 8%.
Weeks 5-6: Practice on moderate gradients (8-15%) on gravel roads. Add braking control and cornering drills.
Weeks 7-8: Challenge more difficult routes and integrate all the techniques. Try different surface types and weather conditions.
Ongoing practice: Ride gravel at least once a week, focusing on one specific skill each time.
Conclusion
Learning gravel riding technique is an ongoing process with no shortcuts. But the good news is that every ride on gravel builds your experience. The sections that once made your palms sweat with nervousness may become the parts you enjoy most a few months later.
Remember two words: relax. When you truly learn to relax on gravel, you’ll discover that the bike is far more capable of handling the road’s challenges than you think. All you need to do is let it do its job, rather than trying to control everything.
Related Reading
- Gravel Riding Technique: Weight Control and Tire Pressure Settings on Loose Surfaces
- Gravel Climbing Strategy: Gear Ratio Selection and Cadence Stability on Gravel Surfaces
- Gravel Bike Basics: Riding Differences and Technique Adjustments Between Gravel and Road Bikes
- Descending Technique After Climbing: Safe Braking Control and Cornering Lines