The Complete Guide to Night Running Safety Gear: Reflective Accessories, Headlamp Selection, and Visibility Strategy
文章導覽
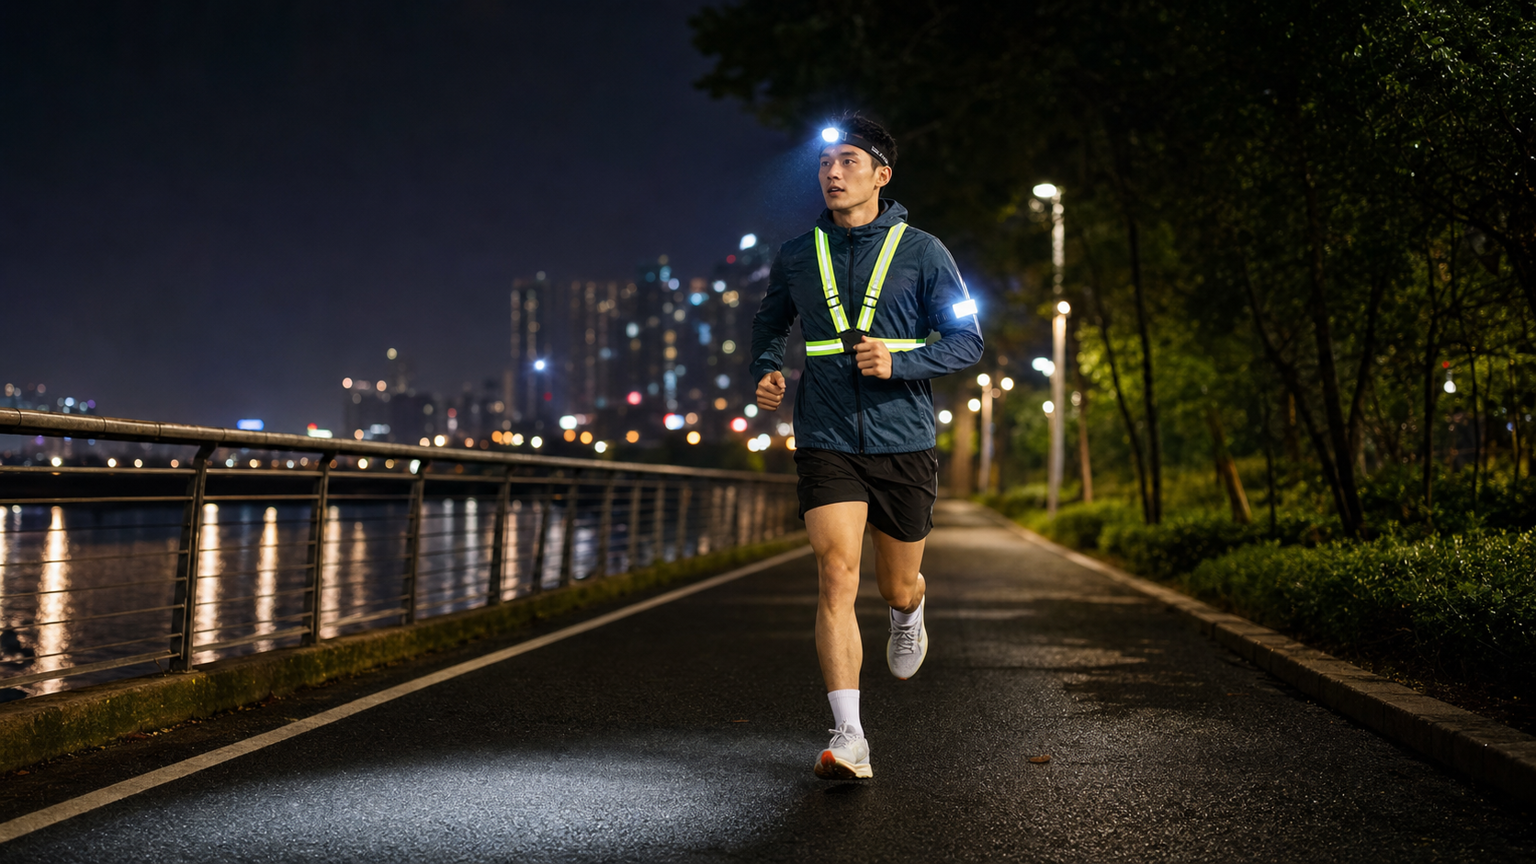
The Complete Guide to Night Running Safety Gear: Reflective Accessories, Headlamp Selection, and Visibility Strategy
For many office workers who run, night is the only time slot that works. Lacing up after work and heading out along city streets or riverside parks is often the most therapeutic part of the day. However, running at night also brings unique safety challenges — not being able to see obstacles on the ground and not being seen by vehicles. This article gives you a complete overview of night running safety gear so you can enjoy your night runs while keeping yourself safe.
The Two Major Safety Risks of Night Running
Risk One: Not Being Able to See (Active Lighting)
Low visibility at night means runners face obstacles such as:
- Uneven pavement, potholes, and raised surfaces
- Steps and curbs with sudden elevation changes
- Animals on the road (stray dogs, snakes, etc.)
- Overhanging branches
- Slippery ground
These obstacles are easy to spot and avoid during the day, but at night they can lead to sprains, trips, and even more serious injuries.
Risk Two: Not Being Seen (Passive Visibility)
Even more dangerous is when drivers can’t see you. Research shows that:
- A pedestrian wearing dark clothing is only visible to drivers at night from about 20-30 meters away
- The braking distance for a car traveling at 50 km/h is roughly 35 meters
- This means that by the time a driver spots you, it may already be too late to stop
Wearing reflective gear can extend that visibility distance to 150-300 meters, dramatically improving your margin of safety.
Active Lighting Gear
Headlamps
A headlamp is the core lighting tool for night running. When choosing one, consider the following factors:
Lumens
Lumens measure luminous flux — in simple terms, brightness.
| Use Case | Recommended Lumens |
|---|---|
| Well-lit city streets | 50-100 lm |
| Semi-lit environments like riverside parks | 100-250 lm |
| Parks/suburbs without streetlights | 250-400 lm |
| Trail running/mountain paths | 400-800 lm |
| Night ultramarathons/technical trails | 800+ lm |
Note: Higher lumens isn’t always better. Excessive brightness can cause glare, which can actually impair the vision of oncoming runners and pedestrians. In an urban setting, 200-300 lumens combined with a well-designed beam is more than sufficient.
Beam Patterns
- Spot beam: Concentrated and far-reaching, good for seeing the road ahead, but with narrow peripheral coverage
- Flood beam: Wide-angle, close-range lighting with good peripheral visibility, but weaker at a distance
- Hybrid beam: A focused spot beam combined with surrounding flood light — the best option for running
We recommend choosing a headlamp with a hybrid beam mode, or at least one that lets you switch quickly between modes.
Weight and Comfort
Since a headlamp is worn on your head while running, weight and fit matter a great deal:
- Ideal weight: 60-120g (including battery)
- Headband: A wide, elastic headband that won’t slip while running
- Battery placement: Front-mounted (lighter models) or rear-mounted (better weight balance, suited to heavier models)
- Sweat management: A sweat-wicking pad on the forehead section
Battery Life
- Rechargeable (lithium battery): Eco-friendly with lower long-term cost, but requires regular charging
- Replaceable batteries (AAA): Easy to find a replacement in an emergency
- We recommend choosing a rechargeable model and making it a habit to fully charge it before every run
Recommended Headlamps
City Night Running:
- BioLite HeadLamp 330 (330 lm, 50g): Extremely thin and light, designed to sit close to the forehead
- Petzl Bindi (200 lm, 35g): Ultra-lightweight, can also be worn as a pendant light
- Black Diamond Sprinter 500 (500 lm, 105g): Rear red warning light
Trail Night Running:
- Petzl Swift RL (1100 lm, 100g): Reactive lighting that automatically adjusts brightness
- Ledlenser Neo10R (600 lm, 105g): Adjustable beam angle
- Nitecore UT27 (520 lm, 48g): Ultra-lightweight trail light
Chest Lights
Chest lights have become an increasingly popular alternative in recent years. Worn on the chest, they shine at an angle much closer to your natural line of sight.
Advantages:
- Doesn’t bob and sway with your head movement the way a headlamp does
- More stable beam, less likely to cause dizziness
- Weight is distributed by the chest strap, offering good comfort
Disadvantages:
- Fixed beam angle — you can’t turn your head to redirect the light the way you can with a headlamp
- Coverage on uphills may not be ideal
Recommended:
- Nathan Luna Fire 250 (250 lm)
- Kogalla Ra (400 lm)
Waist Lights
Waist lights are worn around the waist and provide low-angle lighting, making it easier to see variations in terrain and shadows on the ground.
Recommended:
- UltrAspire Lumen 800 (800 lm): Multi-angle adjustable
Passive Visibility Gear
The Science of Reflective Gear
Reflective materials work through retroreflection — bouncing light back in the direction it came from. When a car’s headlights hit a reflective strip, the light bounces directly back toward the driver’s eyes, making you stand out in the dark like a glowing object.
Reflective Vests / Reflective Bands
A reflective vest is the simplest and most effective piece of passive safety gear:
- Inexpensive (around NT$200-500)
- 360-degree reflective coverage
- Easy to put on and take off over any clothing
Reflective arm bands/leg bands:
- Worn on the arms or lower legs
- The swinging motion of your limbs creates more dynamic reflective visibility
- Studies show that reflective markers on joints are the easiest for drivers to recognize as a human shape
LED Safety Lights
LED safety lights actively emit light, so they don’t rely on an external light source to be seen.
Types:
- Clip-on LED lights: Clip onto clothing, hats, or shoes
- LED armbands: Worn on the arm, either glowing continuously or flashing
- Shoe clip lights: Clipped to the heel of your shoe, flashing with each stride
Color recommendations:
- Front: White or yellow (mimics headlights, signaling “approaching”)
- Rear: Red (mimics taillights, signaling “moving away”)
- Sides: Any bright color, to increase visibility from the side
Recommended:
- Nathan StrobeLight (clip-on, waterproof)
- Knuckle Lights Colors (handheld LED lights)
- Night Runner 270 (shoe light system)
Reflective Running Shoes and Apparel
Many brands now offer dedicated night running lines:
- Nike Shield series: Water-resistant + reflective elements
- ASICS Lite-Show series: Large-area reflective print patterns
- Adidas Reflective series: Reflective detailing on the upper
- Brooks Run Visible series: 360-degree reflectivity
These built-in reflective elements on apparel and shoes provide basic visibility without needing any extra accessories.
A Comprehensive Safety Strategy
Basic City Night Running Setup
Essential:
- Headlamp or chest light (200+ lm)
- Reflective vest or reflective bands
- Rear red LED light
Bonus:
4. Reflective armbands (both arms)
5. Shoe clip lights
6. Light-colored or reflective running apparel
Trail Night Running Setup
Essential:
- High-lumen headlamp (400+ lm)
- Backup light source (a small flashlight or second headlamp)
- Spare batteries
- Phone (with location sharing enabled)
Bonus:
5. Waist light (for supplementary low-angle lighting)
6. Reflective vest
7. Whistle
Route Selection Principles
- Prioritize routes with streetlights: riverside bike paths, park trails
- Avoid high-traffic roads: even with a sidewalk, busy roads with fast-moving traffic still carry risk
- Choose familiar routes: night is not the time to explore a new route
- Avoid isolated stretches: personal safety matters just as much
- Run against traffic: facing oncoming vehicles lets you spot them earlier and react in time
Behavioral Safety Guidelines
- Don’t wear noise-canceling headphones: you need to hear your surroundings (vehicles, bicycles, barking dogs)
- Double-check before crossing the street: even with reflective gear, never assume a driver has seen you
- Tell someone your route and expected return time
- Carry your phone: so you can call for help and share your location in an emergency
- Carry ID: in case of an accident, this makes it easier to identify you
Gear Maintenance
Headlamp Maintenance
- Charge regularly and avoid letting the battery drain completely
- Clean the lens to maintain light output
- Check the headband’s elasticity and replace it once it loosens
- Dry it off after rain to keep water out of the battery compartment
Reflective Gear Maintenance
- Wash regularly — dirt reduces reflective performance
- Avoid high-heat drying, which can damage the reflective coating
- Periodically test reflectivity with a flashlight in a dark room
Conclusion
Investing in night running safety gear is an investment in protecting your life. A complete night running safety setup doesn’t have to cost much — a basic headlamp plus a reflective vest can come in at under NT$1,000 total, yet dramatically reduce your risk of an accident. Remember the golden rule of night running safety: make sure you can see the road, and make sure others can see you. Get both of those right, and the streets at night become your best training ground.
Related Reading
- Night Running Safety Gear: A Complete Guide to Reflective Items, Headlamps, and Routes
- Night Running Safety Lighting Systems: A Complete Buying Guide from Headlamp Lumens to Reflective Gear
- The Complete Guide to Night Running Safety Gear: A Must-Have Reflective Gear Checklist for Taiwan’s Night Runners
- Reflective Safety Gear for Running: A Safety Equipment Checklist and Usage Tips for Night Running