Road bike creaking noise when pedaling? 5-step guide to diagnosing and DIY lubricating bottom bracket bearing noise
文章導覽
The Complete Guide to Diagnosing Bottom Bracket Creaks: Finding the True Source of That Annoying Squeak
Introduction
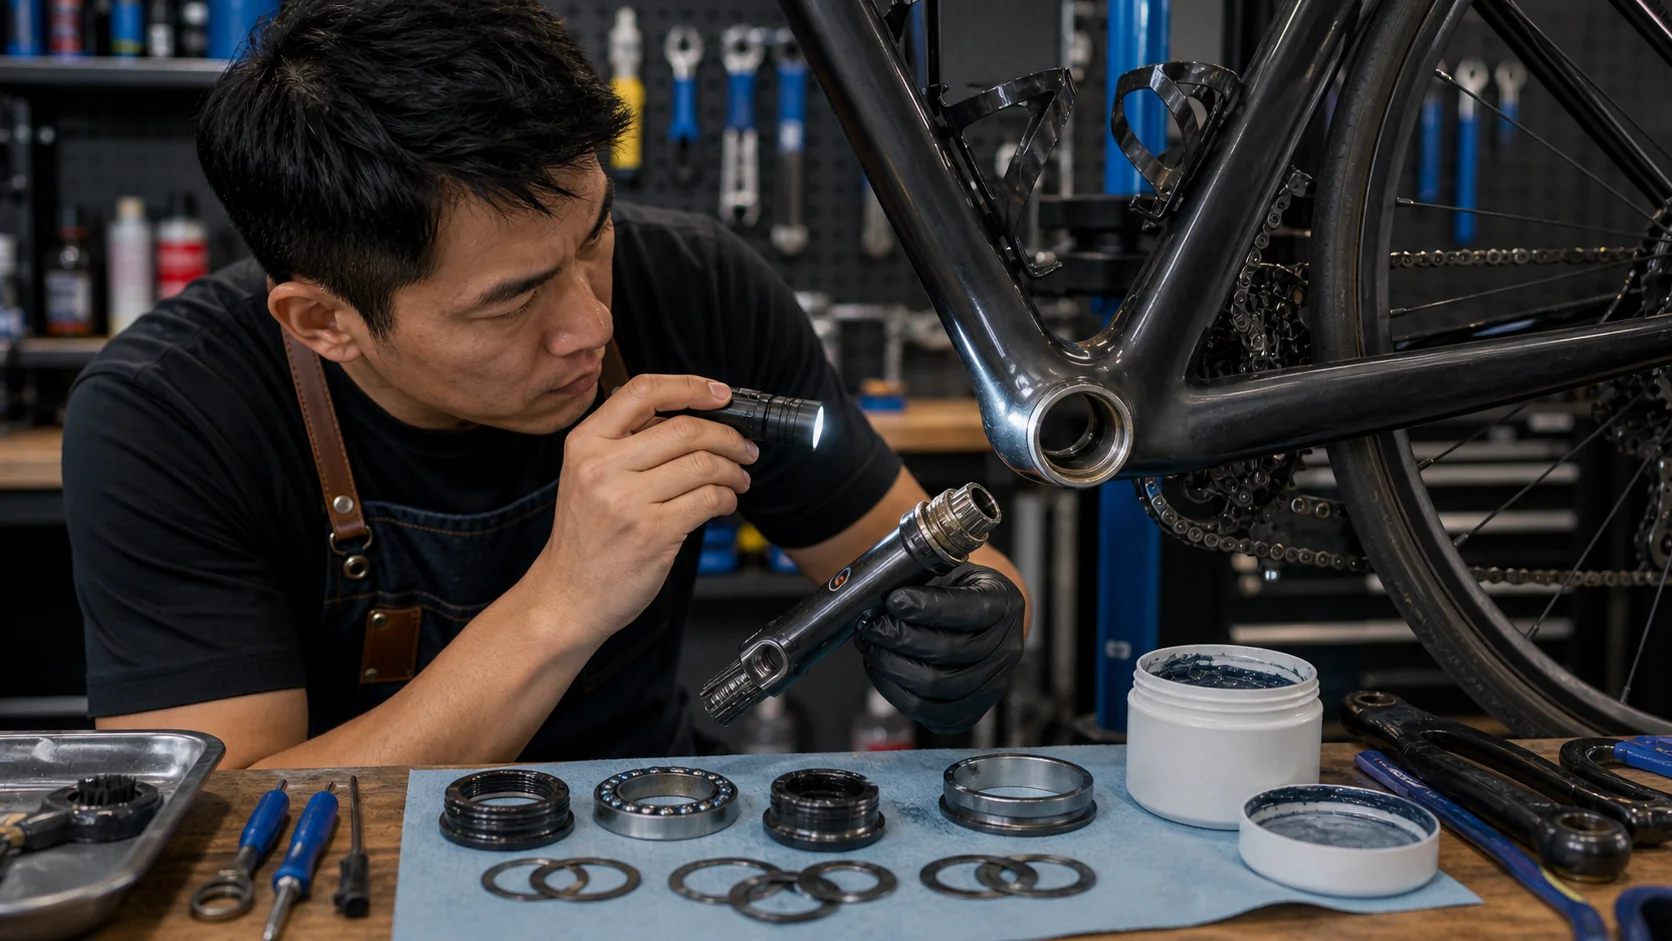
“Creak… creak… creak…” That mysterious sound that goes off with every pedal stroke is probably a nightmare every cyclist has experienced at some point. And among all bike noises, sounds from the bottom bracket area are the hardest to diagnose—because sound travels through the frame, making you think it’s coming from the bottom bracket when it might actually originate from a completely different location. This article will guide you through a systematic troubleshooting process, starting from the simplest causes and working deeper, to help you find that maddening source of noise.
Why Is the Bottom Bracket Area Most Prone to Creaks?
The bottom bracket is the most stress-concentrated area of the entire bike. Pedaling force, rider weight, and road impact all converge here. A 70 kg rider sprinting at full power can generate over 150 kg of instantaneous force on a single pedal. This means every mating surface, every bolt, and every bearing in the bottom bracket area endures enormous alternating stress.
And the essence of creak generation is simple: two surfaces that shouldn’t move relative to each other develop slight relative movement. This micro-movement can come from:
- Loosening at threaded connections
- Interface slippage of press-fit components
- Wear of bearing balls
- Aging and drying out of grease
- Micro-corrosion of metal parts
Preparation Before Diagnosis
Essential Tools
| Tool | Purpose |
|---|---|
| Torque wrench | Precisely tightening bolts on various parts |
| Hex wrench set | Basic disassembly and assembly |
| Bottom bracket removal tool | Removing bottom bracket bearings |
| Crank puller tool | Removing cranks |
| Thread grease | Preventing thread creaks |
| Carbon assembly paste | Carbon fiber part mating surfaces |
| Degreaser | Removing grease and dirt |
Recording Creak Characteristics
Before starting the troubleshooting process, carefully record the characteristics of the creak:
- Frequency: Does it creak once per pedal revolution? Once per half revolution? Irregularly?
- Conditions: Only when pedaling hard? Also with light pedaling? When standing and sprinting? When seated and pedaling?
- Location: Where does the sound seem to come from? (Though it may not be accurate, it still has reference value)
- Weather: Does it get worse after riding in the rain? Does it disappear in dry weather?
- History: Have any parts been replaced recently? Any adjustments made?
Systematic Troubleshooting Process
Phase 1: Eliminating Non-Bottom Bracket Sources (Outside-In)
There is a greater than 50% chance that noises in the bottom bracket area are actually not from the bottom bracket itself. Here are the most common “impostors”:
1. Pedals
Inspection Method:
- Remove the pedals from the cranks
- Clean the pedal threads and crank thread holes
- Apply an appropriate amount of thread grease
- Re-tighten the pedals (right pedal clockwise, left pedal counterclockwise)
- Torque value: 30-35 Nm
Note: Many “bottom bracket creaks” disappear after replacing pedals. When pedal threads are dry, micro-movement between metals produces a rhythmic creak, and the sound transmits through the crank to the bottom bracket area, causing you to misidentify the source.
2. Chain
Inspection Method:
- Check whether the chain needs lubrication
- A dry chain produces metallic friction sounds under load
- Clean the chain and re-lubricate, then test whether the creak disappears
3. Seatpost and Saddle
Inspection Method:
- Ride while standing (off the saddle); if the creak disappears, the problem is in the seatpost or saddle
- Remove the seatpost and clean the mating surfaces of the seatpost and frame
- Aluminum seatpost: apply a thin layer of grease and reinstall
- Carbon fiber seatpost: apply carbon assembly paste
- Check whether the saddle rail bolts are loose
4. Cycling Shoes and Cleats
Inspection Method:
- Ride with different shoes to test
- Check whether the cleat bolts are loose
- When cleats are worn, the clearance when clipping in and out increases, which may produce micro-movement creaks during pedaling
- Replace worn cleats
5. Quick Release Skewers or Thru-Axles
Inspection Method:
- Confirm whether the rear wheel quick release skewer or thru-axle is fully tightened
- A loose quick release can produce rhythmic knocking sounds when force is applied during pedaling
- Thru-axle torque values per manufacturer specifications (usually 12-16 Nm)
6. Front and Rear Derailleurs
Inspection Method:
- Confirm whether the derailleur mounting bolts are loose
- When the front derailleur’s clamp band or direct-mount bolts are loose, frame micro-vibrations during pedaling can cause it to make noise
- The rear derailleur hanger bolts also need to be checked
Phase 2: Crank System Inspection
If the above external factors have been ruled out, next inspect the crank system:
1. Crank Bolts
Shimano Hollowtech II:
- Left crank fixing bolts (2 pinch bolts): 12-14 Nm
- Crank arm preload cap: tighten lightly by hand (no need for heavy tool tightening)
SRAM DUB:
- Left crank self-locking bolt: 48-54 Nm (very high torque)
- Use an 8mm hex wrench
Square Taper:
- Crank fixing bolt: 35-40 Nm
- If the crank is loose on the square taper (commonly known as “worn splines”), it will produce a knocking sound once every half revolution, and the crank needs to be replaced at this point
2. Chainring Bolts
Inspection Method:
- Use the appropriate tool (usually a T30 Torx or 5mm hex bolt) to check every chainring bolt
- Torque value is usually 12-14 Nm
- For stainless steel bolts, applying a small amount of threadlocker (blue Loctite 243) is recommended
3. Crank-to-Bottom Bracket Bearing Mating Surface
- Remove the crank and clean the contact surfaces of the spindle and bearing
- Remove any dirt or corrosion
- Apply a thin coat of grease and reassemble
Phase 3: The Bottom Bracket Bearings Themselves
If the creak persists after all the above checks, the problem is indeed in the bottom bracket bearings.
Threaded Bottom Brackets (Threaded BSA/ITA)
Removal and Reinstallation Steps:
- Use a dedicated tool to remove the bottom bracket (note: the drive side is usually reverse-threaded—install counterclockwise, remove clockwise)
- Thoroughly clean the threads on the inside of the frame’s bottom bracket shell
- Check the threads for damage or foreign objects
- Apply an ample amount of anti-seize grease to the threads
- Thread the bottom bracket in by hand, confirming the threads engage smoothly without resistance
- Tighten to the specified torque: 35-50 Nm (per product specifications)
Press-Fit Bottom Brackets (Press-fit BB86/BB90/PF30, etc.)
Press-fit bottom brackets are a high-risk area for creaks because their structural characteristics make interface slippage more likely to occur.
Common Causes of Creaks:
- Insufficient interference fit between the cups and frame: Tolerance issues cause the cups to micro-move within the frame
- Different coefficients of thermal expansion between cup material and frame material: Temperature changes alter the tightness of the fit
- Bearing wear itself: Seal aging allows moisture and contaminants to enter the bearings
Solutions:
- Loctite application method: Apply a thin layer of Loctite 641 (cylindrical retaining compound) to the outer wall of the cups, then let it cure for 24 hours after pressing in
- Threaded conversion kits: Convert press-fit bottom brackets to threaded (such as brands like Hambini, Wheels Manufacturing, etc.), fundamentally solving press-fit tolerance issues
- Bearing replacement: Press-fit bottom bracket bearings typically have a shorter lifespan than threaded ones; replacement every 1-2 years is recommended
Advanced Diagnostic Techniques
The Isolation Method
When you can’t determine the source of the creak, use the “isolation method” to progressively eliminate possibilities:
- Ride with the chain removed (pedal freely in a safe environment) → eliminates the drivetrain
- Ride while standing → eliminates the seatpost/saddle
- Turn the crank by hand (without riding) → confirms whether the creak occurs under load
- Single-leg pedaling → determines whether the problem is on the left or right side
- Different gear ratios → eliminates wear issues with specific chainrings
The Stethoscope Method
Use a long screwdriver or metal rod, place one end against the suspect area and the other end near your ear (do not touch it directly to your ear), and have someone else turn the crank. Metal conducts sound far more efficiently than air, allowing you to pinpoint the source of the creak more precisely.
The Temperature Method
Some creaks only appear at specific temperatures:
- Sound present when cold, disappears once warmed up → possibly thermal expansion of metal parts changing the fit clearance
- Only appears after warming up → possibly grease thinning out from heat or changes in bearing preload
Preventive Maintenance
Recommended Maintenance Schedule
| Item | Frequency | Action |
|---|---|---|
| Pedal threads | Every 6 months | Remove, clean, grease, re-tighten |
| Crank bolts | Every 3 months | Verify torque values |
| Chainring bolts | Every 3 months | Verify torque values |
| Bottom bracket bearings | Annually | Remove and inspect, replace if necessary |
| Seatpost | Every 6 months | Remove, clean, re-grease and reinstall |
Key Principles During Assembly
- All threaded connections must have grease or threadlocker applied—dry threads are a breeding ground for creaks
- Use a torque wrench—insufficient torque causes loosening; excessive torque causes deformation
- Use assembly paste on carbon fiber parts—assembly paste provides the same holding force at lower torque values
- Record the date and details of every maintenance session—this helps track when creaks appear and their possible causes
Conclusion
Diagnosing bottom bracket creaks doesn’t require exceptional skill, but rather systematic thinking and troubleshooting patience. Remember the old saying: “If you hear hoofbeats, think of horses, not zebras.” Start with the simplest, most common causes and work your way deeper. Most of the time, that mysterious creak that’s been bothering you for weeks turns out to be nothing more than a pedal bolt that needs re-greasing.
Related Reading
- Bicycle Creak Diagnosis Guide: Finding the Root of the Problem by Sound
- The Sounds of a Bicycle: How to Diagnose and Eliminate Annoying Noises
- The Complete Illustrated Guide to Bicycle Noises: A Quick Guide to Judging Problems by Sound
- Bottom Bracket Maintenance and Replacement: Tools for Removing Press-Fit vs. Threaded Bottom Brackets