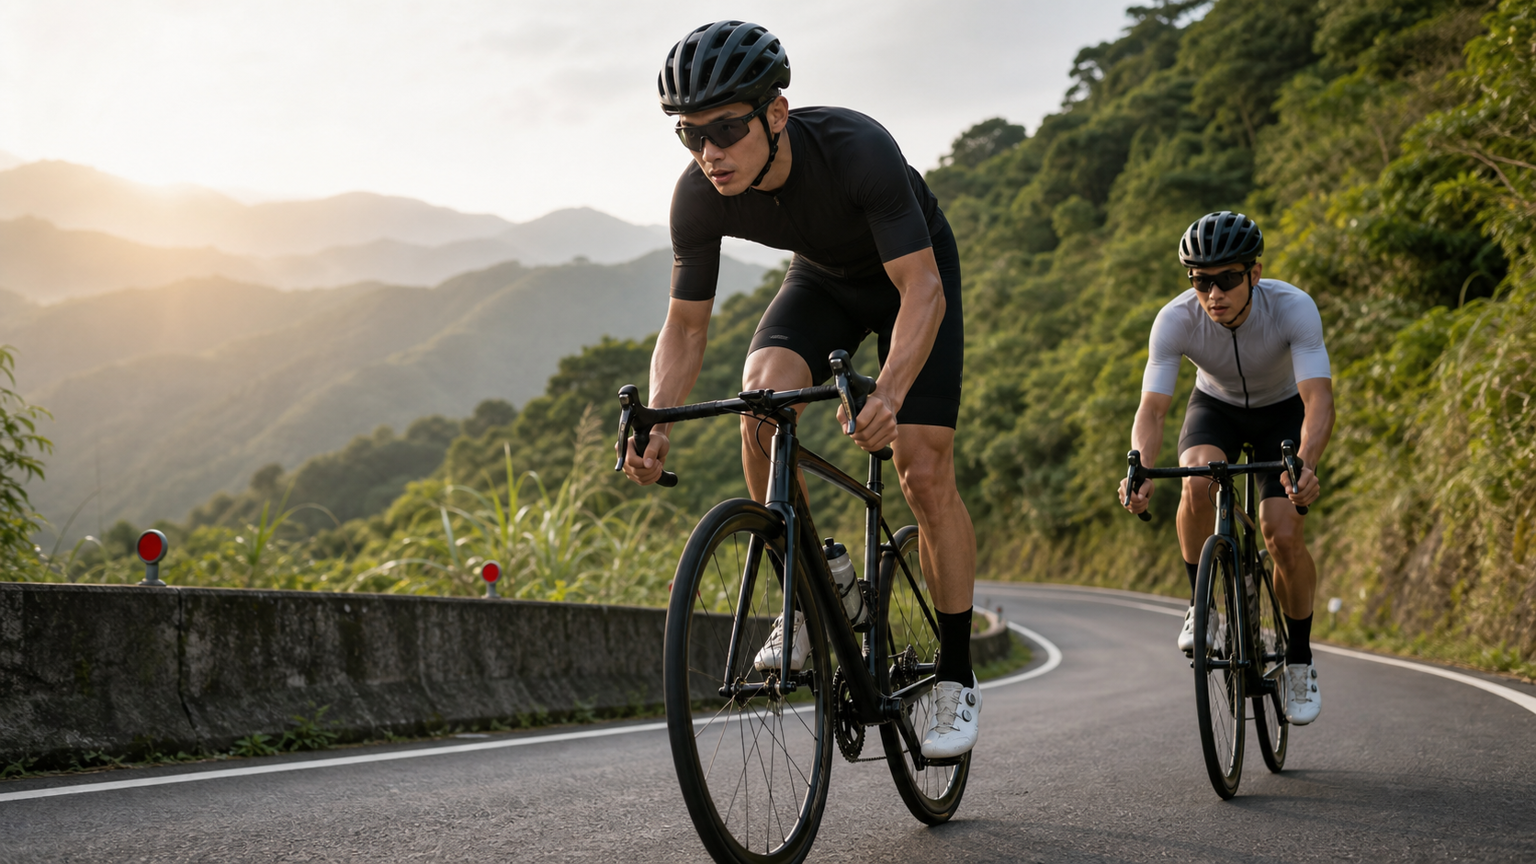
Cycling Out-of-the-Saddle Technique: Proper Form for Seated and Standing Sprints
Sprinting (high-intensity pedaling) is one of the most explosive skills in cycling. Whether it’s a short surge on a climb, an all-out effort to the finish line, or a quick move through the peloton, correct sprinting technique directly affects power output efficiency and energy expenditure.
Two Basic Forms of Sprinting
Seated Sprint
Staying in the saddle while generating maximum power through high cadence and high torque.
When to use it:
- Sustained output on long climbs
- The early phase of a long sprint (to conserve energy)
- Maintaining power during time trials
- Threshold work in power meter training
Proper Seated Sprint Technique:
- Stable hips: Keep your hips planted firmly on the saddle without rocking side to side (rocking indicates an unstable core and wasted energy)
- Braced core: Your abdominal and lower back muscles provide a stable base so leg power transfers efficiently to the pedals
- Foot movement:
- Downstroke (bottom dead center): Ankle slightly pressed down, heel slightly raised (for more complete force application)
- Upstroke (top dead center): Actively pull up (taking advantage of clipless pedals)
- Push forward and pull back: Slight fore-aft motion to avoid dead spots in the stroke
- Hands: Grip the drops firmly but without excessive tension
- Gaze: Focus on a fixed point ahead, keeping your head steady
Standing Sprint
Rising out of the saddle and using body weight to assist the pedal stroke, generating a higher peak power output for a short period.
When to use it:
- Short sprints (the final 500m)
- Brief accelerations or a change of pace on climbs
- Short, steep pitches
- Attacking or responding to moves in a race
Proper Standing Sprint Technique:
- Bike rock: When standing, the bike should sway side to side in sync with the pedal stroke — leaning left as you push the right pedal, and leaning right as you push the left pedal
- Weight transfer: With each pedal stroke, shift your body weight toward that side’s pedal, using your body weight to assist the force
- Pulling with the hands: As you push the right pedal, pull up and back on the bars with your right hand to provide a counterforce; pull with the left hand as you push the left pedal
- Hip position: When standing, your hips should sit slightly further back than in the seated position, to keep your weight balanced
- Core stability: Standing relies even more on core stability than seated pedaling — keep your abdominals continuously engaged
- Cadence: Standing cadence is usually slightly lower than seated (70–85rpm), but each stroke produces more force
Efficiency Comparison: Seated vs. Standing
| Item | Seated Sprint | Standing Sprint |
|---|---|---|
| Peak power | Lower (sustained output) | Higher (short burst) |
| Energy cost | Lower | Higher (roughly 10–15% more) |
| Duration | Longer | Shorter (usually under 1–2 minutes) |
| Heart rate | More stable | Rises quickly |
| Suitable intensity | Zone 3–5 | Zone 6–7 |
| Technical demand | Moderate | High |
Pedal Stroke Details for Sprinting
The 360-Degree Pedal Stroke (Circular Pedaling)
Efficient pedaling isn’t just “pushing down” — force should be applied around the entire pedal circle:
- 0–90° (top dead center to 3 o’clock): Push forward
- 90–180° (3 o’clock to bottom dead center): Push down (maximum force)
- 180–270° (bottom dead center to 9 o’clock): Pull back
- 270–360° (9 o’clock to top dead center): Pull up (reduce resistance)
How to train the 360-degree pedal stroke:
- On a trainer, try single-leg pedaling (with the other foot resting on a chair)
- Identify which part of the stroke feels weakest (usually near top dead center) and target it for improvement
The Role of the Ankle
- Before reaching bottom dead center: Point the toes slightly down (plantar flexion) to lengthen the effective stroke arc
- Passing through top dead center: Point the toes slightly up (dorsiflexion) to minimize the effect of the dead spot
Common Mistakes and Fixes
Mistake 1: The Bike Doesn’t Rock When Standing
Symptom: The rider stands up but keeps the bike frame motionless
Consequence: Body weight can’t assist the pedal stroke, resulting in lost power
Fix: Deliberately practice letting the bike sway in rhythm with your pedal stroke
Mistake 2: Hip Rocking (Seated)
Symptom: The upper body and hips sway side to side while seated
Consequence: Energy is wasted on lateral movement instead of being transferred to the pedals
Fix: Strengthen your core, especially the lateral stabilizing muscles
Mistake 3: Gripping the Bars Too Tightly
Symptom: Clenching the handlebars hard while sprinting, with a stiff upper body
Consequence: Wasted energy, wrist fatigue, and reduced ability to react smoothly
Fix: Grip should be “firm enough to be stable, but not tense”
Mistake 4: Leaning Too Far Forward While Standing
Symptom: Weight shifted too far forward when standing, almost riding on top of the stem
Consequence: Overloaded front wheel, poor cornering agility, and an unfavorable leg angle
Fix: When standing, your shoulders should be behind the handlebars, with your hips positioned toward the middle-rear of the saddle area
Strength Training for Sprinting (Off the Bike)
Building sprint power isn’t just about time in the saddle — off-bike strength training matters just as much:
| Exercise | Target Muscles | Sets × Reps |
|---|---|---|
| Squats | Quadriceps, glutes | 4×6 (heavy load) |
| Leg press | Hamstrings, glutes | 3×8 |
| Single-leg squats | Core stability, balance | 3×10 |
| Glute bridges | Glutes, hamstrings | 3×15 |
| Pilates side-lying leg raises | Gluteus medius (anti-rocking) | 3×15 |
Training timing: These exercises are best done during the base and build phases, and should be stopped 6 weeks before a race to avoid muscle soreness affecting race performance.
Sprint Training Sessions
Seated Sprint Session
Workout: 10×30 seconds @ 130–150% FTP, cadence 90–110rpm, 2 minutes recovery between efforts
Purpose: Build maximum seated power and the ability to sustain a high cadence
Standing Sprint Session
Workout: 8×10 seconds all-out sprints (standing), 3–5 minutes recovery between efforts (full recovery)
Purpose: Peak power and neuromuscular explosiveness
Conclusion
Sprinting technique takes repeated practice to master. In the early stages, it’s best to focus purely on form on a trainer, without worrying about actual speed. Combine correct technique with systematic training, and you’ll see a noticeable improvement in both your sprint power and your climbing bursts.
Related Reading
- Climbing Pedal Technique: Comparing Power Output Between Seated Climbing and Standing Sprints
- The Complete Guide to Road Bike Climbing Technique: Conquer Every Mountain with Ease
- Sprint Training for Climbing: 5 Variations of the 30-Second Sprint
- Uphill Sprinting: Power Differences and Training Strategies for Seated vs. Standing Bursts
CT 喇低賽) 武嶺牽車 才是王道 西進牽車四小時內秘訣 攝手位置 如何判斷 防抽筋小秘訣
7 年前
CT 喇低賽) 單車 比賽總是沒照片? 攝影師的觀點大公開 姿勢就是力量! 請加速1.25倍收看
7 年前
風櫃嘴 | 全台最多大砲的單車路線 | 尋寶網攝影師告訴你怎麼擺拍起來才好看 | 熱門攝影地點巡禮
6 年前
Never Stop 西進武嶺 前後雙機 完整全程錄影 訓練台 實境
8 年前
#公路車 #Fitting 靠人工智慧APP 幫你調整單車
6 年前
單車 一日北高 ( 雙城 ) 肥宅雙人瘋狂行 紀錄片 REACTO
10 年前
靠單車減肥35公斤 心得分享與整理
7 年前
DJI Osmo Action 6 / 單車運動拍攝實用技巧 公路車 CT Yeh
7 個月前