Introduction
Many Taiwanese cyclists ride off with whatever setup came on the display bike, or let the shop mechanic install standard settings without accounting for their own body proportions. After a while in the saddle, wrist soreness, anterior knee pain, and lower back pain become common complaints — and most of them trace directly back to a bike setup that doesn’t fit the rider.
This article covers the three most critical adjustments: saddle height, saddle fore-aft position, and stem height, so you can complete 80% of a basic bike fit at home.
Saddle Height Adjustment
The Calculation Formula (Basic Reference)
The most commonly used method for calculating saddle height is “inseam length x 0.883”:
- Stand against a wall with your heels flat on the floor and feet about 12 cm apart.
- Place a hardcover book snugly between your legs (simulating a saddle) and measure the distance from the top edge of the book to the floor — this is your “inseam length.”
- Saddle height (from the center of the bottom bracket to the top of the saddle) = inseam length x 0.883.
For example: with an inseam of 86 cm, the saddle height should be set to approximately 75.9 cm.
Adjustment Notes
- After adjusting, pedal on an indoor trainer to confirm: at the bottom of the pedal stroke, your knee should be slightly bent (not fully extended).
- If the saddle height change exceeds 5 mm, adjust only 2-3 mm at a time — your body needs 2-3 weeks to adapt.
- On carbon seatposts, check the minimum safe insertion depth (usually marked on the post) and never exceed that line.
Saddle Fore-Aft Position (Setback)
The saddle’s fore-aft position affects the relationship between your knee and the pedal during the stroke:
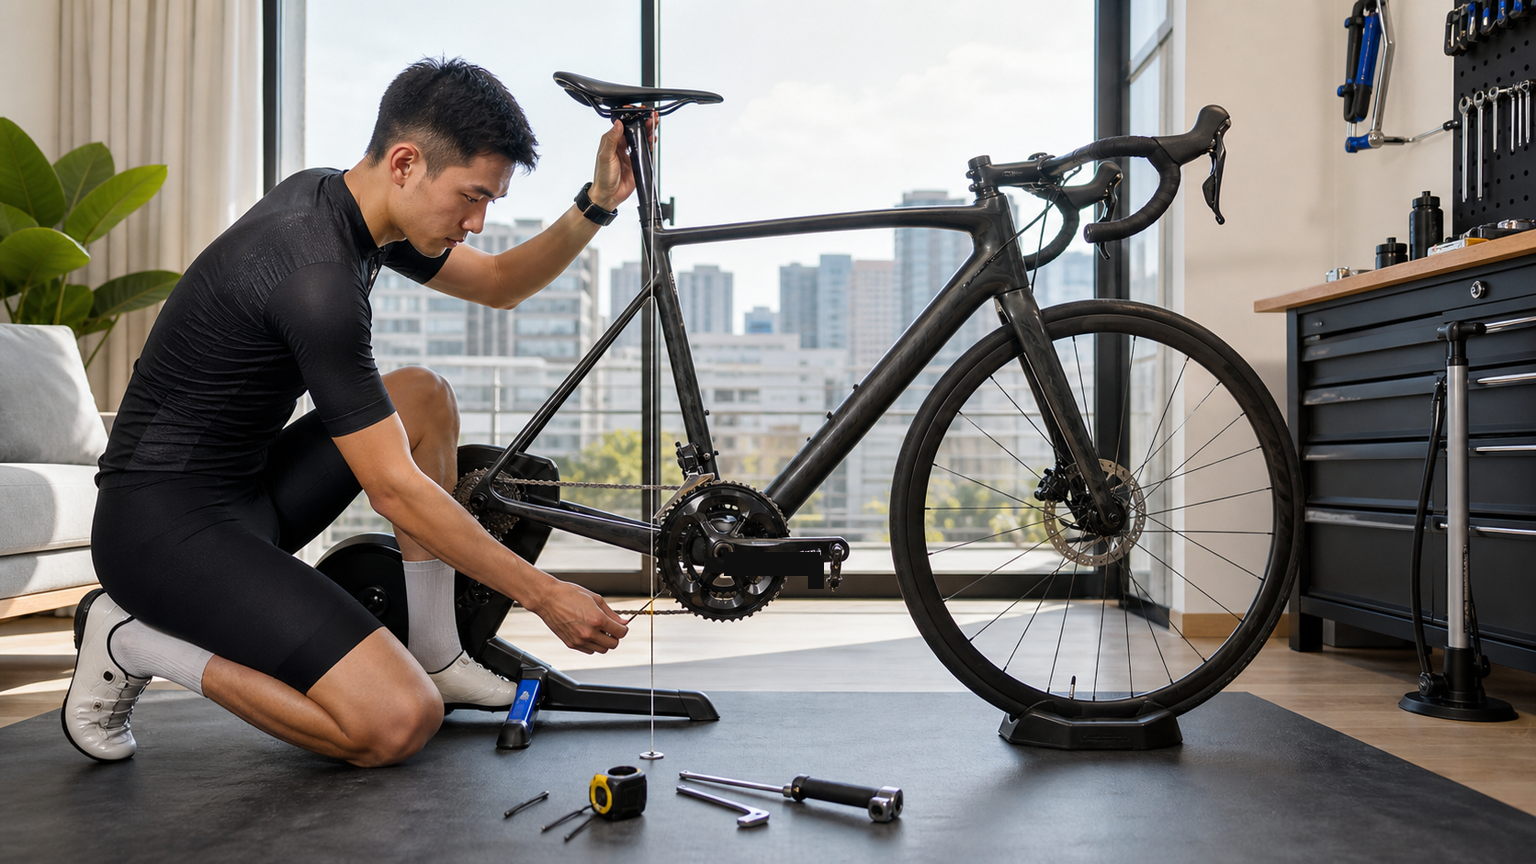
- Position the cranks horizontally (3 o’clock and 9 o’clock).
- Drop a plumb line from the bottom of the front kneecap — it should pass through the pedal spindle (the pedal’s axis of rotation).
- If the plumb line falls in front of the pedal spindle (knee too far forward), move the saddle back; if it falls behind, move the saddle forward.
Saddle fore-aft position also affects power output: a more forward position suits riders with a high-cadence style, while a more rearward position suits riders who favor big gears and raw power.
Stem Height and Length Adjustment
Stem Height
Stem height (the drop of the handlebar relative to the saddle) determines how aggressive your riding position is:
| Drop | Riding Style | Best For |
|---|---|---|
| 0 mm (bars level with saddle) | Comfortable, upright | Beginners, casual riders |
| 20-40 mm drop | Balanced | Most enthusiasts |
| 50-80 mm drop | Aerodynamics-first | Competitive racers |
Too low a bar height forces prolonged forward lean of the upper body, which easily triggers neck and lower back soreness; too high hurts aerodynamic efficiency. Stem height can be adjusted by adding or removing spacers above the stem, or by swapping in a stem with a different angle.
Stem Length
Stem length affects how far your arms extend. The correct length keeps your elbow bent at roughly 90-100 degrees while gripping the bars. Common road stem lengths range from 70-130 mm, in 10 mm increments.
Choosing Handlebar Width
Handlebar width should roughly match your biacromial distance (the distance between the bony points of your two shoulder tips). Too narrow a bar pinches the arms and restricts breathing; too wide hurts aerodynamics. Common road handlebar widths in Taiwan run 38-44 cm.
Bolt Torque Specifications
| Location | Recommended Torque | Tool |
|---|---|---|
| Stem clamp bolts | 5-6 Nm (per manufacturer spec) | Torque wrench |
| Stem top cap bolt | 5 Nm | Torque wrench |
| Seat clamp (aluminum) | 5-6 Nm | Torque wrench |
| Seat clamp (carbon) | 4-5 Nm | Torque wrench |
Always use a torque wrench on carbon components, and apply carbon grip paste to the contact surfaces — this achieves anti-slip friction at a lower torque and prevents crushing the carbon fiber from over-tightening.
Practical Recommendations
- Taiwan has professional bike fit services, such as Trek’s flagship stores and some higher-end bike shops that offer dynamic fitting (using Retul or Dartfish motion analysis). Costs run roughly NT$2,000-5,000 — if you have persistent discomfort, a professional fit is well worth the investment.
- After adjusting, record each measurement (saddle height, saddle fore-aft mark, number of stem spacers) so you can quickly restore your setup if parts are replaced or the bike is knocked out of position.
- After each adjustment, ride 30 minutes on an indoor trainer first to confirm how it feels before validating it outdoors.
Conclusion
A correct riding position turns a road bike from “my body hurts when I’m done riding” into “my body feels great when I’m done riding.” Saddle height, fore-aft position, and handlebar height are the three fundamental adjustments that resolve most riders’ discomfort. If pain persists after making these adjustments, seek help from a professional bike fitter.
Related Reading
- Road Bike Riding Position Fine-Tuning Guide: Self-Adjusting Stem Length and Spacer Height
- Road Bike Saddle Adjustment: A Complete Guide to Fore-Aft Position, Angle, and Height
- The Science of Road Bike Fit: Saddle Height, Reach, and Rotation Point Adjustment
- The Complete Guide to Bicycle Riding Position Fitting
#公路車 #Fitting 靠人工智慧APP 幫你調整單車
6 年前
單車 一日北高 ( 雙城 ) 肥宅雙人瘋狂行 紀錄片 REACTO
10 年前
一日北高/長距離團騎 常見問題補充篇 / 組團或跟團的眉角 / 壯車友容易被瘦車友慢性拉爆 / 原來屁股痛可能是這個原因...? / 風場配速法 / 公路車 / CT Yeh
2 年前
一日北高常見問題大集合 | 攻略 | 路線 | 訓練 | 補給 | 自行車 單車 | 一日雙城 | 雙塔 | TWB北高360 | 屁股痛
6 年前
訓練台體驗) 2019台北自行車展 三大家 訓練台體驗 Tacx Neo Flux 2 Xepdo Apx Wahoo Kickr
7 年前
武嶺配速表最佳使用方式 #bike
1 年前
沉浸室內單車練功房開箱! 100吋大畫面,最便宜的花費? 居然還能K歌!? | 公路車 | CT Yeh
3 年前
公路車 BB培林大升級! / 備戰海鷗繞圈賽 Canyon Aerod & TIME 一起改 / MIT大廠 CEMA對鎖式陶瓷培林BB & 導輪 / 公路車 / CT Yeh
2 年前