Introduction
For long-distance riders, a tool kit is something you “hope you never need, but can’t feel at ease without.” Carry too little, and you’ll be waiting for rescue when mechanical issues arise; carry too much, and the added weight drains your energy. Finding the balance between the two requires judgment based on route type, distance, and personal ability. This article provides a systematic logic for configuring your tool kit.
Core Principles of Tool Kit Configuration
Before deciding what to bring, answer three questions first:
- Route Type: Urban routes (dense supply points) vs. mountain routes (may have no supply points for over 50km)
- Distance: Under 100km vs. over 200km
- Technical Skill: Do you have the ability to fix common mechanical issues yourself?
Different answers lead to completely different tool kit configurations.
Basic Configuration Levels for Different Routes
| Configuration Level | Suitable Scenario | Weight Target | Core Equipment |
|---|---|---|---|
| Lightweight | Urban, within 100km, dense supply points | < 300g | 1 spare tube + tire levers + CO2 x1 + quick link |
| Standard | General roads, 150–200km | 300–500g | 2 spare tubes + tire levers + pump + quick link + hex tool |
| Full | Mountain or multi-day rides | 500–800g | Standard + patch kit + chain tool + zip ties + tape |
Selection Logic for Each Item
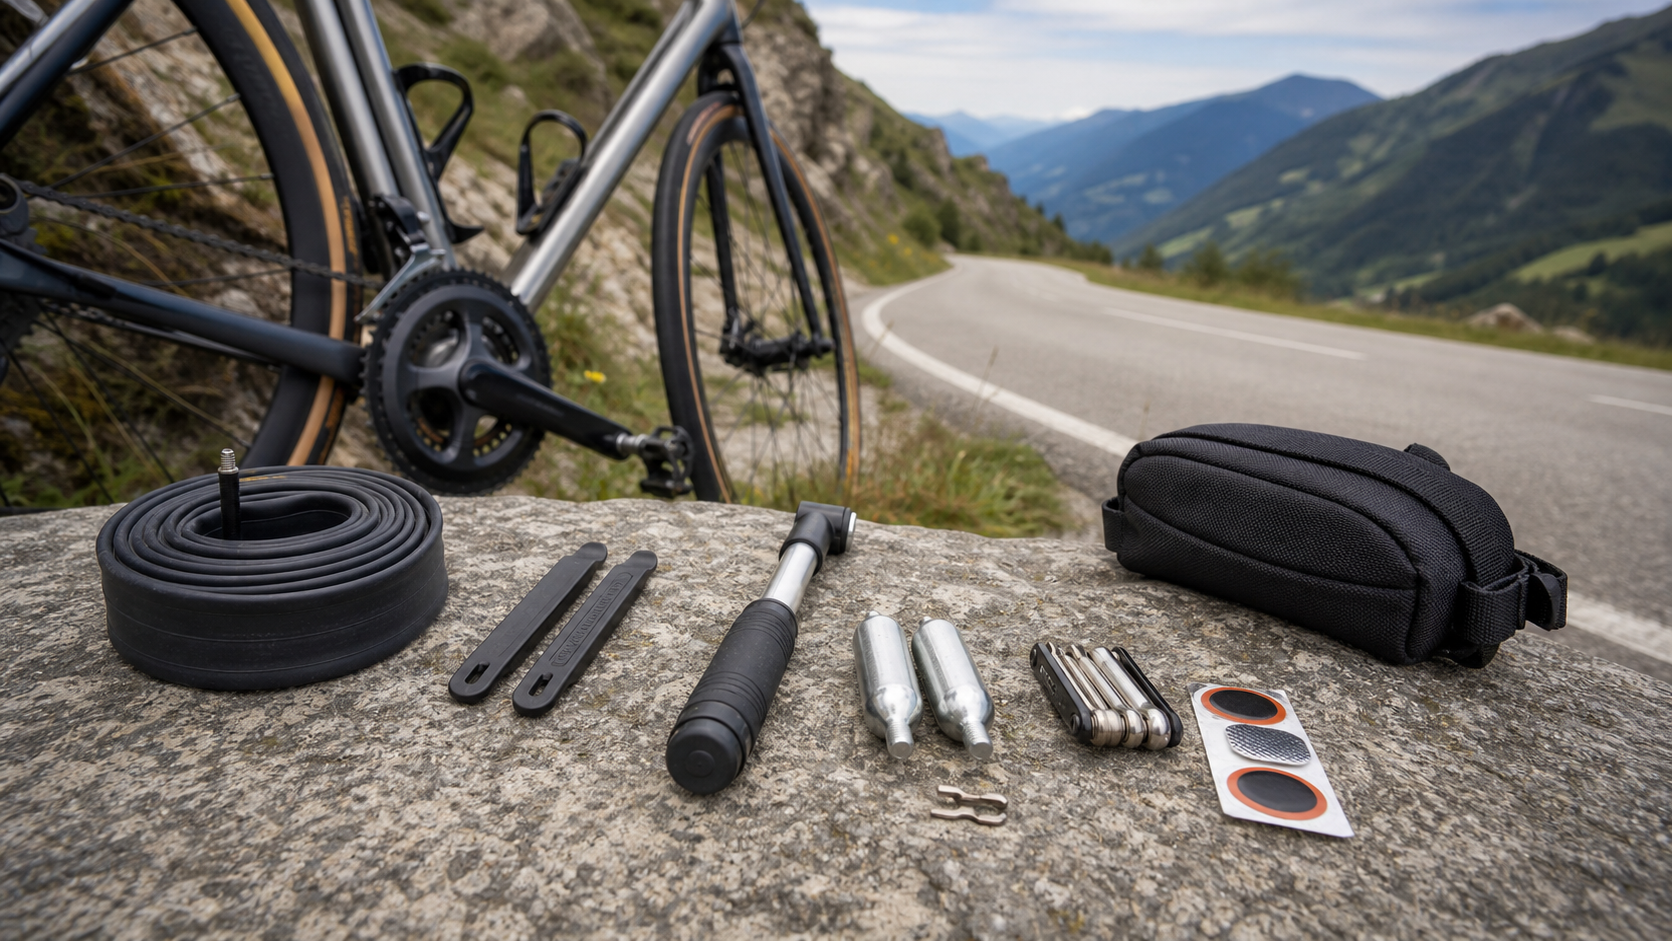
Spare Inner Tubes
- Road bikes (700C): Choose lightweight models (80–100g), recommended to carry 2
- Note that the valve length of the spare tube must match the rim depth (deep rims require long valves)
- Do not mix up different valve types (Presta/Schrader); confirm before departure
Inflation Tools
- CO2 Inflator: Lightweight (30–40g each), but each cartridge can only be used once; recommended to carry 2
- Mini Pump: Reusable, but inflating takes time and effort (especially with high road bike tire pressure), around 100g
- Recommended Combo: 1 pump + 2 CO2 cartridges, the former as backup, the latter for emergencies
Tire Levers
- Plastic tire levers: Light (about 20g for 2), suitable for most tires
- Steel tire levers: Suitable for tight-fitting tires, but heavy and may damage rims
- Check compatibility with hookless rims
Chain Quick Links
- Must match your chain’s speed (11-speed and 12-speed quick links are not interchangeable)
- Recommended to carry 2, as the first installation sometimes fails
- Weight: about 5–8g each; carrying 2 is barely noticeable
Multi-Tool Hex Wrench
- Commercially available multi-tools already include 3/4/5/6mm hex wrenches + flathead/Phillips screwdrivers
- Weight is about 60–120g, worth carrying on complex routes
- Some models include a chain tool, serving dual purposes
Other Accessories
- Zip Ties: 5–10 pieces, nearly zero weight, but can secure broken parts to get you back to a supply station
- Electrical Tape: Wrap 50cm around a bottle cage or tool bag; takes up no space and can repair various tears
- Patch Kit: A last resort after spare tubes run out; should not be the primary tire repair tool
Storage Methods
- Saddle Bag: Most common, doesn’t affect riding position, capacity about 0.5–2L
- Top Tube Bag: Easier to access, suitable for short rides where you frequently need supplies
- Backpack/Waist Pack: Used for multi-day rides, can carry more gear
- Recommendation: Keep all tools in one bag, don’t scatter them, so you can find them quickly in an emergency
Weight-Saving Tips
- Slightly inflate spare tubes beforehand to maintain their shape; they fold more compactly
- Only carry the hex sizes you actually need (most bikes only need 4mm and 5mm)
- Choose a detachable CO2 inflator head to save the weight of carrying multiple heads
- Patch kits and rubber cement can be carried as just one minimal set (about 20g)
Practical Advice
- Check your tool kit after every ride and replenish used spare tubes and CO2 cartridges
- Do a full “simulated roadside tire change” at home to ensure all tools work smoothly
- Inform your emergency contact of your route before long rides; if mechanical issues can’t be resolved on your own, you can request a pickup
- Know the locations of bike shops along your route as a backup support plan
Conclusion
There is no one-size-fits-all answer for tool kit configuration, but there is one core logic: carry the lightest gear that allows you to solve the most likely problems on your own. Flat tires are always the first priority to prevent, so spare tubes and inflation tools are non-negotiable; other gear can be adjusted based on route risk. With your tool kit ready, you can truly relax and enjoy the ride.
Related Reading
單車 一日北高 ( 雙城 ) 肥宅雙人瘋狂行 紀錄片 REACTO
10 年前
摔車後補裝備: 好市多新款單車安全帽& Specialized Romin 北高整路屁股都不痛的坐墊 | 一千元居然有MIPS | CT Yeh | 公路車
4 年前
一日北高前的高裝檢 | 北高 360 | 挑戰11小時的裝備 | 一日雙塔 | 補給
6 年前
#公路車 #Fitting 靠人工智慧APP 幫你調整單車
6 年前
再一組! 全碳幅條 碟煞/無內胎輪組 開箱! 到底好騎嗎? UNAAS X40 | 公路車 | CT Yeh
4 年前
靠單車減肥35公斤 心得分享與整理
7 年前
一日北高/長距離團騎 常見問題補充篇 / 組團或跟團的眉角 / 壯車友容易被瘦車友慢性拉爆 / 原來屁股痛可能是這個原因...? / 風場配速法 / 公路車 / CT Yeh
2 年前
碟煞公路車 優缺點?換車一年半實際經驗分享 / 公路車 / CT Yeh
2 年前