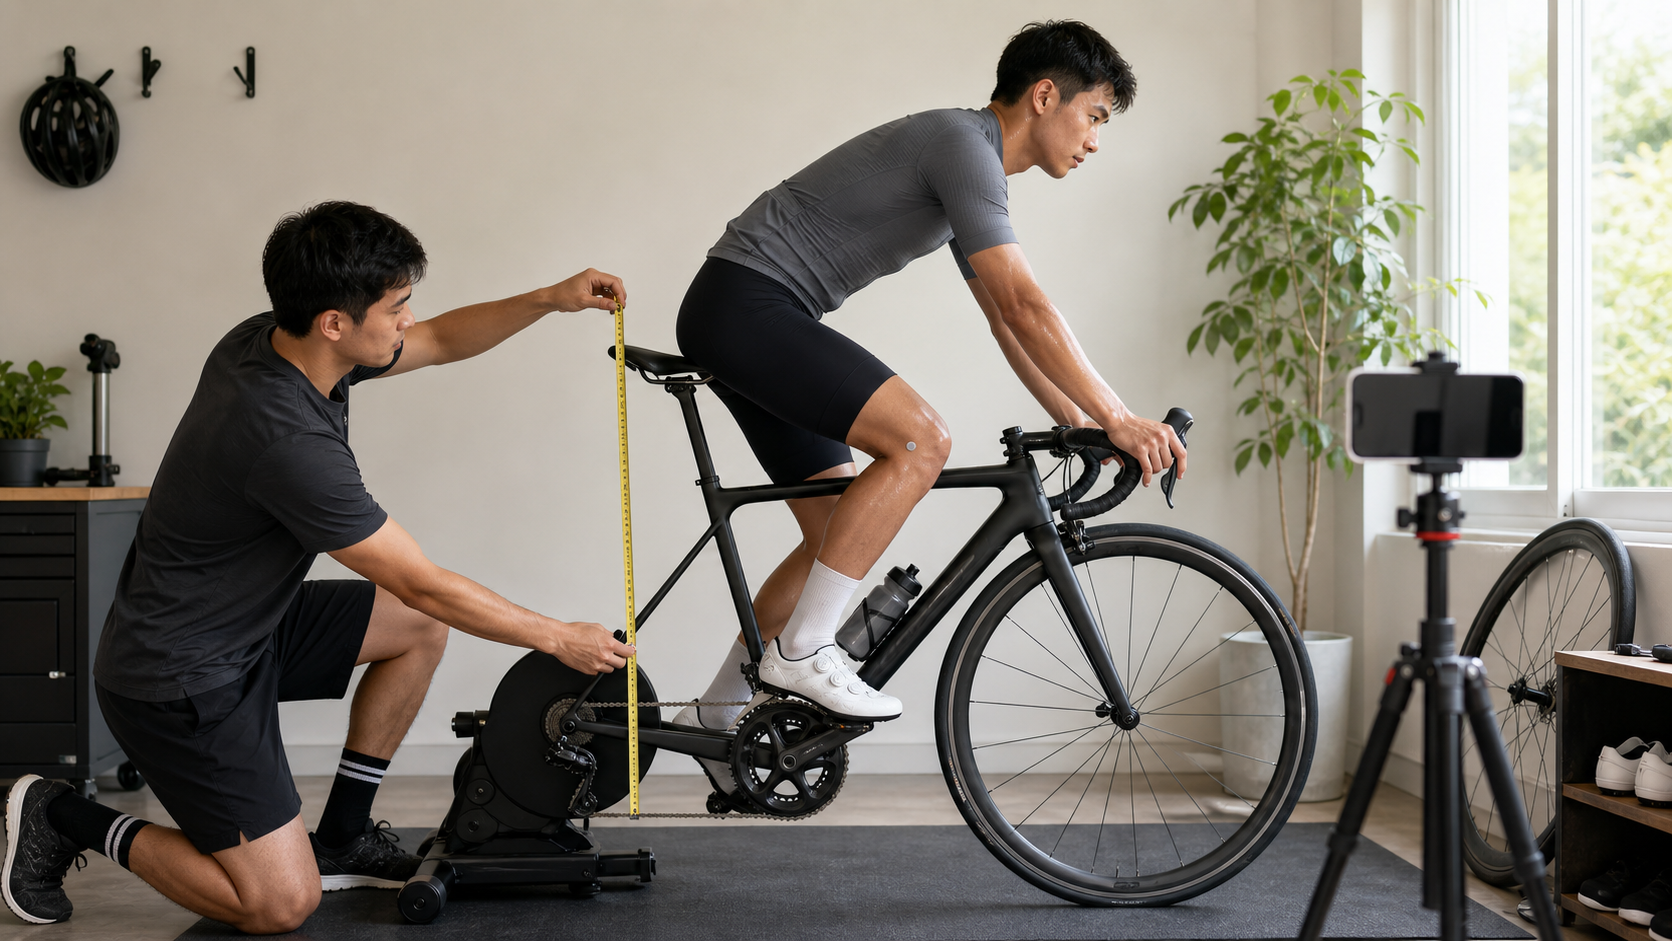
DIY Bike Fit Tools: Complete Basic Adjustments at Home with a Tape Measure and Your Phone
Introduction
A professional dynamic Bike Fit is certainly the most accurate option, but not every rider has the time or budget for a full assessment. The good news is that many basic setup issues can be identified and corrected at home with everyday tools. This DIY guide requires two things: a tape measure and a smartphone—plus your patience.
Tool Checklist
- Tape measure: 5 meters or longer, so you can measure yourself (or ask a family member to help)
- Smartphone: For shooting video and using an inclinometer app
- Inclinometer app: Recommended: “Angle Meter” for iOS or “Clinometer” for Android—free and accurate enough
- Trainer (recommended): Keeps the bike stable for filming; if you don’t have one, have an assistant hold the bike
- Grease pencil: To mark rail positions for easy re-setting
- Hex wrench set: 4mm, 5mm, and 6mm sizes needed for adjustments
Step 1: Take Body Measurements (10 minutes)
Inseam Length
As described earlier, place a book between your legs, measure the distance from the top of the book to the floor, and record it in centimeters.
Forward Bend Flexibility Test (Range of Motion Assessment)
Stand with feet shoulder-width apart, knees straight, and slowly bend forward:
- Palms flat on the floor: Excellent flexibility; a lower handlebar setup is acceptable
- Fingertips touch the floor: Average flexibility; a medium handlebar height is recommended
- Fingertips 10cm or more above the floor: Limited flexibility; a higher handlebar setup is recommended
Step 2: Set Saddle Height (15 minutes)
Calculate the Initial Value with a Formula
Saddle height (BB center to saddle surface) = Inseam length (cm) × 0.883
For example, with an inseam of 82cm: 82 × 0.883 = 72.4cm
Verify with an Inclinometer App
- Have an assistant or use a stand to secure your phone at the side (about 2 meters away)
- Stick small round stickers on the kneecap and the outside of the ankle bone (cut small pieces of sticky notes)
- Pedal on the trainer and film a side-view video
- Take a screenshot when the pedal is at its lowest point
- Use the inclinometer app to measure the angle behind the knee (from the back of the thigh to the back of the calf)
- Target: 25–35°
Step 3: Set Saddle Fore/Aft Position (10 minutes)
KOPS Check Method
- Put on your cycling shoes and get on the bike
- Rotate the crank to horizontal (3 o’clock position)
- Drop a string or plumb line vertically from the front edge of the kneecap
- The string should align with the pedal spindle
- If it’s off, loosen the saddle clamp, move the saddle forward or backward, and re-tighten
Step 4: Set Handlebar Height (10 minutes)
Photo Assessment
Have an assistant take a side-view photo of you pedaling (take it after about 5 minutes of steady pedaling so your muscles are fully warmed up)
Evaluation Criteria
| Observation Point | Good Condition | Signs You Need Adjustment |
|---|---|---|
| Elbow joint | Slightly bent 10–15° | Fully straight (handlebar too low/far) |
| Shoulders | Relaxed, not shrugged | Clearly shrugged (handlebar too low) |
| Neck | Natural extension | Head tilted back significantly (handlebar too low) |
| Spine | Continuous arch | Noticeable “kink” (handlebar too low) |
Adjustment methods:
- Handlebar too low: Add headset spacers, or flip the stem (for negative-angle stems)
- Handlebar too close: Switch to a longer stem
- Handlebar too far: Switch to a shorter stem
Step 5: Quick Cleat Position Check (10 minutes)
- Put on your cycling shoes and stand; place a sticker on the bony bump of the ball of your foot
- Get on the bike and, while pedaling, check whether the sticker aligns with the pedal spindle
- Watch whether your knee moves straight up and down while pedaling (have an assistant observe from directly behind)
Complete DIY Fit Record Sheet
It’s recommended to record the following values for future tracking:
| Measurement Item | Value | Measurement Date |
|---|---|---|
| BB center to saddle surface height | ___cm | ________ |
| Saddle fore/aft position (rail marking) | ___mm | ________ |
| BB center to handlebar surface height | ___cm | ________ |
| Knee angle at lowest point | ___° | ________ |
Conclusion
A DIY Bike Fit can’t replace a professional dynamic assessment, but it can take your setup from “completely wrong” to “roughly reasonable.” More importantly, through this process, you’ll begin to understand your bike and your body, learning which adjustment corresponds to which feeling. This accumulation of body awareness is the most valuable foundation for finer adjustments in the future—or for communicating with a professional fitter.
Related Reading
- Fine-Tuning Stem, Handlebar, and Saddle Height: Finding Your Ideal Riding Position
- The Complete Guide to Bike Fitting: Why Do You Need a Professional Fitting?
- The Complete Guide to Home Wheel Truing: Adjusting Roundness and Lateral Runout Yourself
- Are 2026 Bike Fit Tools and Services Worth It: The Line Between DIY and Going Pro
#公路車 #Fitting 靠人工智慧APP 幫你調整單車
6 年前
單車 一日北高 ( 雙城 ) 肥宅雙人瘋狂行 紀錄片 REACTO
10 年前
Insta 360 One 超級防手震技術實測
7 年前
Fitting訓練兩用功率車 ! Thinkrider ST900 完整實測!/ 坡度升降 / 鄰居測試/ smart bike/公路車/ CT Yeh
2 年前
武嶺配速表最佳使用方式 #bike
1 年前
白沙屯媽祖進香在家走!UREVO 坡度自調走步機 / 可連接訓練遊戲APP MyWhoosh / 邊看直播邊走起來 / CT Yeh
11 個月前
iPhone內建一秒變長腿🤣 車友必備#cycling
2 年前
西進武嶺 自製新版AI配速表產生器 x 賽前攻略 抱佛腳! 沒有功率計也可以產生配速表嗎?有什麼其他眉角賽前要注意的呢? | 西進武嶺 / 東進武嶺 KOM 攻略 | 公路車 | CT Yeh
4 年前