Wetsuit Tear and Seam Repair: Lifespan-Extending Tricks You Can Do with Household Tools
文章導覽
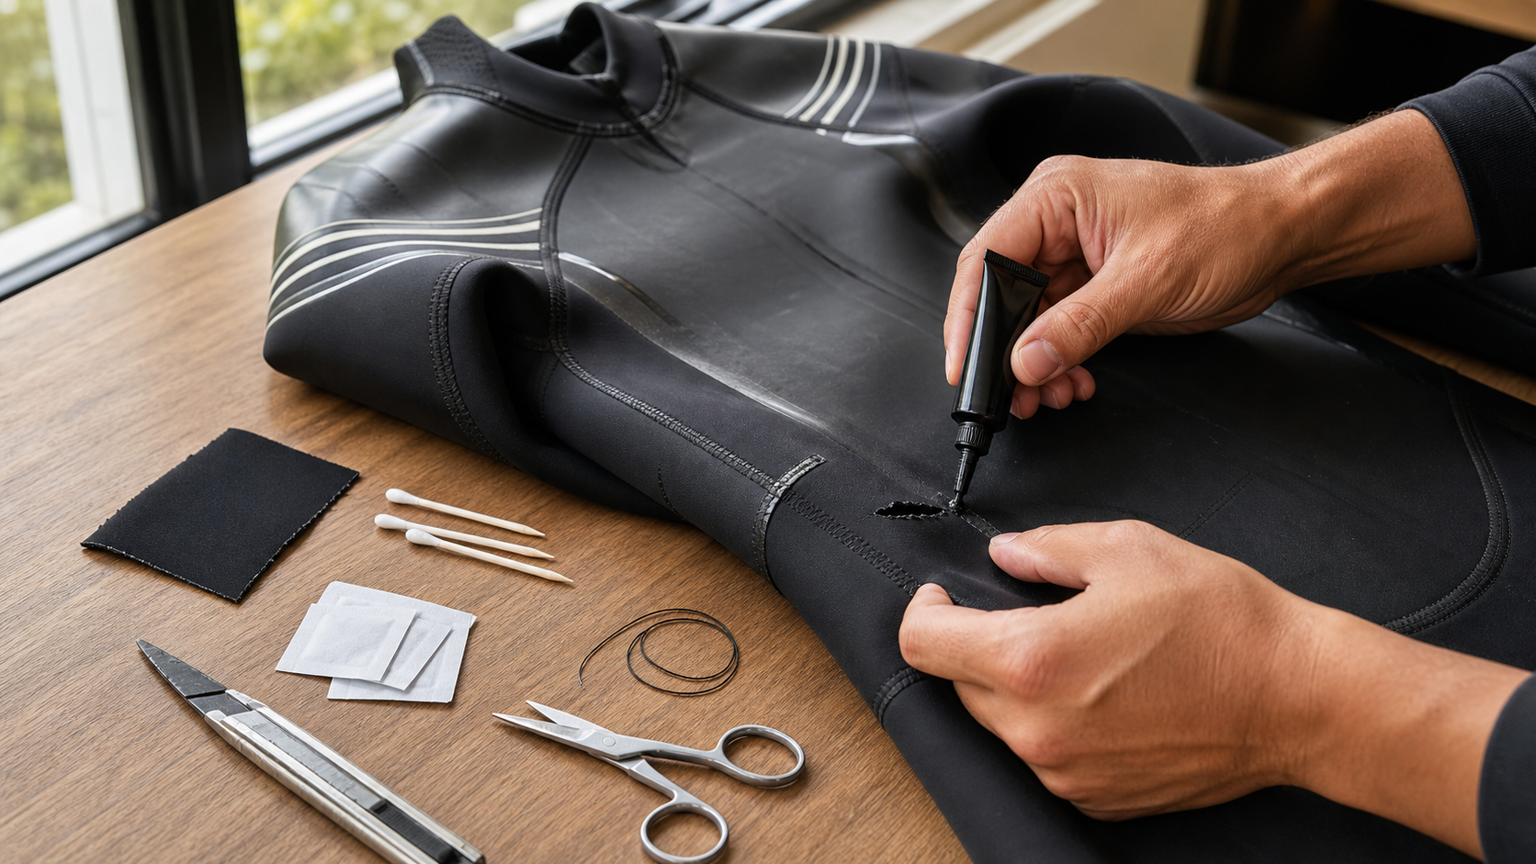
Common Types of Wetsuit Damage
The main body of a triathlon wetsuit is 3-5mm thick Yamamoto Neoprene, with Nylon or SCS coatings on the inner and outer surfaces. Common damage falls into four categories:
- Surface scratches: Shallow 1-3mm abrasions caused by fingernails or Velcro friction
- Small holes: Penetrating punctures (< 5mm) caused by rocks, watches, or reef
- Seam thread unraveling: Stitching coming apart at the shoulders, armpits, or crotch
- Large tears: Over 5cm or located in high-stress areas, requiring professional repair
The first three categories can be repaired at home; for the fourth, it is strongly recommended to send it to the original manufacturer or a professional shop.
Essential Tools and Materials
| Tool | Purpose | Price |
|---|---|---|
| Neoprene-specific adhesive (black glue) | Bonding the Neoprene body | NT$ 200-400 |
| Fine needle + waxed thread (polyester) | Sewing seams | NT$ 150 |
| Toothpick / wooden stick | Applying and positioning glue | Already at home |
| Utility knife / scissors | Trimming rough edges | Already at home |
| Cotton swabs + alcohol | Cleaning bonding surfaces | Available at pharmacies |
Important: Never use regular super glue (cyanoacrylate / 502), as it will harden and crack the Neoprene. Specialized adhesives are typically labeled as Aquaseal NEO or Black Witch types.
Surface Scratches: Done in 5 Minutes
- Clean a 2cm area around the scratch with an alcohol swab
- After it dries, use a toothpick to pick up a small drop of adhesive
- Apply a thin coat along the direction of the scratch (do not build it up thick)
- Air dry for 6-8 hours, do not expose to direct sunlight
Small Hole Repair: The Sandwich Method
When the Neoprene has been punctured, simply applying glue will cause it to peel off. The correct approach is “sandwich filling”:
- Use a utility knife to trim the hole into a regular circle or square (hardened rough edges will cause the glue to fail)
- Cut a patch 3mm larger than the hole from the leftover material that came with the wetsuit
- Apply glue to both surfaces, wait 5 minutes for the solvent to evaporate until it is “tacky but not sticking to the finger”
- Align and press together, then weigh down with a book for 24 hours
- Flip it over and apply the same patch to the other side as well (double-sided reinforcement)
If you don’t have the original leftover material, you can buy 2mm Neoprene repair patches at a dive shop.
Seam Thread Unraveling: The Blind Stitch Method
Wetsuit seams use the GBS (Glued Blind Stitched) construction, where the stitching does not penetrate the Neoprene. For home repair:
- First apply a strip of adhesive (5mm wide) along the inside of the seam
- Align the two edges and let sit for 10 minutes for the glue to initially set
- Use waxed thread to make a Z-shaped blind stitch from the inside, without piercing the outer layer with the needle
- Apply another layer of glue to cover the stitching
Post-Repair Care Notes
- Do not expose to water for 48 hours after repair (including fresh water)
- For the first swim, a pool is recommended over open water (to avoid salt penetrating the not-yet-fully-cured glue)
- If the same hole needs a second repair within a year, it is recommended to replace the entire panel
When to Give Up on Repair
- Tear > 5cm or spanning multiple panel seams
- A repair in a high-stress area such as the crotch or armpit has already failed once
- The Neoprene has extensively oxidized and hardened (slow rebound when pressed with a finger)
- Noticeable uneven buoyancy after repair
A NT$ 25,000 wetsuit can last an additional 2-3 years with proper repairs. But if a suit has already been repaired in more than 5 places, it’s time to consider retiring it.