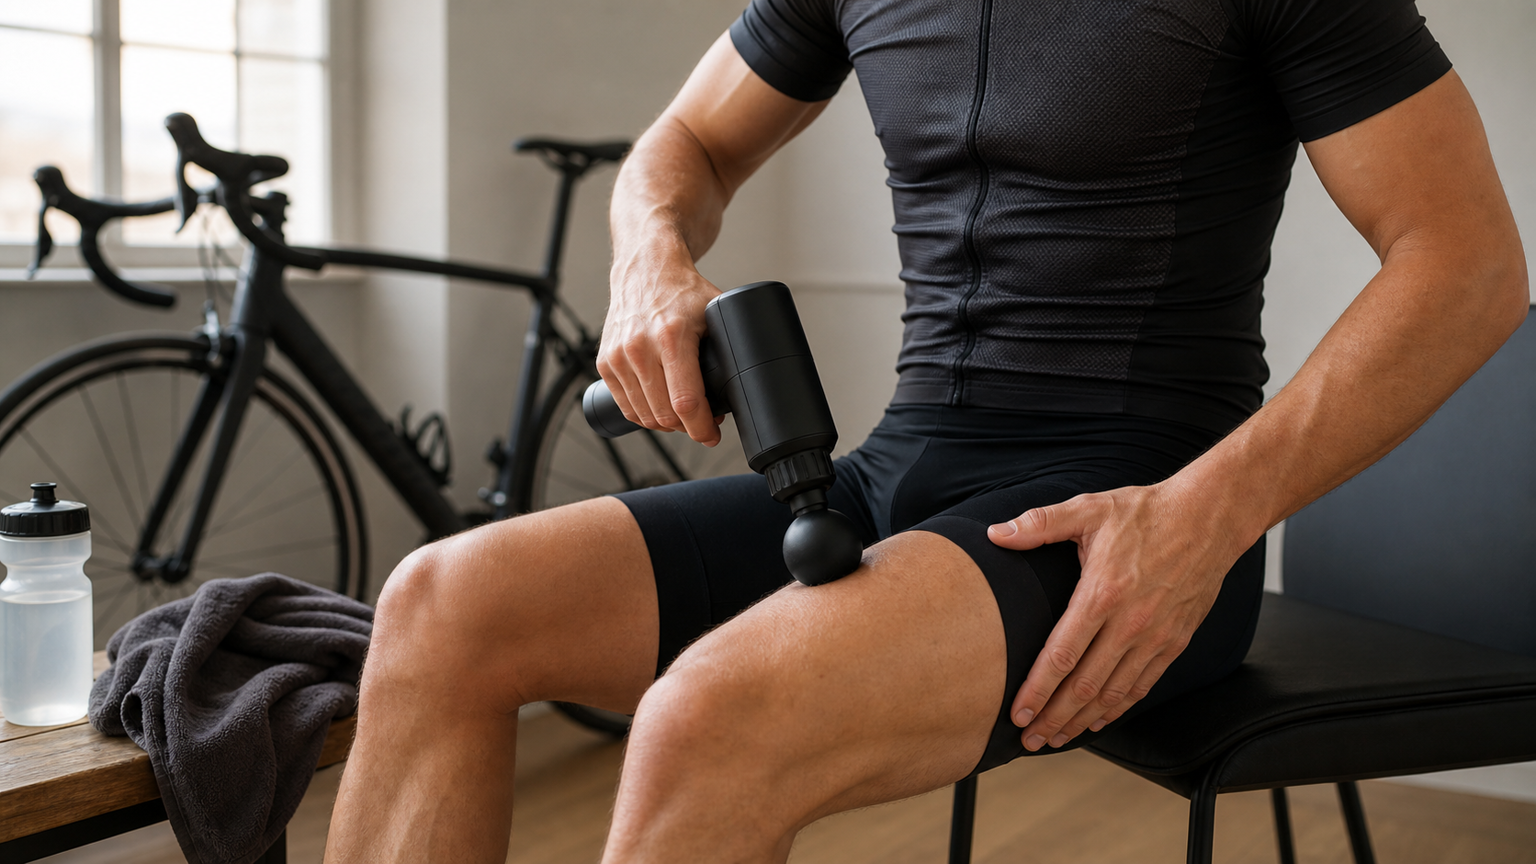
Complete Guide to Using a Massage Gun: The Deep Muscle Recovery Tool for Cyclists
Massage guns (Percussion Massage Device / Massage Gun) have rapidly become a star product in athletes’ recovery arsenals over the past few years. From Theragun to Hypervolt, the market is flooded with various brands and models. But how exactly does a massage gun work? How should you use it to maximize its effectiveness? This article provides cyclists with a complete operating guide.
The Science Behind Massage Guns
Percussive Therapy
A massage gun delivers repeated mechanical pressure to target muscles through high-frequency, short-stroke reciprocating impacts (typically 20-50 times/second). Unlike the sustained pressure of traditional massage, percussive therapy is characterized by rapid “in-and-out” movements.
Physiological Effects
1. Vibratory Analgesia
High-frequency vibration stimulates large-diameter tactile nerve fibers (A-beta fibers), which inhibits the transmission of pain signals through the gate control mechanism at the spinal cord level. This is why pain is noticeably reduced both during and after massage gun use.
2. Increased Local Blood Flow
Studies using Doppler ultrasound have observed that blood flow in target muscles increases by approximately 30-40% after 5 minutes of massage gun use. The increased blood flow delivers more oxygen and nutrients, accelerating tissue repair.
3. Reduced Muscle Tension
The percussive stimulation activates the inhibitory reflex of the Golgi Tendon Organ, leading to muscle relaxation. Additionally, repeated mechanical stimulation may affect the viscosity of hyaluronic acid in the fascia, improving tissue gliding.
4. Improved Joint Range of Motion
A 2020 study in the Journal of Sports Science and Medicine showed that using a massage gun on the quadriceps for 2 minutes increased knee joint range of motion by an average of 5.4 degrees, without affecting subsequent muscle strength performance.
Key Considerations When Buying a Massage Gun
Key Specifications
| Specification | Recommended Value | Notes |
|---|---|---|
| Percussion frequency | 20-40 times/sec (adjustable) | 30 times/sec is sufficient for most scenarios |
| Stroke amplitude | 10-16mm | Greater amplitude means deeper penetration |
| Stall force | ≥ 25 lbs | Won’t stall when pressed against muscle |
| Noise | ≤ 60 dB | Quieter models are convenient for use anytime |
| Weight | 0.6-1.2 kg | Overly heavy models will tire your hands with extended use |
| Battery life | ≥ 2 hours | Enough for multiple sessions per week |
| Included attachments | ≥ 4 types | Different heads suit different body areas |
Choosing the Right Attachment Head
- Round Ball: Most versatile; suitable for large muscle groups (quadriceps, glutes, hamstrings)
- Flat Head: Suitable for denser muscle groups; provides broader pressure distribution
- Bullet Head: Targets deep trigger points, such as the deep piriformis or plantar fascia
- Fork Head: Designed for the muscles alongside the spine; the forked ends avoid the spinous processes
- Air Cushion: For sensitive areas or near bones; provides gentler pressure
Cyclist-Specific Massage Gun Operating Guide
Basic Operating Principles
- Speed: Start at a low speed and gradually increase to a comfortable intensity
- Pressure: Let the massage gun’s weight sink naturally; do not press down forcefully
- Movement: Move slowly across each area, approximately 2-3 cm per second
- Time: 60-120 seconds per muscle group; 15-30 seconds on trigger points
- Breathing: Maintain deep, long breaths; do not hold your breath
Detailed Instructions for Each Muscle Group
Quadriceps
One of the muscle groups cyclists need to care for the most.
Attachment: Round Ball
Speed: Medium (30 times/sec)
Time: 2 minutes per side

Steps:
1. Sit or lie on your side; start 5 cm above the knee
2. Slowly slide upward along the front of the thigh toward the hip joint
3. Work in three lines: outer (vastus lateralis), middle (rectus femoris), inner (vastus medialis)
4. Hold on sore spots for 15 seconds; you may slightly change the angle for deeper penetration
5. Avoid the kneecap and patellar tendon
Hamstrings
Attachment: Round Ball
Speed: Medium
Time: 90 seconds per side

Steps:
1. Sit on a chair with one leg extended
2. Start 5 cm above the back of the knee and move toward the sit bone
3. Treat the inner and outer hamstrings separately
4. Caution: Blood vessels and nerves pass through the back of the knee (popliteal fossa); never use the massage gun there
Glutes
Attachment: Round Ball (superficial) or Bullet Head (deep)
Speed: Low to medium (25 times/sec)
Time: 2 minutes per side

Steps:
1. Stand with one foot slightly forward
2. First use the round ball over the surface of the gluteus maximus, moving slowly over a broad area
3. Once you find a deep sore spot (usually in the piriformis area), switch to the bullet head
4. Hold the bullet head on the sore spot for 20-30 seconds with moderate pressure
5. Don't neglect the gluteus medius (outer side of the ilium)
Calves
Attachment: Round Ball
Speed: Low to medium
Time: 60 seconds per side

Steps:
1. Sit with your calf resting on a stable surface
2. Start above the Achilles tendon (do not apply directly to the tendon)
3. Move upward along the back of the calf to just below the back of the knee
4. Be sure to cover both the inner (medial gastrocnemius) and outer sides
5. Slightly increase pressure for the soleus (deep layer)
Around the IT Band
Attachment: Flat Head
Speed: Low (20 times/sec)
Time: 60 seconds per side

Steps:
1. Lie on your side or stand
2. Do not apply directly to the IT Band (it is a fascial band, not a muscle)
3. Treat the vastus lateralis in front of the IT Band
4. Treat the lateral biceps femoris behind the IT Band
5. Treat the tensor fasciae latae (TFL) at the upper end
Upper Back and Thoracic Paraspinal Muscles
Attachment: Fork Head
Speed: Medium
Time: 2 minutes

Steps:
1. Stand and operate the massage gun from behind your shoulder
2. Place the fork head straddling both sides of the spinal spinous processes
3. Move from the mid-back upward to the upper back
4. Hold for 15 seconds on stiff segments
5. Use your other hand to help stabilize
Plantar Fascia
Attachment: Bullet Head
Speed: Low (20 times/sec)
Time: 60 seconds per side

Steps:
1. Sit with your foot on a stable surface
2. Start the bullet head just in front of the heel
3. Move slowly along the arch toward the base of the toes
4. Use gentle pressure—the sole of the foot is sensitive
5. Especially helpful for riders with plantar fasciitis
Timing and Strategy
Pre-Workout (Warm-Up Aid): 2-3 minutes
- Purpose: Improve mobility and activate target muscle groups
- Use: High speed, short duration, light pressure
- 30 seconds per muscle group is sufficient
- Studies show it does not reduce subsequent power output
Post-Workout (Recovery): 8-12 minutes
- Purpose: Promote blood flow, reduce muscle tension, alleviate DOMS
- Use: Medium speed, longer duration, moderate pressure
- 90-120 seconds per major muscle group
- Spend extra time on sore spots
Before Bed (Relaxation): 5-8 Minutes
- Purpose: Reduce overall muscle tension and promote falling asleep
- Use: Low speed, light pressure, slow movement
- Combine with deep breathing
- Avoid high-speed settings (may overstimulate the sympathetic nervous system)
Contraindications and Safety Precautions
Absolute Contraindications
- Fractured or cracked bones
- Acute inflammation (redness, swelling, heat, pain)
- Areas at risk of blood clots or deep vein thrombosis
- Open wounds or skin infections
- Tumor sites
Areas to Avoid
- Front of the neck (carotid artery)
- Armpits (brachial plexus)
- Back of the knee (popliteal artery and nerve)
- Groin (femoral artery and nerve)
- Over the spinal spinous processes (use the fork attachment to avoid)
- Any bony prominences
Usage Warnings
- Do not stay on the same spot for more than 30 seconds
- If soreness worsens 24 hours after use, the pressure was too high
- Stop immediately if you feel nerve tingling or numbness
- Those taking blood thinners should consult a physician
Massage Gun vs. Other Recovery Tools
| Tool | Best For | Advantages | Disadvantages |
|---|---|---|---|
| Massage Gun | Targeting specific muscle groups/trigger points | Precise, fast, portable | Cannot cover large areas |
| Foam Roller | Relaxing large muscle groups | Inexpensive, body-weight controlled | Difficult to target deep layers |
| Massage Ball | Deep trigger points | Extremely precise | Inconvenient to use |
| Professional Massage | Full-body recovery | Most comprehensive | Expensive, requires appointment |
| Stretching | Improving range of motion | Free, can be done anytime | Cannot address trigger points |
Best Combination Strategy: Foam roller for large-area pre-treatment → Massage gun for specific sore spots → Stretching to finish.
Conclusion
The massage gun is a powerful tool that requires proper use. Don’t chase the myth of “the more painful, the better” or “the longer, the better.” By mastering appropriate pressure, correct target areas, and reasonable usage time, the massage gun can become a core part of your daily recovery routine. Most importantly—the massage gun cannot replace professional physical therapy or sports massage. When you have persistent pain or discomfort, please seek professional medical assistance.
Related Reading
- Massage Gun Usage: The Effects of Vibration Frequency and Depth on Muscle Recovery
- Nutrition & Recovery: A Guide to Foam Rolling and Self-Myofascial Release with Massage Guns for Endurance Athletes: The Mechanical Mechanisms of Trigger Point Release and Muscle Adhesion Elimination, and Recovery Scheduling: The Key to Breaking 3 Hours and Pushing Limits
- Post-Run Fascial Release: The Correct Order for Using Foam Rollers, Balls, and Stretching
- 2026 Massage Gun and Recovery Tool Review: What You Should Know Before Spending Big Money
Insta 360 One 超級防手震技術實測
7 年前
[教學] Premiere 影片 手震 修正 教學 防抖 單眼 影像 GoPro 穩定 Video Stabilization
8 年前
Never Stop 西進武嶺 前後雙機 完整全程錄影 訓練台 實境
8 年前
#公路車 #Fitting 靠人工智慧APP 幫你調整單車
6 年前
近視雷射三個月後悔嗎?單車族/工程師必看,Smart TransPRK 術後血淚史與後遺症全公開 / CT Yeh
4 個月前
多機位拍片神器 DJI Action 2 拍出速度張力感 | 類空拍機視角 4陣列麥克風超強降風噪 實測! | 公路車 | CT Yeh
3 年前
3D 列印車褲墊 / 舒適改善? / 無痕 x 分區壓縮 / ATK & Decider系列 / JE22黑科技 / #公路車 #CTYEH
11 個月前
洗單車神器 吹水機! 實際洗車用用看 暴力洗鍊條大法 | 公路車 | CT Yeh
4 年前