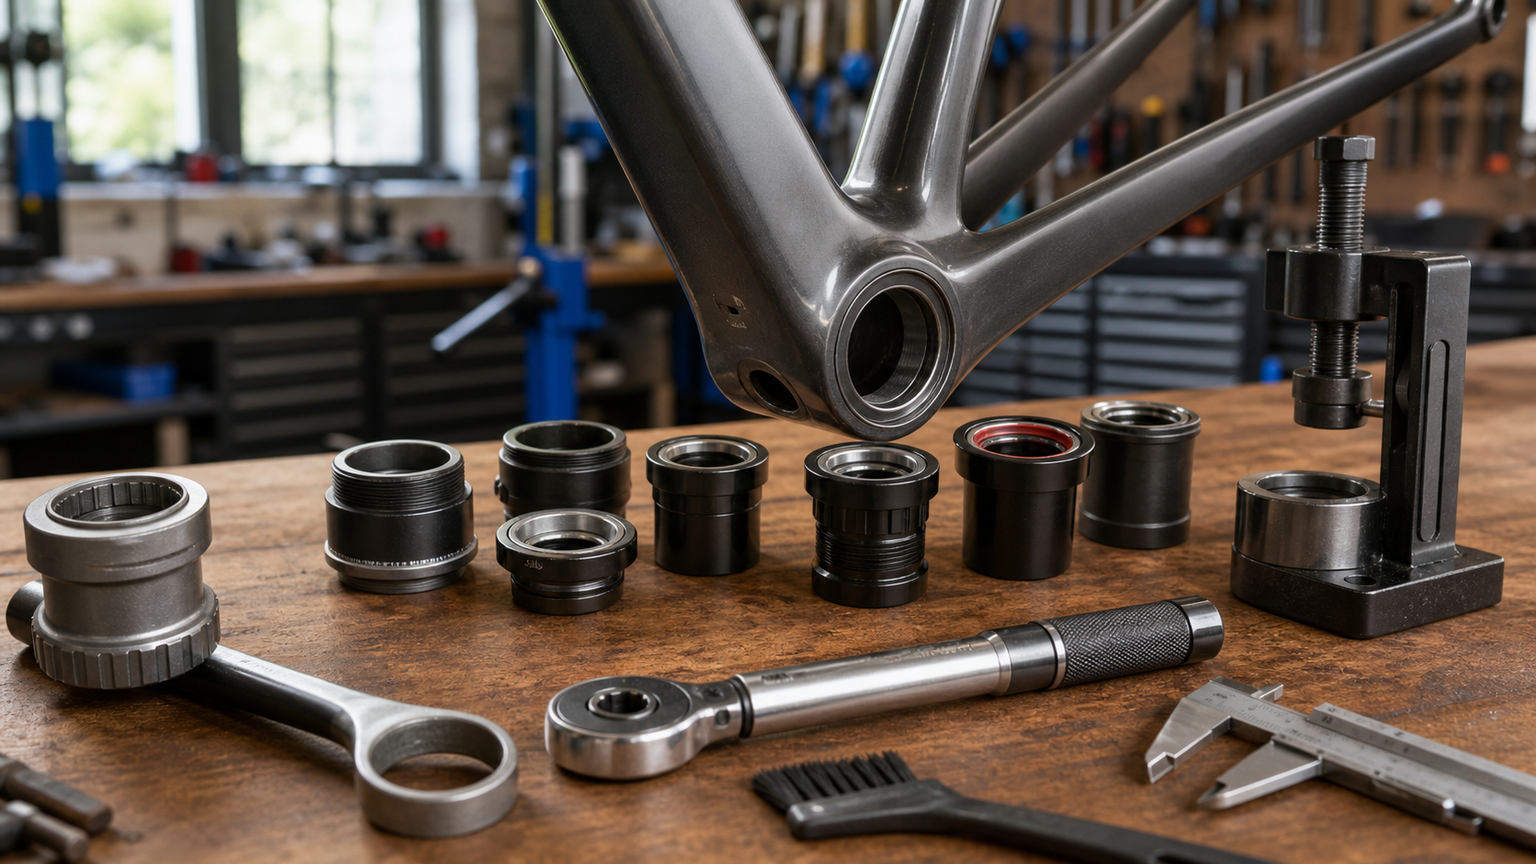
Bottom Bracket Installation Guide: BSA, PF30, and BB86 Explained
The bottom bracket (BB) is the bearing system between the crankset and the frame, and it carries every bit of force a rider puts into the pedals. Installing it incorrectly can cause creaking noises, reduced pedaling efficiency, and even damage to an expensive frame. This article systematically covers the various bottom bracket standards and how to install each one correctly.
Overview of Bottom Bracket Standards
The bottom bracket standards on the market today can be dizzying. Here are the most common ones:
| Standard | Type | Shell Width | Bore Diameter | Common Brands/Frames |
|---|---|---|---|---|
| BSA (English) | Threaded | 68/73mm | 34.8mm | Shimano, most steel and aluminum frames |
| Italian | Threaded | 70mm | 34.8mm | Some Italian frames |
| PF30 | Press-fit | 68/73mm | 46mm | Cannondale, some carbon frames |
| BB86 (PF86) | Press-fit | 86.5mm | 41mm | Shimano press-fit standard, most carbon road bikes |
| BB92 | Press-fit | 89.5/92mm | 41mm | Common on mountain bikes |
| BB30 | Press-fit | 68/73mm | 42mm | Cannondale (earlier generation) |
| T47 | Threaded | 68/86.5mm | 47mm | Newer standard combining the benefits of threading |
How do you confirm your bottom bracket standard? Checking the frame’s spec sheet is the most reliable method. You can also measure the width and bore diameter of the BB shell to determine it.
Tool Preparation
Threaded Bottom Brackets (BSA/Italian)
- Bottom bracket tool: The correct socket for removal/installation (e.g., Shimano Hollowtech II uses the TL-FC32)
- Torque wrench: Range covering 35-50 Nm
- Threadlock grease or anti-seize compound
- Degreaser and rags
- Thread chaser (not essential, but recommended for cleaning up threads)
Press-Fit Bottom Brackets (PF30/BB86/BB92)
- Bottom bracket press tool (dedicated or a universal press kit)
- Bottom bracket removal tool
- Bearing-specific grease
- Loctite 609 or equivalent bearing retaining compound (used in some cases)
- Degreaser and rags
Installing a BSA Threaded Bottom Bracket
BSA is the most classic and easiest-to-maintain bottom bracket standard. Here’s the process using a Shimano Hollowtech II system as an example:
Removing the Old Bottom Bracket
- Remove the left crank arm first (loosen the pinch bolt, remove the plastic cap, use a crank puller tool)
- Pull out the right crank (with the chainrings attached)
- Use the appropriate tool to remove the bottom bracket cups
BSA Thread Direction (Critically Important):
| Side | Removal Direction | Installation Direction | Thread Notation |
|---|---|---|---|
| Right (drive side) | Clockwise to remove | Counterclockwise to install | Left-hand thread |
| Left (non-drive side) | Counterclockwise to remove | Clockwise to install | Right-hand thread |
Memory tip: The drive side uses reverse threading — loosening turns in the direction of pedaling. This design prevents the bottom bracket from working itself loose while riding.
Installing the New Bottom Bracket
- Clean the threads: Thoroughly clean the threads inside the BB shell with degreaser
- Chase the threads (recommended): Use a BB thread chaser to clean up the threads and ensure smooth engagement
- Apply grease: Apply a generous amount of grease to the threads (this prevents creaking and makes future removal easier)
- Install the right cup: Thread the right cup (drive side) in counterclockwise, hand-tightening first to confirm it turns smoothly
- Torque it down: Use a torque wrench to tighten to 35-50 Nm
- Install the left cup: Thread it in clockwise, and torque it to the same spec
- Install the crankset: Insert the spindle from the right side, then attach the left crank arm
Crank Installation Torque Values
| Component | Torque |
|---|---|
| Bottom bracket cups | 35-50 Nm |
| Left crank pinch bolt | 12-14 Nm |
| Chainring bolts | 12-14 Nm |
| Pedals | 35-55 Nm |
Installing a Press-Fit Bottom Bracket (BB86 Example)
Installing a press-fit bottom bracket requires more skill and patience:
Removing the Old Bottom Bracket
- Remove the crankset
- Insert a press-fit BB removal tool from one side
- Position the tool against the inner edge of the bearing cup on the other side
- Tap or turn evenly to drive the bearing cup out
- Repeat on both sides
Cleaning and Preparation
- Clean the inner wall of the BB shell with degreaser
- Inspect the BB shell: For carbon frames, carefully check for cracks, delamination, or wear
- Confirm the inner wall is smooth with no leftover adhesive residue
- Let it dry before proceeding
Installing the New Bottom Bracket
- Apply a suitable amount of grease to the outer surface of the bearing cups (some manufacturers recommend Loctite 609 retaining compound)
- Confirm bearing cup orientation: they’re usually marked to indicate left and right side
- Align the bearing cup with the opening of the BB shell
- Use a bottom bracket press tool to press it in slowly and evenly
- Press until it’s fully seated at the bottom with no gap
- Once both sides are installed, confirm the bearing spins smoothly
Common Press-Fit Bottom Bracket Disasters:
- Pressing in crooked: The bearing cup wasn’t aligned before pressing began, causing it to jam or damaging the frame
- Hammering it in: Uneven force can crush the bearing or damage the BB shell
- Forgetting to grease: Removal later becomes extremely difficult, sometimes requiring destructive extraction
The Creaking Problem with Press-Fit Bottom Brackets
The most notorious complaint about press-fit bottom brackets is creaking noise. Here’s how to prevent and resolve it:
Preventive Measures
- Make sure the bearing cups are fully seated during installation, with no micro-gaps
- Use quality bearing cups (Chris King, CeramicSpeed, and Wheels Manufacturing are recommended)
- Consider a threaded conversion kit (such as Wheels Manufacturing’s PressFit to Threaded conversion cups), which converts a press-fit shell to a threaded interface
Steps to Diagnose Creaking
- Remove the bottom bracket and crankset
- Clean all contact surfaces
- Reapply grease
- Re-press or re-torque
- If the problem persists, consider switching to a threaded conversion kit
T47: The Answer for the Future?
T47 is a newer standard that combines the large bearing clearance of press-fit designs with the reliability of threaded designs. If your frame supports T47, it’s strongly recommended — installation is similar to BSA but uses a larger thread diameter, and it virtually eliminates the creaking problems associated with press-fit bottom brackets.
Post-Installation Checklist
- [ ] The crank spins smoothly with no resistance or noise
- [ ] No play when rocking the crank side to side
- [ ] All bolts are torqued to spec
- [ ] Recheck everything after a test ride
A correctly installed bottom bracket should run trouble-free for thousands of kilometers. Regular maintenance (checking every 3,000-5,000 km, or after riding in the rain) can significantly extend the bottom bracket’s service life.
Related Reading
- BB (Bottom Bracket) Fully Explained: Standards, Maintenance, and Fixing Creaks
- The Great Bicycle BB Standards Showdown: A Buying Guide to BSA, PF30, BB86, and T47
- Complete Guide to BB Bottom Bracket Removal, Installation, and Bearing Maintenance
- Bottom Bracket Maintenance and Replacement: Press-Fit vs. Threaded Removal Tools
Nepest NOVA 碳條輪組:輕量、空力、舒適一次滿足!/ 公路車 / CT Yeh
7 個月前
再一組! 全碳幅條 碟煞/無內胎輪組 開箱! 到底好騎嗎? UNAAS X40 | 公路車 | CT Yeh
4 年前
Vision Metron RS 37碳幅條輪組 (非SL)官網沒有的 低調開箱 / 這重量太銷魂了 / 公路車 / CT Yeh
6 個月前
多到選擇障礙... 換個單車把帶想一個小時 / BTP / 編織&軟木特有材質超吸睛! / 公路車 / CT Yeh
1 年前
單車 重低音 藍芽喇叭 音質實測 SoundBot SB525 Real Sound Test
8 年前
來都來了!改好改滿 / CS大導輪 + BB 可以省幾瓦? / 同場加映 TIME XPRO卡踏 / #公路車 #ceramicspeed / CT Yeh
1 年前
2022 前十五大自行車錶 !? 兩萬名車友大數據統計 | 你的上榜了嗎? | 菁英車友都用哪些錶? | Bryton Garmin 誰能拔得頭籌?| 車錶推薦 | 公路車 CT Yeh
4 年前
首發!LUN HYPER 第五代 2025最新版 碳幅條x鈦合金 輪組 D40 開箱 / 居然開始捲高端輪組了 / 公路車 / CT Yeh
11 個月前