文章導覽
Bicycle Aerodynamics: The Science of Reducing Drag from Helmet to Riding Position
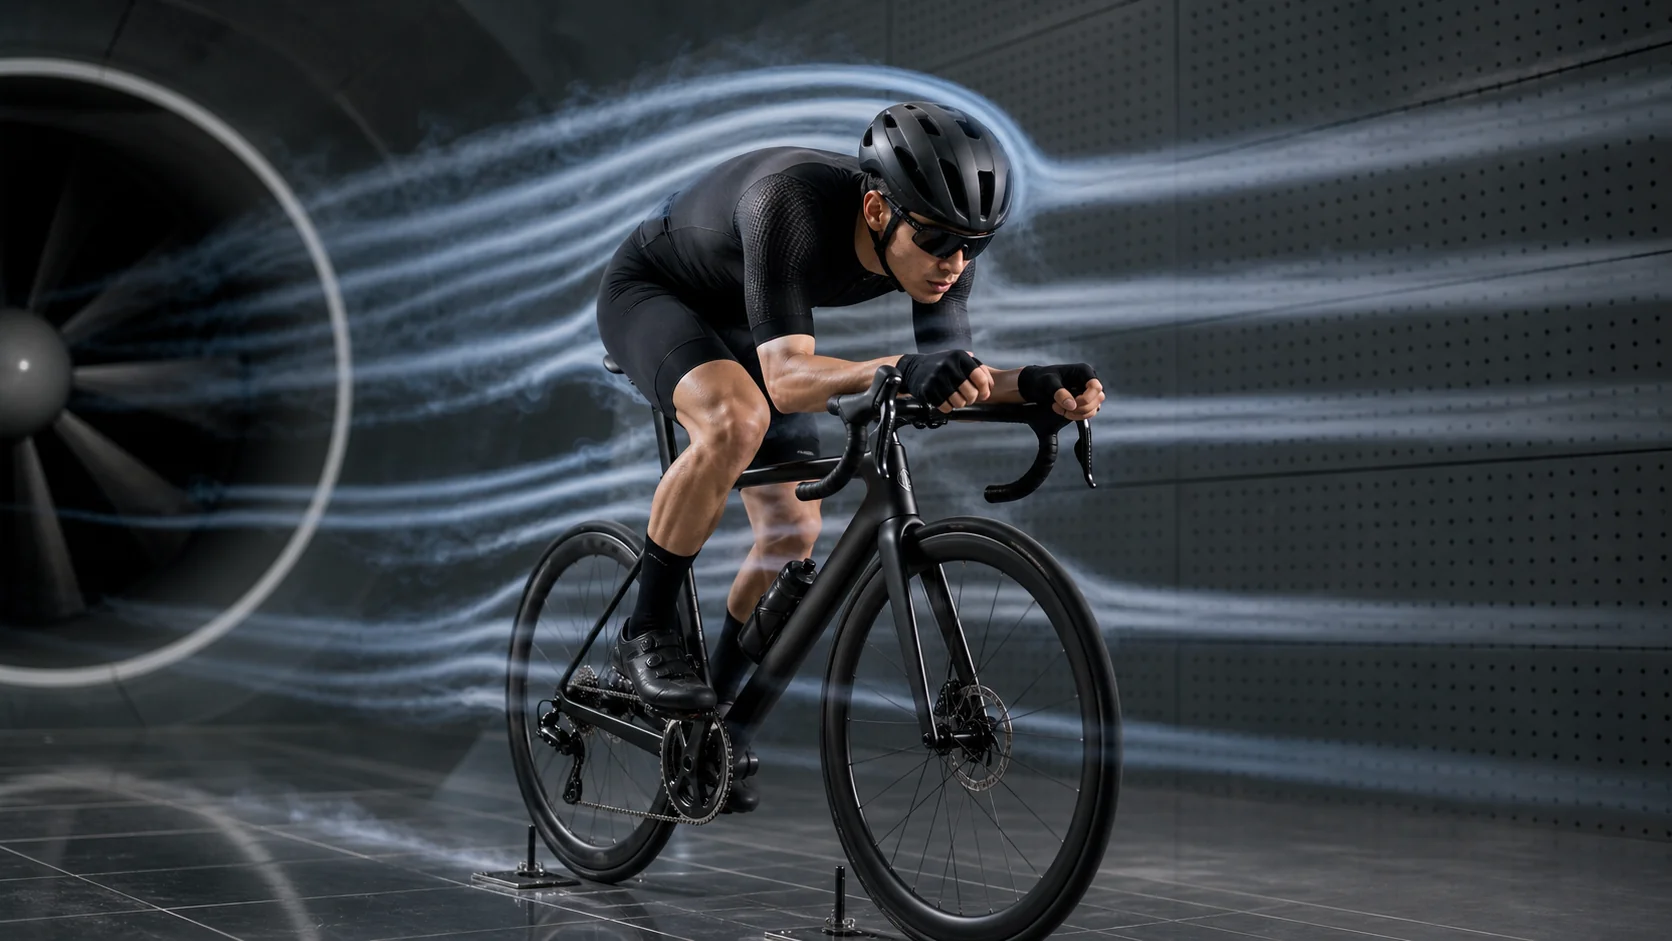
In the world of road cycling, speed is an eternal pursuit. When you ride on flat ground above 30 km/h, aerodynamic drag accounts for 70-80% of the total resistance you need to overcome. This means: reducing drag is often more effective at increasing speed than adding muscle power. This article takes a deep dive into how aerodynamics applies to cycling.
What Is Aerodynamic Drag?
Aerodynamic drag is determined by the following formula:
F = 0.5 × ρ × v² × Cd × A
| Variable | Description | Controllability |
|---|---|---|
| ρ (air density) | Affected by temperature and altitude | Low (cannot be directly controlled) |
| v (speed) | Squared relationship with drag | Medium (the goal is to go faster) |
| Cd (drag coefficient) | Determined by body shape and equipment | High |
| A (frontal area) | Determined by riding position and body shape | High |
Most importantly: when speed doubles, drag quadruples. So at high speeds, even small drag optimizations are well worth it.
The Impact of Riding Position: The Biggest Room for Optimization
Research shows that the rider’s body accounts for 70-80% of total aerodynamic drag, not the bicycle itself. Therefore, optimizing riding position is the most effective way to reduce drag.
Power Requirements Comparison Across Riding Positions (at 40 km/h)
| Riding Position | Estimated Power Requirement |
|---|---|
| Upright riding (leisure) | ~380W |
| Standard road drop-bar grip | ~310W |
| TT/Triathlon aero bars | ~260W |
| Extreme aero position (UCI-legal) | ~240W |
Riding Position Techniques to Reduce Drag
1. Head down, narrow shoulders
- Make your back streamlined
- Pull your shoulders in and keep your elbows tucked
- Lower your head, using only your eyes to look ahead (mind your safety)
2. Ankle position
- Research shows ankle angle affects the aerodynamic drag of the lower leg
- Pointing the toes slightly downward (10-15 degrees) can reduce the frontal area of the calf
3. Knee position
- Avoid letting your knees splay outward; keep them parallel to the frame
- Flared knees increase frontal area
Helmet Aerodynamics
Standard Helmets vs. Aero Helmets
| Type | Cd×A (estimated) | Power Savings |
|---|---|---|
| Standard helmet | 0.024 | Baseline |
| Entry-level aero helmet | 0.020 | Saves ~8W |
| Top-tier aero helmet | 0.018 | Saves ~12W |
| Time trial helmet | 0.015 | Saves ~18W |
How to Choose an Aero Helmet
- Tail length: A longer tail is usually more aerodynamic, but requires a low head position to work properly
- Ventilation design: More vents mean better airflow, but worse aerodynamic performance
- Head shape fit: A poorly fitting helmet may sit crookedly and actually increase drag
Wheelset Aerodynamics
The Impact of Rim Depth
| Rim Depth | Aero Advantage | Crosswind Stability | Best Use Case |
|---|---|---|---|
| Below 25mm | Lowest | Most stable | Climbing, strong crosswinds |
| 35-40mm | Moderate | Good | All-around wheels |
| 50-60mm | High | Acceptable | Flat roads, time trials |
| Above 80mm | Highest | Requires caution | Time trials, no crosswind |
Important note: Deep-section wheels are prone to being pushed around in crosswinds and require more skill to handle. Beginners are advised to start with mid-depth wheels.
The Impact of Jerseys and Skinsuits
The importance of surface material is often underestimated.
- Smooth jerseys (laminar flow) vs. textured jerseys (turbulent flow): research shows that at certain speeds, appropriate texturing can reduce drag (similar to the dimple effect on a golf ball)
- Fit: a jersey that’s too loose will balloon on the back, dramatically increasing drag
- Long-sleeve skinsuits: commonly used in time trials; fully covering the arms can save several watts of power
Estimated Real-World Power Savings (at 40 km/h)
| Optimization | Estimated Power Savings |
|---|---|
| Standard → top-tier aero helmet | 8-15W |
| Standard → fitted racing jersey | 5-12W |
| Standard wheelset → aero wheelset | 5-10W |
| Optimizing riding position | 20-50W |
| Tubular → latex inner tube | 2-5W |
Wind Tunnel Testing: The Secret Weapon of Professional Riders
Top riders and teams use wind tunnels or CFD (Computational Fluid Dynamics) simulations to optimize their equipment setup.
Alternatives for Amateur Riders
- Aerolab/Chung Method: use a power meter to test different setups on actual road segments
- Velodrome testing: run comparison tests at an indoor velodrome
- Smart trainer software: platforms like Zwift can simulate the effects of different aero setups
Aerodynamic Considerations for Riding in Taiwan
The Impact of the Northeast Monsoon
Taiwan’s winter is dominated by the northeast monsoon, which can reach force 8-10. Under these conditions:
- The risk from deep-section wheels increases substantially
- Riders need to pay special attention to handling crosswinds
- Managing drag matters more than simply minimizing Cd
Good Locations in Taiwan for Testing Aero Setups
| Location | Characteristics | Good For Testing |
|---|---|---|
| Xibin Expressway (West Coast) | Long straight sections | Overall aero setup |
| Hsinchu coastal road | Frequent crosswinds | Wheelset stability |
| Dadu Mountain, Taichung | Stable flat roads | Riding position testing |
Practical Recommendations for Aero Optimization
Budget Priorities
If you have a fixed budget for aero optimization, here’s the recommended order:
- Optimize riding position first (free! and the most effective)
- Buy a well-fitted jersey ($1,000-3,000 NTD)
- Upgrade to an aero helmet ($3,000-8,000 NTD)
- Buy an aero wheelset ($10,000-50,000+ NTD)
Details Not to Overlook
- Bike computer mount: a traditional protruding mount creates more drag than an integrated one
- Bottle cage position: a rear-mounted bottle cage is slightly less aerodynamic than a front fork-mounted one
- Component integration: internally routed cables are more aerodynamic than externally routed ones
- Frame choice: the trade-off between an aero frame and a lightweight frame depends on your riding scenario
Conclusion
Aerodynamic optimization is a scientific and systematic process. For most amateur riders, optimizing riding position offers the best return on investment, followed by equipment upgrades.
Remember: the place where you spend the most money is often not where the most drag is. Start with free adjustments to your riding position, then consider gradually upgrading your equipment. Aero optimization is an ongoing learning journey, and enjoying the process itself is part of the fun of cycling.
Further Reading
- Aerodynamics Applied to Cycling: Position, Helmets, and Clothing
- The Biomechanics of Cycling Position: The Science of Reducing Aerodynamic Drag
- The Biomechanical Cost of Aerodynamic Riding Position: Trading Off Speed and Body
- Cycling Aerodynamics: Quantifying the Impact of Riding Position and Equipment on Drag