Introduction
Many riding accidents and mid-ride mechanical failures can actually be spotted and prevented within a few minutes before departure. Whether it’s a 100 km daily ride challenge, a long-distance tour across Taiwan, or a weekend mountain training session, developing a systematic pre-ride inspection habit is a safety awareness every serious cyclist should have. This article provides a 10-minute quick inspection checklist designed in a logical order, covering all key safety points from start to finish.
Why Systematic Inspection Matters
A random “quick glance” can easily miss important items, while a systematic checklist ensures that all checks are completed in the same order every time. Professional team mechanics follow a fixed inspection procedure before every race—this isn’t overkill, but a professional method to minimize the probability of human oversight.
Complete Inspection Checklist
Zone 1: Tires and Wheels (2 minutes)
-
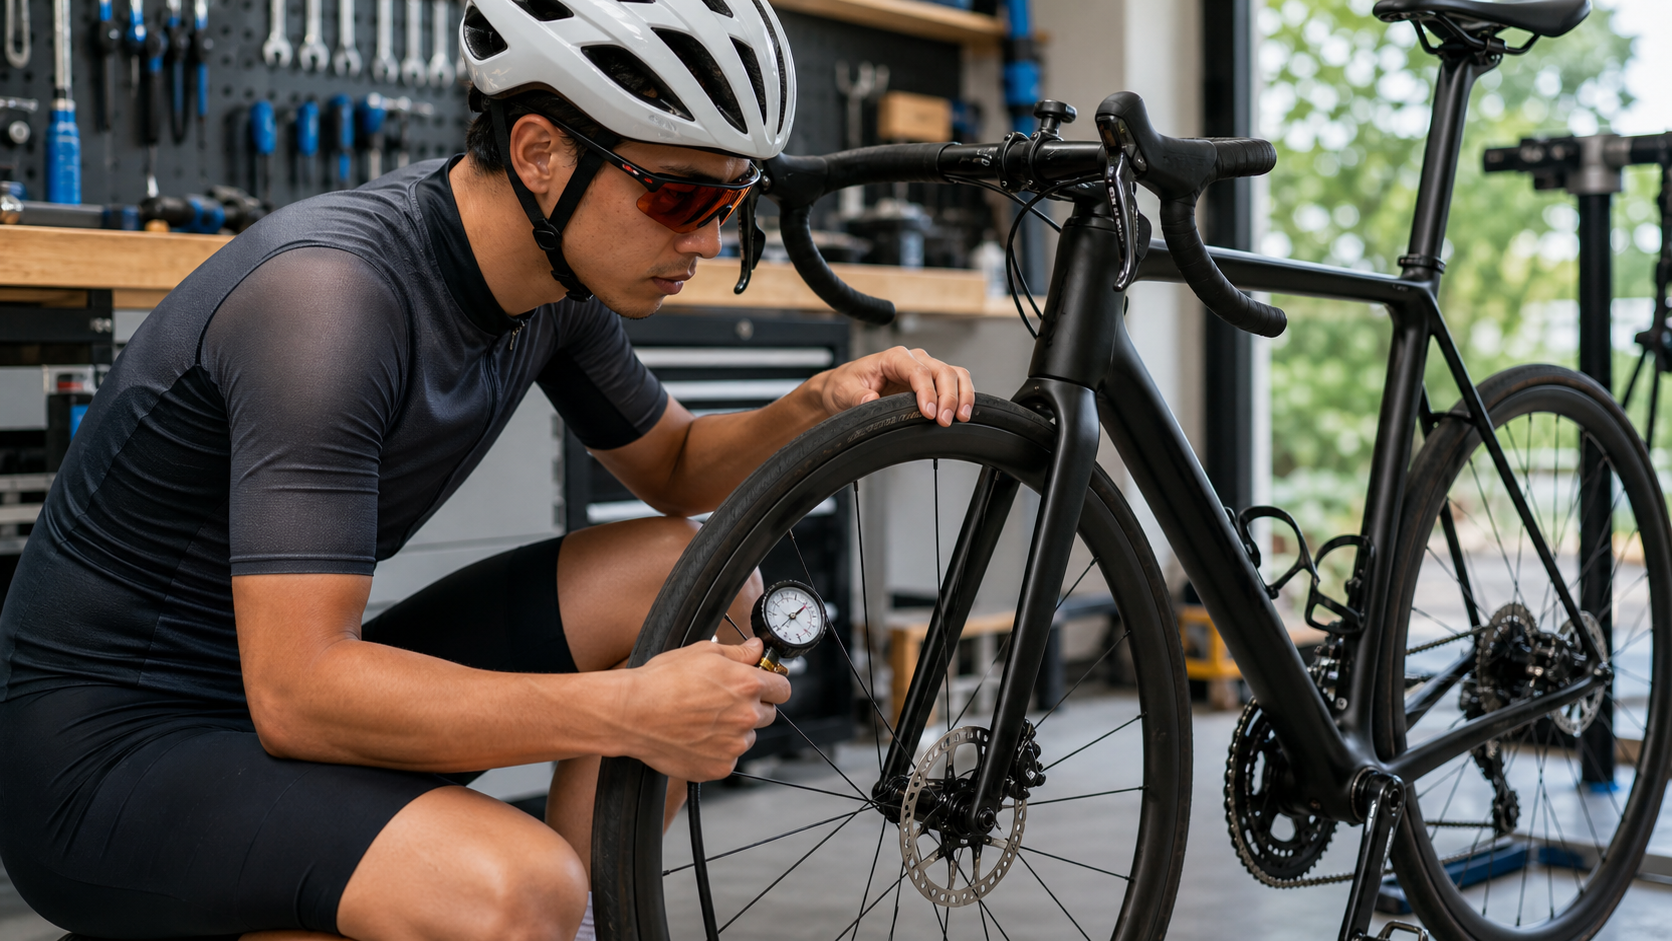
Tire Pressure Check
- Use a digital pressure gauge to confirm front and rear tire pressures are within the recommended range
- Road bike 25c: approximately 80–100 psi recommended (adjust based on rider weight)
- Tires should feel firm and springy; pressing with your thumb should not leave a noticeable dent
-
Tire Visual Inspection
- Spin the wheel and check the tire surface for embedded debris such as glass or nails
- Check sidewalls for obvious cracks or bulges (a bulge is a warning sign of an imminent blowout)
- Check whether tread wear is excessive (whether the center tread pattern has nearly disappeared)
-
Quick Release/Thru-Axle Tightness
- Are the front and rear quick releases fully locked? (The lever should feel resistant and leave a slight “snug” feel when turned to the locked position)
- Thru-axle design: confirm the axle is fully tightened
-
Rim Trueness Check
- Spin the wheels and visually confirm there is no obvious lateral wobble
- Disc brakes: confirm the rotor is not visibly bent
Zone 2: Brake System (2 minutes)
-
Brake Lever Travel
- Test front and rear brakes separately; the lever should deliver clear braking force in the mid-travel range (rather than near the handlebar)
- If braking force only kicks in when pulled all the way, the brake pads are worn or the cable is slack—adjust before departure
-
Brake Pad Condition
- V-brakes: visually confirm the pads still have sufficient thickness (>3mm)
- Disc brakes: confirm there is no abnormal metallic grinding noise
-
Brake Cables and Housings
- Confirm cables are not detached or pinched in the steering path (brake cables should move freely when the handlebar is turned)
Zone 3: Drivetrain (2 minutes)
-
Chain Condition
- Is the chain lubricated? (If dry or excessively dirty, apply lube or clean before heading out)
- Is the quick link secured? (Always confirm after every maintenance or chain replacement)
-
Shifting Function
- Test all front and rear shifts one full cycle while stationary, confirming each gear engages smoothly
- The front derailleur should not produce chain rub noise when in the big chainring + mid cassette
-
Pedals
- Rock the pedals by hand to confirm there is no looseness or play
- Clipless pedals: confirm the cleat engagement angle is correct and that clipping in and out works smoothly
Zone 4: Frame and Steering (2 minutes)
-
Headset
- Squeeze the front brake and push the bike forward and backward; confirm there is no “head nod” feeling (loose headset)
-
Stem and Handlebar
- Grip the handlebar with both hands and attempt to twist left and right; confirm the stem clamp bolts are secure with no play
- Is the handlebar vertical angle correct? (Check whether it shifted after the last maintenance)
-
Seatpost and Saddle
- Confirm the seatpost clamp is tightened and the saddle cannot be rotated forward or backward
- Is the saddle angle still at its original setting?
-
Fork Visual Check
- Is the fork straight? (Especially important to confirm after a recent crash)
Zone 5: Electronics and Safety Accessories (1 minute)
-
Electronic Shifting Battery (if applicable)
- Di2: confirm the indicator light is green, or check via the app that battery is > 30%
- SRAM AXS: confirm the battery indicator is normal
-
Cycle Computer and Sensors
- Is the computer powered on and receiving signals?
- Is the speed sensor magnet positioned correctly?
-
Safety Helmet
- Is the strap buckled and adjusted to the correct position? (The Y-junction should sit just below the ears in front, and the chin strap should fit one finger)
- If the helmet took an impact in a previous crash, it should be replaced (the inner foam of a helmet with no visible damage may already be crushed)
-
Carry-On Tools Check
- Are spare tubes, tire levers, and a pump (or CO₂) in the bag?
- Is phone battery sufficient, and is navigation set up?
Quick Reference Table
| Zone | Check Items | Time |
|---|---|---|
| Tires and Wheels | Pressure, appearance, quick release, trueness | 2 minutes |
| Brake System | Lever travel, pads, cables | 2 minutes |
| Drivetrain | Chain, shifting, pedals | 2 minutes |
| Frame and Steering | Headset, stem, seatpost, fork | 2 minutes |
| Electronics and Accessories | Battery, computer, helmet, carry-on tools | 1 minute |
Additional Checks for Special Situations
First Ride After a Long Layoff
- Check all bearings (headset, bottom bracket, hubs)
- Check whether brake pads have hardened or cracked from long-term storage
- Check whether tires have naturally lost air pressure
Riding in Rain or After Rain
- Disc brakes: confirm bedding-in (lightly brake a few times after leaving the garage to disperse water on the rotors)
- V-brake riders: confirm the rim sidewalls are free of oil or mud
- Consider lowering tire pressure by 5–10 psi for better wet-surface grip
Practical Tips
- Print the checklist and stick it on your toolbox: Visual cues help build the habit until the entire process becomes muscle memory.
- Do the check calmly before departure: Don’t rush through the inspection when pressed for time—better to leave 10 minutes late than to lose even more time to a mechanical failure on the road.
- Inspect after riding too: A visual check after returning can catch abnormalities early, so they can be addressed before the next ride rather than discovered on departure day.
- Special reminder for long-distance challenges in Taiwan: When planning a Taiwan cycling 100 or a cross-county long ride, call ahead to confirm the locations and opening hours of bike shops along the route, just in case.
Conclusion
A systematic 10-minute pre-ride inspection is the most cost-effective investment any cyclist can make in their own riding safety. This checklist requires no tools—only your eyes, your hands, and a few minutes of focus—to effectively reduce the risk of mid-ride mechanical failures and potential accidents, allowing every long ride to begin with greater peace of mind.
Related Reading
一日北高/長距離團騎 常見問題補充篇 / 組團或跟團的眉角 / 壯車友容易被瘦車友慢性拉爆 / 原來屁股痛可能是這個原因...? / 風場配速法 / 公路車 / CT Yeh
2 年前
一日北高前的高裝檢 | 北高 360 | 挑戰11小時的裝備 | 一日雙塔 | 補給
6 年前
單車 一日北高 ( 雙城 ) 肥宅雙人瘋狂行 紀錄片 REACTO
10 年前
一日北高常見問題大集合 | 攻略 | 路線 | 訓練 | 補給 | 自行車 單車 | 一日雙城 | 雙塔 | TWB北高360 | 屁股痛
6 年前
西進武嶺 自製新版AI配速表產生器 x 賽前攻略 抱佛腳! 沒有功率計也可以產生配速表嗎?有什麼其他眉角賽前要注意的呢? | 西進武嶺 / 東進武嶺 KOM 攻略 | 公路車 | CT Yeh
4 年前
碟煞公路車 銑面器 !? 原來銑完差這麼多! 降低蹭碟機率! | TIME 公路車 保養小記錄 | CT Yeh
3 年前
再一組! 全碳幅條 碟煞/無內胎輪組 開箱! 到底好騎嗎? UNAAS X40 | 公路車 | CT Yeh
4 年前
Live) 備戰2019彰化經典百K 賽前攻略 (已完賽請看新影片
7 年前