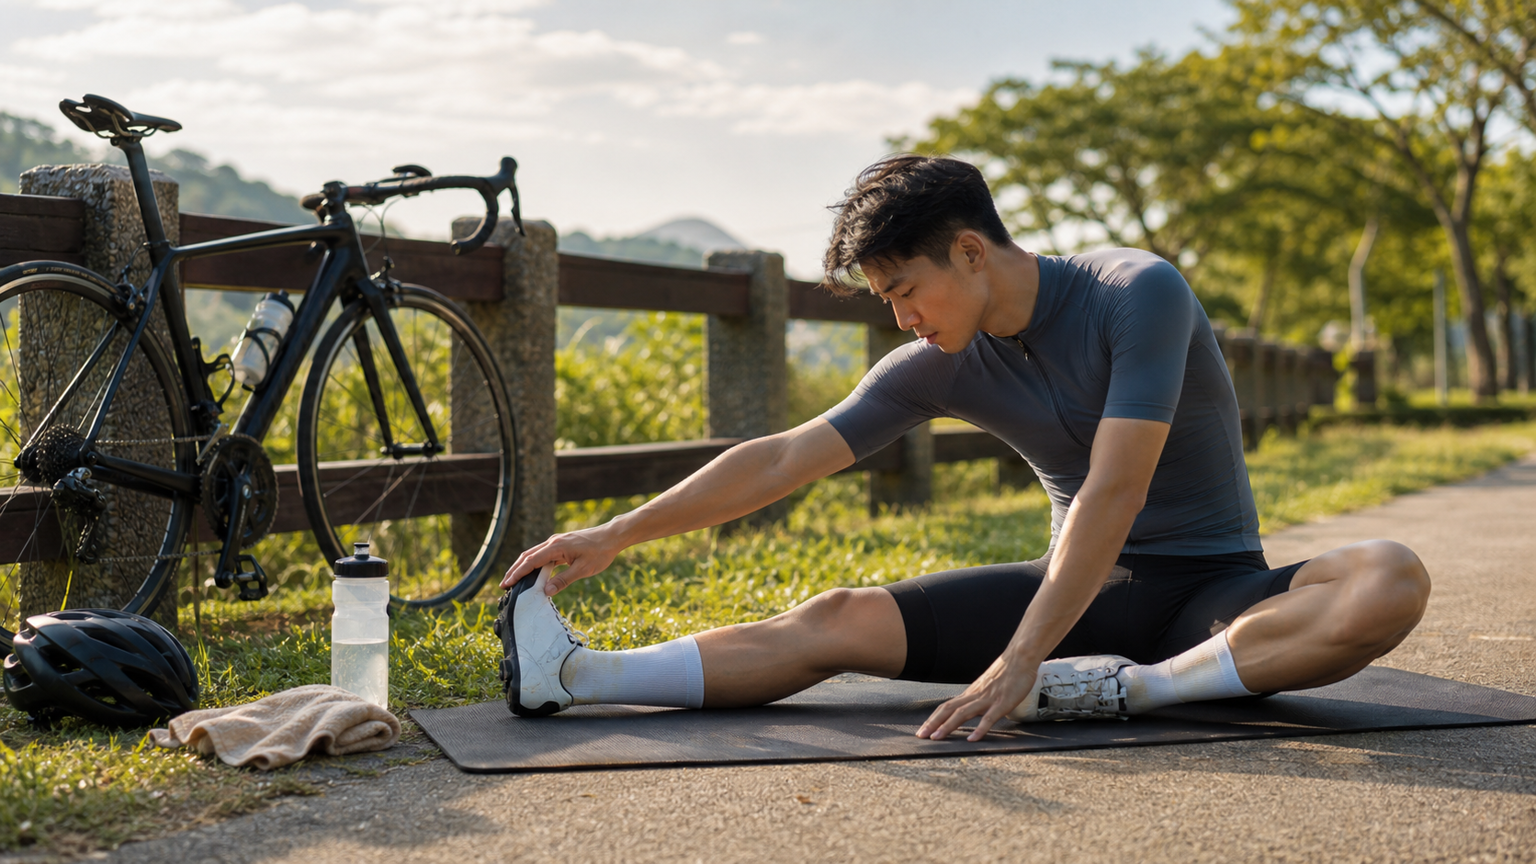
Complete Post-Ride Stretching Routine: 12 Key Moves to Protect Your Flexibility
After every ride, do you head straight for a shower and change of clothes, or do you take time to stretch? According to a survey of amateur cyclists, over 70% admit they “almost never stretch after riding.” However, chronically neglecting stretching is a major contributor to common cycling injuries—lower back pain, lateral knee pain, and neck stiffness. This article provides a 12-move stretching routine designed specifically for cyclists, requiring just 12-15 minutes each session.
Why Do Cyclists Especially Need to Stretch?
The Cost of the Cycling Position
The cycling position is a fixed pattern of flexion:
- Hip joint: Sustained flexion (bending) of 50-80 degrees
- Knee joint: Repeated flexion and extension within a limited range
- Spine: Forward lean combined with a rounded back
- Shoulders and neck: Head must be lifted to see the road while in a forward-leaning posture
- Wrists: Continuously bearing body weight
Maintaining these positions for extended periods causes certain muscle groups to “adaptively shorten”:
| Shortened muscle groups | Lengthened (weakened) muscle groups |
|---|---|
| Hip flexors (iliopsoas) | Gluteus maximus |
| Upper hamstrings | Deep abdominal muscles |
| Pectoralis major/minor | Rhomboids, lower trapezius |
| Upper trapezius | Deep neck flexors |
| Posterior calf | Tibialis anterior |
If this “muscle imbalance” is not countered with stretching and corrective exercise, it will eventually develop into postural problems and chronic pain.
The Best Time for Post-Ride Stretching
Within 30 minutes after training is the golden window for stretching. At this point, muscle temperature is still elevated, tissue extensibility is better, stretching is most effective, and the risk of injury is lowest.
The Science Behind Stretching
Static Stretching
Stretch a muscle to a position where you feel tension, and hold it statically for 30-60 seconds. This is the primary method for post-ride stretching.
Research shows:
- 30 seconds of static stretching effectively increases range of motion
- Effects are more lasting after 4-6 weeks of consistent stretching
- Static stretching after training does not impair strength recovery (before training, it may reduce power output)
Managing Stretch Intensity
On a 1-10 perceived exertion scale, stretching should be maintained at 5-7—a clear stretch sensation but no pain. Aggressive stretching beyond 7 triggers the stretch reflex via muscle spindles, which actually causes the muscle to contract.
The Complete 12-Move Routine
Zone 1: Hips and Glutes (4 minutes)
Move 1: Kneeling Hip Flexor Stretch
Target muscles: Iliopsoas, rectus femoris
Starting position: Kneel on one knee, front leg bent at 90 degrees
Execution:
1. Tilt the pelvis posteriorly (imagine "tucking your tailbone")
2. Slowly shift your body weight forward
3. Feel the stretch in the front of the hip joint of the rear leg
4. Optional: Raise the arm on the same side overhead and side-bend to the opposite side for a deeper stretch

Hold time: 45 seconds per side
Key point: Avoid excessive arching of the lower back; keep the core engaged
Move 2: Pigeon Stretch
Target muscles: Piriformis, gluteal external rotators
Starting position: One leg bent in front, rear leg extended behind
Execution:
1. Keep the front shin as parallel to the body as possible (within your limits)
2. Lean forward, supporting yourself with your hands on the ground
3. Feel a deep stretch in the glute of the front leg
4. Advanced: Lean forward until you rest on your forearms

Hold time: 60 seconds per side
Key point: Keep the pelvis facing forward; do not let it tilt or rotate
Move 3: Supine Glute Stretch (Figure 4)
Target muscles: Piriformis, external rotators
Starting position: Lie on your back, both feet flat on the floor
Execution:
1. Place one ankle on the opposite knee (forming a figure 4)
2. Hug the bottom thigh with both hands and pull it toward your chest
3. Feel a deep stretch in the glute of the raised leg
4. Gently rock side to side to find the tightest angle

Hold time: 45 seconds per side
Key point: Keep your head relaxed on the floor; do not shrug your shoulders
Zone 2: Front and Back of the Thighs (3 minutes)
Move 4: Standing Quadriceps Stretch
Target muscles: Quadriceps, hip flexors
Starting position: Stand on one leg, one hand on a wall for balance
Execution:
1. Bend one knee and grab the ankle with the same-side hand
2. Point the knee toward the ground (do not let it flare out)
3. Tilt the pelvis posteriorly to deepen the stretch
4. Keep the standing leg slightly bent

Hold time: 45 seconds per side
Key point: Do not pull the foot toward the outside of the glute
Move 5: Forward Fold Hamstring Stretch
Target muscles: Hamstrings, gastrocnemius
Starting position: Standing, feet shoulder-width apart
Execution:
1. Keep knees slightly bent (not locked)
2. Hinge forward from the hip joint (not from the lumbar spine)
3. Let your arms hang naturally, feeling the stretch along the back of the thighs
4. Stop at a position where you feel a stretch

Hold time: 45 seconds
Key point: The sensation should be in the back of the thighs, not the lower back
Move 6: Lunge Hamstring Stretch
Target muscles: Upper hamstrings (near the sit bones)
Starting position: Lunge position
Execution:
1. Straighten the front leg, heel on the ground, toes pulled up
2. Keep the rear leg slightly bent for support
3. Hinge forward from the hips, placing both hands on the front thigh
4. Feel the stretch at the upper back of the front thigh

Hold time: 45 seconds per side
Key point: Keep the back straight; do not round it
Zone 3: Calves and Feet (2 minutes)
Move 7: Wall Calf Stretch
Target muscles: Gastrocnemius
Starting position: Facing a wall, hands pressed against it
Execution:
1. Step one foot back a large stride
2. Keep the rear knee straight, heel pressed into the floor
3. Bend the front knee slightly and lean the body forward
4. Feel the stretch along the back of the rear calf

Hold time: 30 seconds per side
Key point: Point the rear toes straight forward; do not let them turn outward
Move 8: Soleus Stretch
Target muscles: Soleus (deep calf muscle)
Starting position: Same as Move 7
Execution:
1. Building on Move 7
2. Bend the rear knee slightly (this is the difference from Move 7)
3. Keep the heel on the ground
4. Feel a deeper stretch in the calf (lower than in Move 7)

Hold time: 30 seconds per side
Key point: The slight knee bend is key—the soleus crosses the ankle but not the knee
Zone 4: Spine and Core (3 minutes)
Move 9: Cat-Cow
Target muscles: Spinal mobility (flexion and extension)
Starting position: On all fours, hands directly under shoulders, knees directly under hips
Execution:
1. Inhale: Let the spine sink segment by segment (cow pose), lifting the chest and head
2. Exhale: Arch the spine upward segment by segment (cat pose), tucking the chin and drawing in the belly
3. Move slowly and fluidly, holding each position for 2-3 seconds
4. Repeat 8-10 times

Total time: Approximately 60 seconds
Key point: Initiate the movement from the pelvis, letting it travel segment by segment up to the neck
Move 10: Supine Spinal Twist
Target muscles: Thoracolumbar rotation, obliques, glutes
Starting position: Lie on your back, arms extended out to the sides in a T shape
Execution:
1. Bend both knees and keep them together
2. Slowly lower both knees to one side
3. Keep the opposite shoulder as close to the floor as possible
4. Turn your head in the opposite direction from your knees
5. Feel the rotational stretch through the spine and chest

Hold time: 45 seconds per side
Key point: Do not force the knees to touch the floor; stop when you feel a stretch
Zone 5: Upper Body (3 minutes)
Move 11: Doorway Chest Stretch
Target muscles: Pectoralis major, pectoralis minor, anterior deltoid
Starting position: Stand next to a doorway
Execution:
1. Raise your arm and rest the forearm against the door frame
2. Elbow height level with your shoulder
3. Step the same-side foot forward and lean your body forward slowly
4. Feel the stretch across the chest and front of the shoulder
5. Changing the elbow height (higher/lower than the shoulder) targets different muscle fibers

Hold time: 45 seconds per side
Key point: Do not shrug; keep the shoulder depressed
Move 12: Upper Trapezius Stretch
Target muscles: Upper trapezius, levator scapulae
Starting position: Seated or standing
Execution:
1. Place one hand behind your back (or grip the edge of a chair to anchor the shoulder)
2. Gently place the other hand on top of your head and slowly tilt the head to the side
3. Bring the ear toward the shoulder
4. Slightly turn the chin toward the armpit of the stretching side to target the levator scapulae
5. Feel the stretch from the side of the neck down to the shoulder

Hold time: 30 seconds per side
Key point: Be extremely gentle; do not forcefully pull on the head
Quick Version: 5-Minute Express Routine
When time is tight, at least do these 5 moves:
- Kneeling Hip Flexor Stretch (30 seconds per side)
- Forward Fold Hamstring Stretch (30 seconds)
- Standing Quadriceps Stretch (30 seconds per side)
- Cat-Cow (8 reps)
- Doorway Chest Stretch (30 seconds per side)
Advanced Stretching Strategies
PNF Stretching (2-3 times per week)
Proprioceptive Neuromuscular Facilitation (PNF) is the most effective method for improving flexibility:
- Stretch the muscle to a position where you feel tension
- Perform a 6-second isometric contraction at that position (push hard but do not move)
- Relax, then stretch further to a new limit
- Hold for 30 seconds
- Repeat 2-3 times
Research shows PNF stretching is 20-30% more effective than static stretching alone.
Long-Term Stretching Plan
- Weeks 1-4: Do the full 12-move routine after every ride to build the habit
- Weeks 5-8: Identify your 3-4 tightest areas and emphasize those moves
- From week 9: Do the express version on weekdays; do the full version plus PNF on weekends
- Ongoing tracking: Test joint range of motion once a month to confirm progress
Common Stretching Myths
Myth 1: Stretching prevents all injuries
Fact: Stretching improves flexibility, but injury prevention also requires strength, technique, and training load management.
Myth 2: More pain means more effectiveness
Fact: Pain triggers a protective contraction, which actually reduces effectiveness. Maintain a “comfortable stretch sensation” instead.
Myth 3: More flexibility is always better
Fact: Excessive flexibility can reduce joint stability. Cyclists need “functional range of motion,” not extreme flexibility.
Conclusion
A 12-15 minute post-ride stretching routine is one of the most efficient investments you can make in your body. It requires no equipment, no special venue, yet it can significantly reduce the risk of chronic injuries, maintain healthy posture, and keep your body in optimal condition for your next training session. Starting today, treat stretching as part of your training—not an optional add-on.
Related Reading
- Stretching and Flexibility Training for Cyclists: Key Moves to Prevent Injury
- Proper Stretching for Cyclists: A Complete Pre-Ride Warm-Up and Post-Ride Cool-Down Flow
- Flexibility Training for Cyclists: How Yoga and Stretching Improve Riding Performance
- The Complete Guide to Post-Ride Static Stretching: The Golden Cool-Down Routine for Faster Recovery
一日北高/長距離團騎 常見問題補充篇 / 組團或跟團的眉角 / 壯車友容易被瘦車友慢性拉爆 / 原來屁股痛可能是這個原因...? / 風場配速法 / 公路車 / CT Yeh
2 年前
靠單車減肥35公斤 心得分享與整理
7 年前
#公路車 #Fitting 靠人工智慧APP 幫你調整單車
6 年前
碟煞公路車 銑面器 !? 原來銑完差這麼多! 降低蹭碟機率! | TIME 公路車 保養小記錄 | CT Yeh
3 年前
單車 一日北高 ( 雙城 ) 肥宅雙人瘋狂行 紀錄片 REACTO
10 年前
一日北高常見問題大集合 | 攻略 | 路線 | 訓練 | 補給 | 自行車 單車 | 一日雙城 | 雙塔 | TWB北高360 | 屁股痛
6 年前
摔車後補裝備: 好市多新款單車安全帽& Specialized Romin 北高整路屁股都不痛的坐墊 | 一千元居然有MIPS | CT Yeh | 公路車
4 年前
Insta 360 One 超級防手震技術實測
7 年前