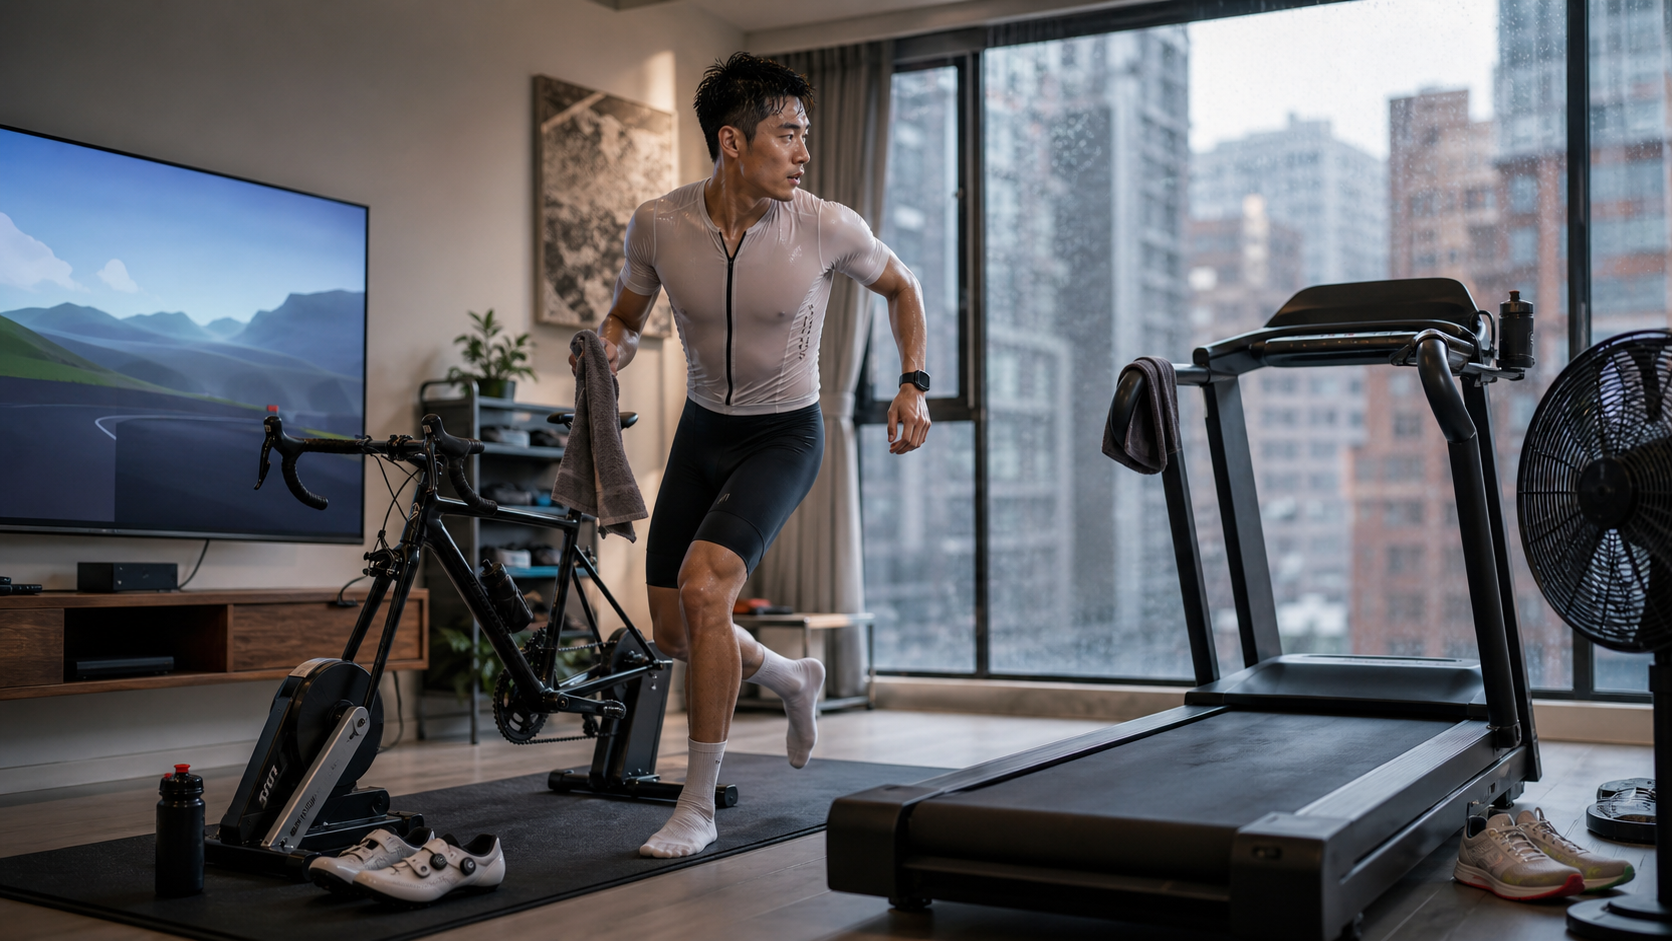
Indoor Brick Training: Transition Planning and Practical Tips for Zwift + Treadmill
Taiwan’s winter brings continuous rain, summer brings afternoon thunderstorms, and rush hour traffic is relentless—many times you want to do a brick workout but can’t get outside. Indoor brick (Zwift + treadmill) is the perfect alternative, and it’s even more precise and safer than outdoor training.
1. Advantages and Limitations of Indoor Brick Training
Advantages
- Weather-independent: Train at any time
- Precise intensity: Smart trainer + treadmill allow controlled power/pace
- Complete data: Heart rate, power, pace, and distance all recorded
- Safety: No traffic or road hazards
- Easy fueling: Water, food, and towels within arm’s reach
- Equipment testing: Can pause mid-session to make adjustments
Limitations
- Lack of wind resistance: Indoors feels 5–10% easier than outdoors
- Heat buildup: No natural wind cooling
- Running form differences: Treadmill gait differs slightly from outdoor running
- Mental aspect: No scenery, more monotonous
- Space constraints: Trainer and treadmill need to be close together
2. Indoor Brick Equipment Setup
Bike Trainer
| Type | Price | Recommendation |
|---|---|---|
| Smart direct-drive | NT$25,000–60,000 | ★★★★★ |
| Smart wheel-on | NT$10,000–20,000 | ★★★★ |
| Magnetic resistance trainer | NT$5,000–10,000 | ★★★ |
| Wind resistance trainer | NT$3,000–6,000 | ★★ (Noisy) |
Recommended brands: Wahoo Kickr, Tacx Neo, Elite Suito, Saris H3
Treadmill
- Motor power: At least 2.5 HP
- Speed range: 0–22 km/h
- Incline: 0–15%
- Cushioning: Good belt cushioning to reduce knee impact
Recommended brands: NordicTrack, SOLE, Bowflex Treadmill
Auxiliary Equipment
- Large fan: Simulates outdoor wind cooling (essential!)
- Large-screen TV: Displays Zwift
- iPad / phone mount: For watching videos on the treadmill
- Multiple bottles: Hydration station next to the trainer
- Towels + sweat mat: Prevents sweat from damaging equipment
3. Indoor Brick Workout Templates
Template A: Short Indoor Brick (45 minutes)
| Time | Equipment | Content |
|---|---|---|
| 0:00–0:05 | Zwift | Warm-up at 60% FTP |
| 0:05–0:30 | Zwift | Steady at 75% FTP |
| 0:30–0:32 | Transition | 60–120 seconds |
| 0:32–0:42 | Treadmill | Z2 pace |
Template B: Intensity Indoor Brick (75 minutes)
| Time | Equipment | Content |
|---|---|---|
| 0:00–0:10 | Zwift | Warm-up |
| 0:10–0:50 | Zwift | 5×5 minutes Z4 + 3 minutes recovery |
| 0:50–0:53 | Transition | Approximately 3 minutes |
| 0:53–1:15 | Treadmill | Race pace for 22 minutes |
Template C: Race Simulation Indoor Brick (3 hours)
| Time | Equipment | Content |
|---|---|---|
| 0:00–0:15 | Zwift | Warm-up |
| 0:15–2:15 | Zwift | Steady Z2 + 1×5 minutes Z3 every 30 minutes |
| 2:15–2:20 | Transition | Full simulation |
| 2:20–3:00 | Treadmill | IM pace for 40 minutes |
4. Choosing Zwift Workouts
Using Zwift Training Plans Directly
Recommended plans:
- “Build Me Up”: 12-week training plan
- “Pebble Pounder”: 51.5 triathlon preparation
- “Iron Triathlon Plan”: IM distance training
- “Tri Tune Up”: 4-week pre-race taper
Custom ERG Mode Workouts
Create your own using the Zwift Workout Editor:
Example: Sweet Spot Brick Front Half
10 minutes at 60% FTP (warm-up)
3 × [10 minutes at 88% FTP + 5 minutes at 60% FTP]
5 minutes at 70% FTP (cool-down)
Total time: 60 minutes
Free Ride Mode
Choose the “Tempus Fugit” route in Watopia (flat, long road), control power freely, and simulate steady race riding.
5. Transition Strategies
The key to indoor brick training is a “fast and realistic” transition.
Transition Area Setup
- Place the treadmill within 1–2 meters of the trainer
- Running shoes pre-positioned (elastic laces)
- Run cap and nutrition ready
- Towel on standby
Transition Steps (90–120 seconds)
- Dismount the bike (10 seconds)
- Wipe sweat, remove cycling shoes (20 seconds)
- Put on running shoes (15 seconds)
- Walk to the treadmill (10 seconds)
- Start the treadmill + increase speed (20–30 seconds)
- Reach target pace (15 seconds)
6. Pace Differences Between Treadmill and Outdoors
Why Does the Treadmill Feel Easier?
- No wind resistance: Even on a calm day outdoors, there’s 5% wind resistance
- Belt assistance: The moving surface provides a slight forward pull
- Stable environment: Completely flat terrain
Pace Correction
| Pace | Treadmill Pace Setting | Incline |
|---|---|---|
| Outdoor 5:00/km | Treadmill 5:00/km | 1% |
| Outdoor 4:30/km | Treadmill 4:30/km | 1% |
| Outdoor 4:00/km | Treadmill 4:00/km | 1.5% |
Recommended incline setting of 1%: Simulates outdoor wind resistance for a more realistic feel.
7. Body Temperature Management
Why Body Temperature Spikes Indoors
- No natural wind cooling
- Indoor temperature is stable but not low
- Trainer / treadmill generate heat
Solutions
- Large industrial fan: Point it at your upper body
- Air conditioning + fan combo: Lower room temperature to 22–24°C
- Ice towel: Cool the back of the neck and wrists
- Hydrate more: 200ml every 15 minutes
- Training clothing choice: Thin and breathable
8. Mental Aspects
Why Is Indoor Training Hard to Stick With?
- No scenery changes
- Time feels slower
- Surroundings remind you you’re “at home”
- Easy to stop and rest
Motivation-Boosting Strategies
- Zwift Community Events: Group rides, races, Race
- Netflix / YouTube: Watch shows on the treadmill
- Music Playlists: High-BPM music
- Set Goals: Monthly mileage, Strava challenges
- Training Partners: Train together via video
9. Indoor Brick Record Management
Garmin / Wahoo Sync
- Switch watch to “Multisport” mode before training
- Press “Lap” at the end of the bike segment to auto-switch to running
- Start running mode for the run segment
- Sync to Strava after finishing
Key Data Recording
| Segment | Key Data |
|---|---|
| Bike Segment | Average power, NP, IF, heart rate |
| Transition | Time duration |
| Run Segment | Average pace, heart rate, cadence |
| Overall | TSS, total time, calories |
10. Indoor vs. Outdoor Brick Comparison
| Item | Indoor | Outdoor |
|---|---|---|
| Intensity Control | ★★★★★ | ★★★ |
| Safety | ★★★★★ | ★★★ |
| Convenience of Fueling | ★★★★★ | ★★ |
| Realism | ★★ | ★★★★★ |
| Mental Challenge | ★★ | ★★★★ |
| Wind Resistance Training | ★ | ★★★★★ |
| Water Intake | High (poor heat dissipation) | Moderate |
| Suitable Sessions | Short sessions, intensity training | Long sessions, race simulation |
Recommended Ratio
- Training phase: 60% indoor + 40% outdoor
- 8 weeks before race: 40% indoor + 60% outdoor
- 4 weeks before race: 100% outdoor (unless weather prevents it)
11. One-Week Practical Schedule (Winter Race Prep)
| Day | Workout | Indoor/Outdoor |
|---|---|---|
| Monday | Rest | — |
| Tuesday | Short Brick (45 min) | Indoor |
| Wednesday | Swim + Easy Run | Pool + Outdoor |
| Thursday | Zwift Race 1 hour | Indoor |
| Friday | Run Intervals | Outdoor (or treadmill) |
| Saturday | Long Brick (3 hours) | Outdoor |
| Sunday | Active Recovery | Outdoor |
12. Common Indoor Brick Questions
Q1: The trainer’s ERG mode always feels like I “can’t turn the pedals”?
A: The set power is too high, or you haven’t warmed up enough. Do a 10-minute warm-up at 60% FTP first.
Q2: My feet hurt from running on the treadmill?
A: The treadmill deck may lack sufficient cushioning, or the shoes aren’t suitable. Try cushioned shoes (Hoka, Asics Gel-Kayano).
Q3: I sweat too much after training and the floor gets wet?
A: Place a sweat mat under the trainer and a yoga mat under the treadmill. Use fans to improve heat dissipation.
Q4: Should I drink water during the transition?
A: Yes! You can drink 200ml in 90 seconds to replenish fluids lost during the bike segment.
Q5: Is a heart rate 10 bpm higher than outdoors normal?
A: Yes, it’s mainly caused by elevated body temperature. Improve heat dissipation.
Indoor Brick is the secret weapon of modern triathletes—weather should never be an excuse for skipping training.
Related Reading
- Brick Workout: The Core Session for Triathlon Transition Training
- Data Quality in Zwift and Indoor Training: Analysis of Differences from Outdoor Riding
- Indoor Trainer Power Workouts: Comparing Structured Training in Zwift and TrainerRoad
- The Complete Guide to Stationary Trainers: Zwift vs. TrainerRoad
Zwift 元宇宙單車世界 如何與全世界同步騎車運動
6 年前
安裝) 超酷! RGT Cycling 最新 訓練台 騎乘軟體 模擬一級賽經典路線 選手 Road Grand Tours 安裝教學 Zwift 替代方案
7 年前
Fitting訓練兩用功率車 ! Thinkrider ST900 完整實測!/ 坡度升降 / 鄰居測試/ smart bike/公路車/ CT Yeh
2 年前
實景訓練台) 彰化經典百K 高強度喵團 90分鐘 跟著一起練功 2019 Indoor workout Changhua Classic 100 Taiwan
7 年前
2021 Apple TV 4K 讓你在家騎單車 | Zwift 和 Rouvy 測試 | 影音畫質屌打其他設備 | 公路車 | 訓練台必備
5 年前
免費UCI指定競賽騎乘軟體 Mywhoosh 概覽初體驗 / 畫質的天花板!? 用鈔能力做出來的 / 公路車 / CT Yeh
2 年前
元宇宙單車運動!智騎 X7 Pro 智能訓練台 ThinkRider 居家線上練功
5 年前
ClubTTR 衝刺嘗試 Zwift
9 年前