How to Break 4 Hours on the Ascent to Wuling? Power-to-Weight Ratio (W/kg) Calculations, Segment Pace Schedules, and the Complete Guide to Breaking 4 Hours on the Ascent to Wuling
文章導覽
- Part One: In‑Depth Analysis of Course Physical Characteristics and Physiological Demands
- 1.1 Westward Wuling: An Atypical Climbing Marathon
- 1.2 Power Threshold for Sub‑4: Quantifying W/kg
- 1.3 High‑Altitude Physiology: The Invisible Killer
- Part Two: Course Strategy Map and Segment Execution Plan
- 2.1 Stage One: Warm‑up and Energy‑Saving (Geographic Center Marker → Renzhiguan)
- 2.2 Stage Two: Rhythm Building (Renzhiguan → Wushe)
- 2.3 Stage Three: Accumulation and Consumption (Wushe → Qingjing/Highest Small Seven)
Westward Wuling Sub-4 Hour Challenge: Ultimate Guide and Physiological Analysis
Part One: In‑Depth Analysis of Course Physical Characteristics and Physiological Demands
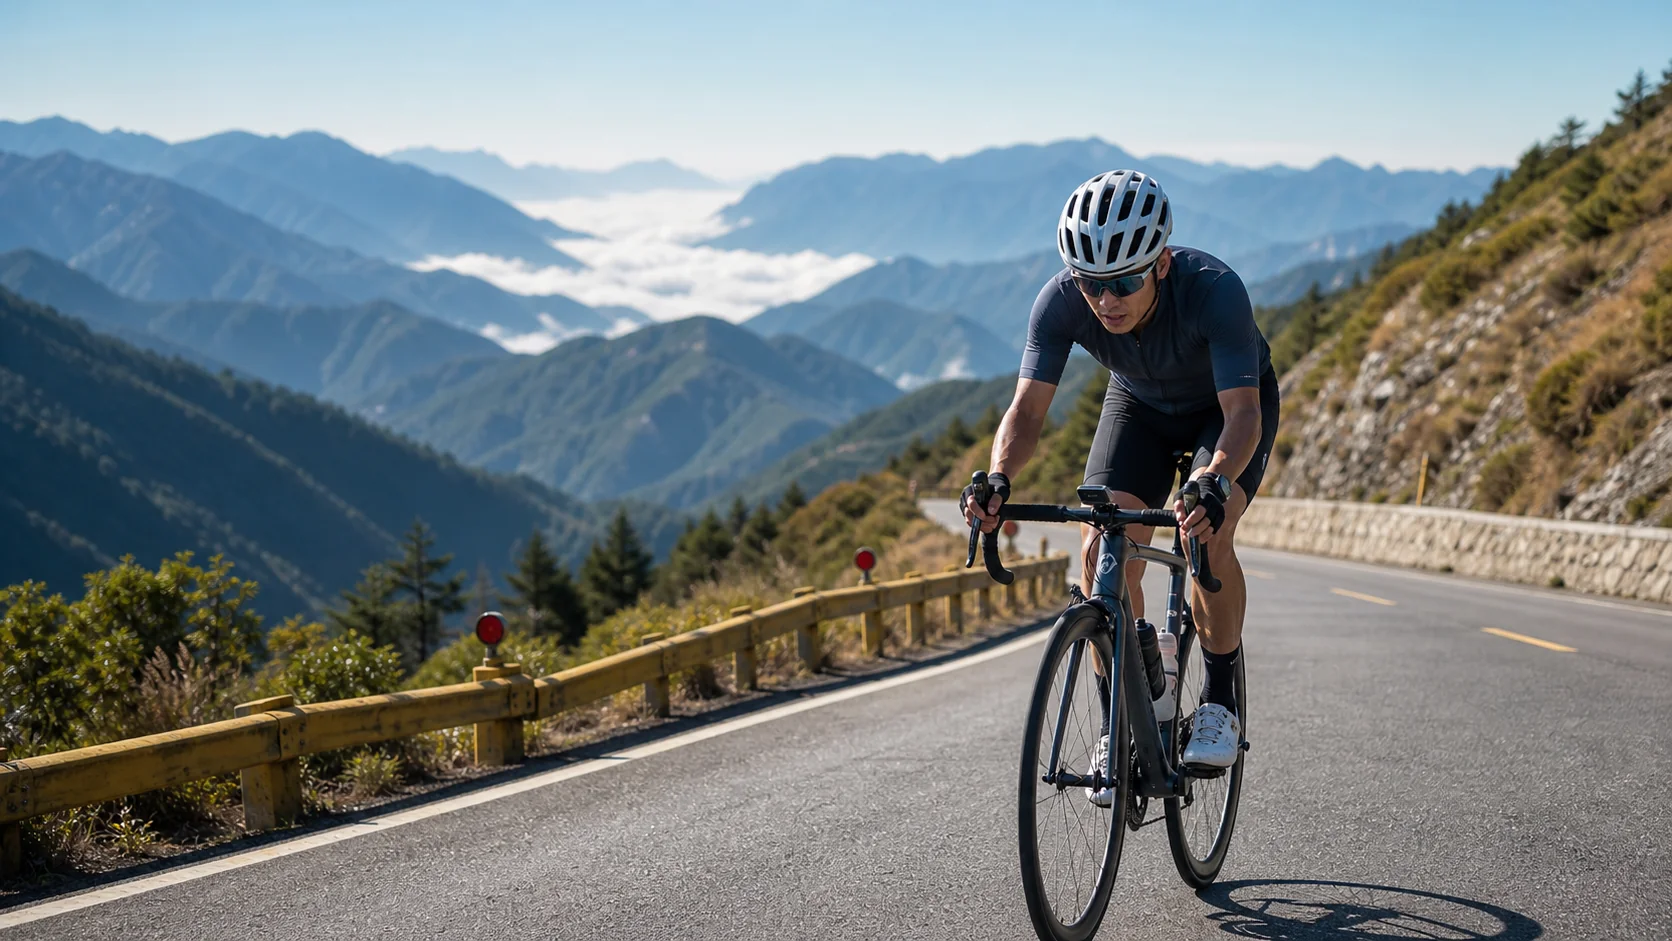
1.1 Westward Wuling: An Atypical Climbing Marathon
The Westward Wuling route starts at the geographic center marker in Puli, Nantou (elevation ~450 m) and finishes at Taiwan’s highest road point, the Wuling gate tower (elevation 3275 m), covering about 53 km with a total ascent of roughly 2800 m. Its uniqueness lies in the extreme length and elevation gain, making it unlike typical short‑hill sprints or rolling‑circuit races and more akin to a “gravity‑defying marathon”.
From a physics perspective, the rider must overcome resistance from three main sources:
- Rolling Resistance
- Aerodynamic Drag
- Gravitational Component
On flat terrain, aerodynamic drag scales with the square of speed and is the primary energy drain; however, on Wuling’s average gradient of about 5.5 % over a long climb, gravity work accounts for over 80 % of the effort. This means “power‑to‑weight ratio” (W/kg) becomes the decisive physical parameter.
Moreover, as altitude rises, air density drops slightly reducing drag, but the accompanying drop in atmospheric pressure causes hypoxic impairment to increase exponentially, creating a severe physiological “scissor gap” for the rider.
1.2 Power Threshold for Sub‑4: Quantifying W/kg
Finishing in 4 hours requires an average speed of about 13.25 km/h. For a total mass (rider + bike + gear) of roughly 75 kg, maintaining that speed at sea level needs about 180–200 W. Considering altitude‑related power loss and four hours of accumulated fatigue, the actual physiological reserve required is far higher.
Analysis of extensive power data shows that to safely achieve Sub‑4, a rider needs the following physiological markers:
Functional Threshold Power (FTP)
Although some argue that 4.0 W/kg is the watershed, for endurance long climbs an FTP of 3.6–3.8 W/kg (sea‑level test data) is usually the entry ticket to Sub‑4. Riders cannot ride at FTP for the full four hours; race intensity typically sits at 75–85 % of FTP (sweet spot lower limit to tempo zone).
Aerobic Decoupling
Top Wuling riders must exhibit a very low heart‑rate drift (<5 %). During prolonged steady‑power output, heart rate should not rise significantly, indicating strong fat‑oxidation capacity and dense microvascular networks.
3000 m Altitude Tolerance
At 3000 m, an unacclimated person’s VO₂max may drop 15–20 %. Thus, a rider with a sea‑level FTP of 250 W might have only about 200 W usable on the Kunyang section.
1.3 High‑Altitude Physiology: The Invisible Killer
Altitude adaptation is the most overlooked variable on Westward Wuling. As height increases, atmospheric pressure falls, reducing alveolar partial pressure of oxygen (pO₂) and consequently arterial oxygen saturation (SaO₂).
| Altitude Range (m) | Physiological Effect | Power Loss Estimate (Unacclimated) | Countermeasure |
|---|---|---|---|
| 0 – 1000 | Negligible, mainly temperature and humidity effects. | 0 – 2 % | Normal output; watch cooling and hydration. |
| 1000 – 2000 | Ventilation rises; heart rate at same power climbs 5–10 bpm. | 3 – 6 % | Start monitoring HR; avoid prolonged anaerobic zones; lactate clearance slows. |
| 2000 – 2500 | Blood‑oxygen saturation drops markedly; entering “hypoxic response zone”. AT power point shifts down. | 7 – 12 % | Critical adjustment zone. Actively lower target watts or risk unrecoverable oxygen debt. |
| 2500 – 3275 | Acute mountain sickness (AMS) risk zone. Breathing‑muscle work spikes; cognition may decline. | 15 – 20 % | Survival mode. Use high cadence to keep circulation; avoid heavy pedaling that can cause muscle failure. |
Deep Insight: Many riders feel good and accelerate before Wushe (1170 m), which is an illusion of “sea‑level fitness”. The real test begins after Cuifeng (2300 m). Burning too much glycogen early will prevent effective fat utilization later in hypoxic conditions, leading to a catastrophic “wall”.
Part Two: Course Strategy Map and Segment Execution Plan
Achieving Sub‑4 requires not only fitness but also precise tactical execution. We break the course into seven key segments, each with distinct physical traits and tactical goals.
2.1 Stage One: Warm‑up and Energy‑Saving (Geographic Center Marker → Renzhiguan)
| Item | Description |
|---|---|
| Distance | ~16 km |
| Elevation | 450 m → 790 m |
| Average Gradient | ~2 % |
Strategic Goal: Maximize energy saving. This is a gentle climb; aerodynamic drag remains the main enemy. Solo riders pay a high price, while drafting a group can save over 30 % of power.
Sub‑4 Pace Suggestion: Join a stable pacing group; target time 45–50 minutes.
Taboo: Absolutely avoid personal interval attacks or long head‑winds leading. Keep heart rate in the lower end of Zone 2–Zone 3.
2.2 Stage Two: Rhythm Building (Renzhiguan → Wushe)
| Item | Description |
|---|---|
| Distance | ~6 km |
| Elevation | 790 m → 1170 m |
| Average Gradient | ~6 % |
Strategic Goal: Enter climbing mode. Gradient rises noticeably; group effect weakens but still exists. Seek similarly‑fit teammates to form a small paceline.
Sub‑4 Pace Suggestion: Power steady in Sweet Spot (88–90 % FTP). Cumulative target time 1 h 35 min.
Mental Note: This is the first real climb; don’t get impatient if lighter riders pass you.
2.3 Stage Three: Accumulation and Consumption (Wushe → Qingjing/Highest Small Seven)
| Item | Description |
|---|---|
| Distance | ~12 km |
| Elevation | 1170 m → 2050 m |
| Average Gradient | ~7.3 % |
Strategic Goal: Endurance test and fueling. This segment is complex, with heavy traffic and steep gradient changes (including the famous Wuli slope). Lactate buildup begins here.
Fueling Key: Before reaching the highest Small Seven (Fujia store), complete at least 1–2 energy‑gel and water intakes. Fujia is the last comfortable aid station; make a final big refuel here (but stay ≤ 2 minutes).
Sub‑4 Pace Suggestion: One of the easiest places to lose speed. Cumulative target time 2 h 30 min.
2.4 Stage Four: Pseudo‑Recovery (Qingjing → Cuifeng)
| Item | Description |
|---|---|
| Distance | ~6 km |
| Elevation | 2050 m → 2300 m |
| Average Gradient | ~5 % |
Strategic Goal: Adjust breathing and rhythm. This stretch includes brief flats and short descents. Use the few minutes to lower heart rate, metabolize accumulated lactate, and adjust breathing for the upcoming altitude.
Sub‑4 Pace Suggestion: Cumulative time 3 h 00 min. This is a critical checkpoint: passing Cuifeng under 3 hours greatly boosts Sub‑4 odds.
2.5 Stage Five: Hypoxic Wall (Cuifeng → Yanfeng)
| Item | Description |
|---|---|
| Distance | ~7 km |
| Elevation | 2300 m → 2750 m |
| Average Gradient | ~7 % |
Strategic Goal: Survival and willpower. Above 2500 m, power naturally drops 10–15 %. Many riders hit the “wall” here, feeling leg weakness and breathlessness.
Technical Adjustment: Shift to an easier gear, raise cadence to ≥ 80 rpm. Don’t force flat‑ground wattage; maintain the same perceived effort (RPE).
Sub‑4 Pace Suggestion: Cumulative time 3 h 30 min.
2.6 Stage Six: Hell Test (Yanfeng → Kunyang)
| Item | Description |
|---|---|
| Distance | ~5 km |
| Elevation | 2750 m → 3100 m |
| Average Gradient | ~7.5 % (including brief > 20 % sections) |
Strategic Goal: Fight cramps and keep core stable. This is the most painful part of the course. The hairpin before Kunyang is extremely steep, often with strong wind and low temperature.
Response Strategy: On steep sections, briefly switch to seated riding (standing) to use body weight and change muscle groups, but keep it short to avoid HR spikes. Keep core stable; excessive upper‑body movement wastes energy.
Sub‑4 Pace Suggestion: Cumulative time 3 h 55 min.
2.7 Stage Seven: Heaven Road (Kunyang → Wuling)
| Item | Description |
|---|---|
| Distance | ~2.1 km |
| Elevation | 3100 m → 3275 m |
| Average Gradient | ~8–9 % |
Strategic Goal: Burn the last matchstick. The view is open; the finish looks close but feels far.
Mental Tactics: Don’t stare at the distant gate; focus on the road 5 m ahead of the front wheel. Count breaths and tell yourself “only 15 minutes left”.
Sub‑4 Pace Suggestion: Final sprint; no need to hold back. Target 3 h 59 min 59 s crossing the line.
Part Three: Scientific Training Methodology and Periodization
To meet the demanding pacing targets, systematic scientific training is essential. The core logic follows a “Stress‑Recovery‑Adaptation” cycle, using periodization to split the season into distinct phases.
3.1 Energy‑System Training Principles
For a 3–5‑hour event like Wuling, we focus on three energy systems:
Aerobic Oxidative
The foundation. Long rides in Zone 2 (56–75 % FTP) increase mitochondrial density and fat‑oxidation rate, ensuring glycogen isn’t depleted early in a four‑hour ride.
Lactate Threshold
The decisive factor. Sweet Spot (88–94 % FTP) and Threshold (95–105 % FTP) sessions improve lactate clearance and tolerance, delaying fatigue onset.
Neuromuscular
Low‑cadence heavy‑gear intervals simulate the high torque needed on climbs, strengthening tendons and connective tissue.
3.2 Training Cycle Plan (16‑Week Model)
Training is divided into three phases: Base, Build, and Specialty/Taper.
Differentiated Advice for Rider Levels
Beginner Riders (new to cycling or bike age < 1 year):
- Pain Points: Low muscular endurance, weak core, unstable saddle position, even discomfort from prolonged saddle pressure.
- Strategy: Prioritize “hours on the bike” over intensity. First aim to ride continuously for 3 hours before worrying about watts. Indoor sessions should focus on cadence technique and posture stability.
Advanced Riders (bike age > 2 years, power meter, aiming for PB):
- Pain Points: Stagnant FTP, insufficient anaerobic endurance, recovery bottlenecks.
- Strategy: Introduce Polarized or Pyramid training, dramatically increase Sweet Spot volume, and target weak spots (e.g., VO₂max or high‑torque) with specific work.
3.3 Smart Trainer’s Crucial Role
In Taiwan’s rainy, traffic‑heavy environment with few long, steady climbs, a smart trainer is a Wuling preparation powerhouse.
ERG Mode
Forces the rider to hold a set wattage, eliminating coasting and perfectly mimicking Wuling’s “no‑stop” tension.
Simulated Climbing Geometry
Raise the trainer’s front wheel 10–15 cm. This alters pelvis angle and muscle recruitment (more glutes and lower‑back), helping the body adapt to climbing biomechanics.
Zwift Use
Ride the Alpe du Zwift (Road to Sky) route; its length and gradient closely emulate Wuling for virtual testing.
Part Four: Practical Training Plan (The Prescription)
Below are detailed 16‑week schedules for “Advanced Riders” (Sub‑4 target) and “Beginner Riders” (completion target). All assume use of a power meter and smart trainer.
4.1 Advanced Rider Sub‑4 Specialty Plan (16 weeks)
Linear periodization with weekly intensity progression.
Phase One: Base Phase (Weeks 1‑8)
Goal: Expand aerobic engine and build muscular endurance base.
Key Metric: Accumulate TSS without chasing high‑intensity pain.
| Week | Tue (Strength/Tempo) | Wed (Aerobic/Recovery) | Thu (Sweet Spot/Skill) | Sat (Long Endurance) | Sun (Free Ride) |
|---|---|---|---|---|---|
| W1‑W3 | Tempo Low Cadence 3 × 10 min @ 76‑85 % FTP Cadence 60‑70 rpm (climbing torque) |
Z2 Endurance 60‑90 min @ 65‑75 % FTP Cadence > 90 rpm |
Sweet Spot Base 3 × 10 min @ 88‑92 % FTP Rest 5 min |
Outdoor LSD 3‑4 h mainly Z2, total climb > 1000 m |
1‑2 h easy ride or full rest |
| W4 | Recovery week: halve volume, lower intensity. Focus on rollers and stretching. | ||||
| W5‑W7 | Tempo Low Cadence 3 × 15 min @ 80‑88 % FTP Cadence 60‑65 rpm |
Z2 Endurance 90 min @ 70 % FTP |
Sweet Spot Base 2 × 20 min @ 90 % FTP Rest 5 min |
Outdoor Climbing 4 h seeking long climbs, total ascent > 1500 m |
2 h Z2 |
| W8 | Recovery week |
Phase Two: Build Phase (Weeks 9‑14)
Goal: Raise FTP, boost lactate clearance, simulate race specificity.
| Week | Tue (Threshold/VO₂) | Wed (Aerobic) | Thu (Long Sweet/Sim) | Sat (Race Sim) | Sun (Active Recovery) |
|---|---|---|---|---|---|
| W9‑W11 | Threshold Intervals 4 × 8 min @ 95‑102 % FTP Rest 4 min (very hard) |
Z2 Endurance 60 min |
SST Long 1 × 40 min @ 90 % FTP, continuous, simulating continuous climb |
Big Mountain Day 4‑5 h on Xueshan/Tataga/Yangmingshan, total ascent > 2000 m |
1 h Z1, high‑cadence lactate flush |
| W12‑W14 | VO₂ Max 5 × 3 min @ 110‑120 % FTP Rest 3 min (push ceiling) |
Z2 Endurance 90 min |
Over‑Under 3 × 12 min (2 min @ 95 %, 1 min @ 105 %) – simulate attacks and recoveries |
Simulated Race Full‑effort Wuling first half or Alpe du Zwift test |
1.5 h Z2 |
Phase Three: Taper Phase (Weeks 15‑16)
Goal: Eliminate fatigue, retain fitness, peak form.
W15 (early taper): Reduce volume 30 % but keep intensity.
- Tue: 3 × 3 min VO₂ Max (wake up the nervous system).
- Thu: 2 × 10 min SST (maintain feel).
- Weekend: 3 h easy ride with a few short sprints.
W16 (race week):
- Mon, Tue: full rest or yoga.
- Wed: 1 h Z1 + 3 × 1 min high‑cadence (110 rpm).
- Thu, Fri: very light activity; focus on sleep and carbs.
- Sat/Sun: Race Day.
4.2 Beginner Rider Completion Plan (Simplified)
For novices, complex power zones may be hard to apply. Focus on heart‑rate and perceived effort (RPE).
Weekly (2‑3 times)
Trainer/night ride: 60‑90 min each. Include 20‑30 min of “hard but can speak short sentences” intensity (Z3).
Skill work: One‑leg pedaling, high cadence (100 rpm) for 1 min to improve pedal efficiency.
Weekend (once)
Long Ride: Gradually increase distance: 40 km → 60 km → 80 km → 100 km.
Climbing Practice: Ride real mountain roads. Learn gear shifts and get comfortable with long climbs.
Part Five: Equipment Setup and Marginal Gains
In a Sub‑4 attempt, every watt counts. Optimizing gear can deliver noticeable “free speed”.
5.1 Gear Ratio: Dignity and Survival
This is where most riders err. Many stick with a standard chainring or 11‑28T cassette to “look professional”, ending up at 50 rpm after Yanfeng and risking knee injury and muscle breakdown.
Scientific Advice: On an 8 % grade, maintaining a healthy 80 rpm cadence for a 200 W rider requires a very light gear.
Strongly Recommended Setup:
| Component | Suggested Spec |
|---|---|
| Chainring | Compact 50/34T |
| Cassette | 11‑34T or even 11‑36T (with long‑leg rear derailleur) |
Reason: A 34‑34 (1:1) ratio lets you keep cadence on the 20 % steep sections before Kunyang, protecting precious fast‑twitch fibers from early depletion.
5.2 Weight and Rolling Resistance
Wheels: Choose lightweight climbing wheels (rim depth 24‑35 mm, weight < 1400 g). At a steady 13 km/h climb, aerodynamic gains are negligible; reducing rotational weight benefits frequent accelerations and decelerations.
Tires: Opt for top‑level race tires (e.g., Continental GP5000, Vittoria Corsa Pro). Latex tubes or tubeless setups can cut rolling resistance by about 2–5 W.
Pressure: Don’t pump to 120 psi! For 25c/28c tires, aim for 75‑85 psi to improve road feel and reduce energy loss from vibration (impedance loss).
Part Six: Nutrition Science and Fueling Strategy
Wuling is a glycogen war. Muscle and liver glycogen stores sustain roughly 90–120 minutes of high‑intensity effort. Without fueling, a “wall” inevitably hits after Qingjing.
6.1 Pre‑Race: Glycogen Super‑loading
Timing: Start 48–72 hours before the event.
Strategy: Raise daily carbohydrate intake to 8–10 g / kg body weight. Cut fats and fiber to avoid gastrointestinal stress.
Purpose: Fill muscle glycogen (“stuff it”) and bring extra water into cells (each gram glycogen binds ~3 g water). This explains the slight pre‑race weight gain – a good sign.
6.2 During Race: Precise Refueling
Intake Goal: 60–90 g carbohydrates per hour.
Execution Plan
| Timing | Fuel |
|---|---|
| 15 min before start | 1 × energy gel + BCAA |
| Every 20‑30 min | Mandatory 1 × energy gel (~25 g carbs). Don’t wait until hungry. |
| Solid Food | Only in the first half (before Renzhiguan) use easy‑digesting energy bars; after Wushe switch to fully liquid/gel to avoid GI upset under high intensity. |
| Caffeine | Around Qingjing (≈ 2.5 h) ingest pectin‑bound caffeine (100‑200 mg) to lower perceived effort (RPE) and combat altitude‑related drowsiness. |
Hydration & Electrolytes: Carry two bottles (one high‑concentration electrolyte drink, one plain water). Use the Cuifeng aid station for quick hydration; stay ≤ 2 minutes.
Part Seven: Race Psychology and On‑Course Execution
7.1 Mental Resilience: Embrace the Pain
The latter half of Wuling is fundamentally painful. When you feel hypoxic and your thighs burn at Yanfeng, tell yourself: “This is normal; everyone feels the same pain.”
Shift focus from “how far left” to “the breath right now” and “the pedal circles”. This mindfulness technique effectively reduces anxiety.
7.2 Tactical Execution Checklist
- No Sprint‑Out: After the geographic center marker, regardless of how fast others go, lock in your power zone (< 75 % FTP).
- Find Shelter: Before Renzhiguan, never ride solo into headwinds. Boldly stay behind a larger rider.
- Steady Fueling: Set a timer to buzz every 20 minutes; when it rings, eat, regardless of hunger.
- Distraction Management: If caught in traffic or a rider crashes, stay calm, find a gap, and keep rhythm; don’t let sudden braking ruin your cadence.
7.3 Heaven Road Tactics (Kunyang → Wuling)
Visual Strategy: Don’t stare at the distant gate—it’s mental torture. Focus on the road 3‑5 m ahead of the front wheel.
Breathing Control: Use a “forceful exhale” rhythm to expel CO₂ and help intake more O₂.
Final Push: Start the sprint when you see the last 200 m of flat road. Cross the finish line having given everything.
Conclusion
Breaking 4 hours on Westward Wuling is one of the most noble challenges an amateur cyclist can undertake. It tests not only leg watts but also brainpower, scientific preparation, and steel‑like will.
With the physiological analysis, periodized training plans, and fueling strategies provided in this report, you now hold the map to the summit of Wuling. The remaining step is to keep pedaling day after day until you see that red‑white gate waving from the clouds.
Wishing all riders a safe finish and a new PB.
tags: cycling Wuling training Sub-4 exercise science
(These contents were co‑generated with AI; please evaluate carefully and verify their validity)
Related Topics
- Climbing W/kg Goal: How Much W/kg for a Sub‑3h Wuling Attempt?
- First Time Riding Wuling: Complete Beginner’s Westward Wuling Guide
- 2026 Wuling Climb Race Complete Guide: Route Analysis, Pacing Strategy, Historical Record Review
- Pacing Art of Climbing Races: Wuling Cup, Eastward Wuling Perfect Strategy